The Welcome menu was designed as a dashboard to keep employees and managers up to date on all the system transactions. Managers and employees, for example will be able to keep current on any company news, messages, bulletins and announcements. Certain options would apply to managers only, for example access to review and/or approve time off and shift exchange requests, edit daily Time Card Exceptions and follow-up on Performance Evaluations & Training classes etc.
After logging into the software with your user name and password, you will be launched directly onto the Welcome menu (default setting).
|
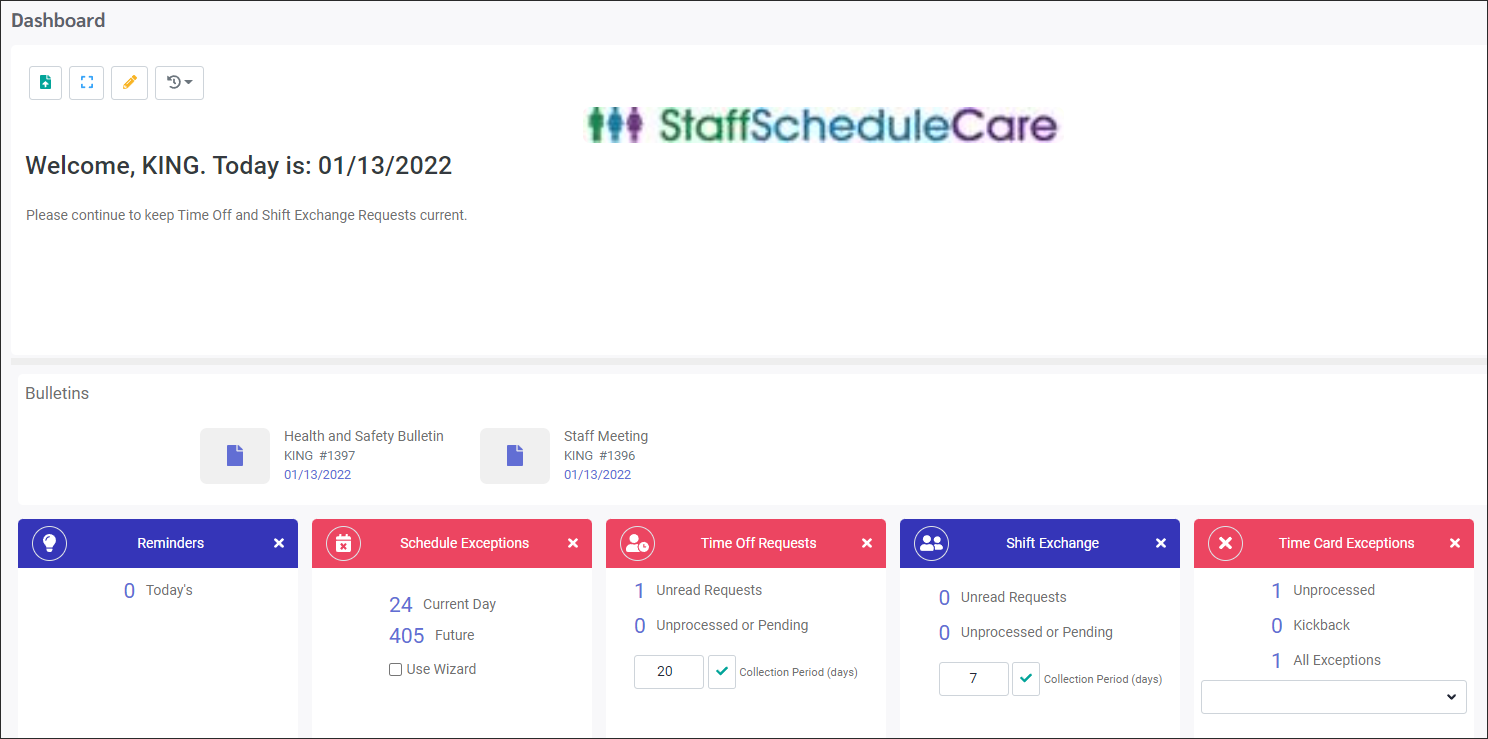
The Welcome menu will appear with your log in name in the centre next to the date.
The Welcome menu provides information at a glance. 1.The top centre of the screen may include the company logo and/or a general welcome message to the staff. 2.The middle of the screen is the Bulletin Board which may include notices for upcoming events or company news, i.e. to set up a bulletin see Bulletins. 3.In this example the bottom section display widgets. This user has Reminders, Schedule Exceptions, Time Off and Shift Exchange Requests and Time Card Exceptions widgets configured.
Please see Menu Setup Option for further information on moving menu panels.
|
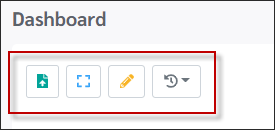
The Welcome menu can be configured using the options found on the toolbar at the left of the screen. Access to these options are based on the user's security access setup.
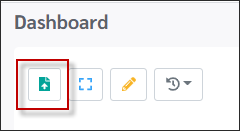
Upload Image
Allows you to upload your facility’s logo or another photo to the Welcome menu. The logo should be in a JPG, BMP or PNG format. Click upload and select the path that defines the location of your logo.
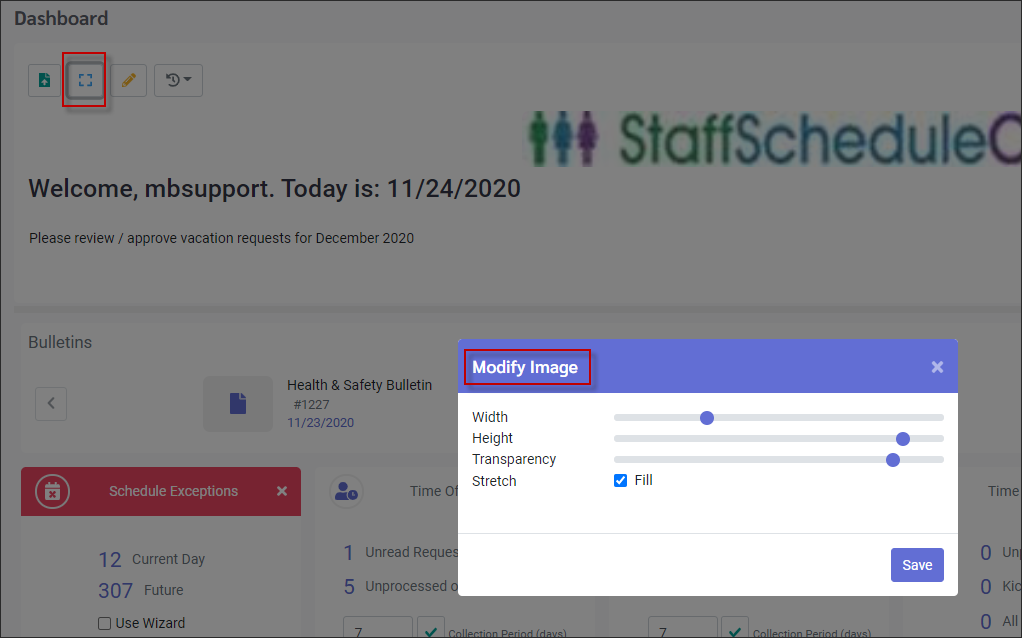
Modify
Allows you to adjust the logo and greeting settings. Width, Height, Transparency and Stretch affect the logo image.
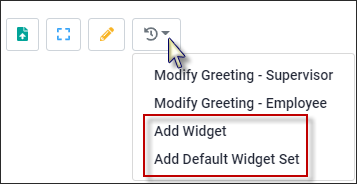
Add Widget
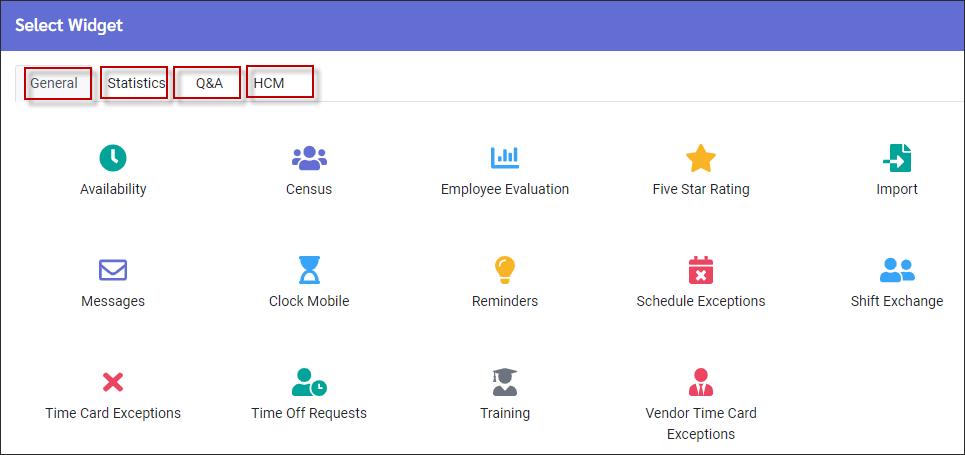
Click on the Actions icon and select Add Widget. For further details on the widgets available see Welcome Menu Widgets.
Select Add Widget and the full list of options will appear (General option shown below). The tabs available will depend on the manager's and employee's security access configuration. Each tab provides widgets for that topic.
Click on the item to select it. It will appear at the bottom of the Welcome menu. Repeat to add additional widgets. To remove items from the Welcome menu, simply click on the X symbol on the top right.
Add Default Widget Set
Select this option to add the default set of topics to your Welcome menu (shown below).
The defaults widgets are: Messages, Reminders, Schedule Exceptions, Time Off Requests, Shift Exchange and Time Card Exceptions.
Widgets can be refreshed or updated while you are logged in by clicking on the Refresh icon for the widget.
|