The Welcome menu was designed as a dashboard to keep employees and managers up to date on all the system transactions. Managers and employees, for example will be able to keep current on any company news, messages, bulletins and announcements. Certain options would apply to managers only, for example access to review and/or approve Time Off and Shift Exchange requests, edit daily Time Card Exceptions and follow-up on Performance Evaluations & Training classes etc.
After logging into the software with your user name and password, you will be launched directly onto the Welcome menu (default setting).

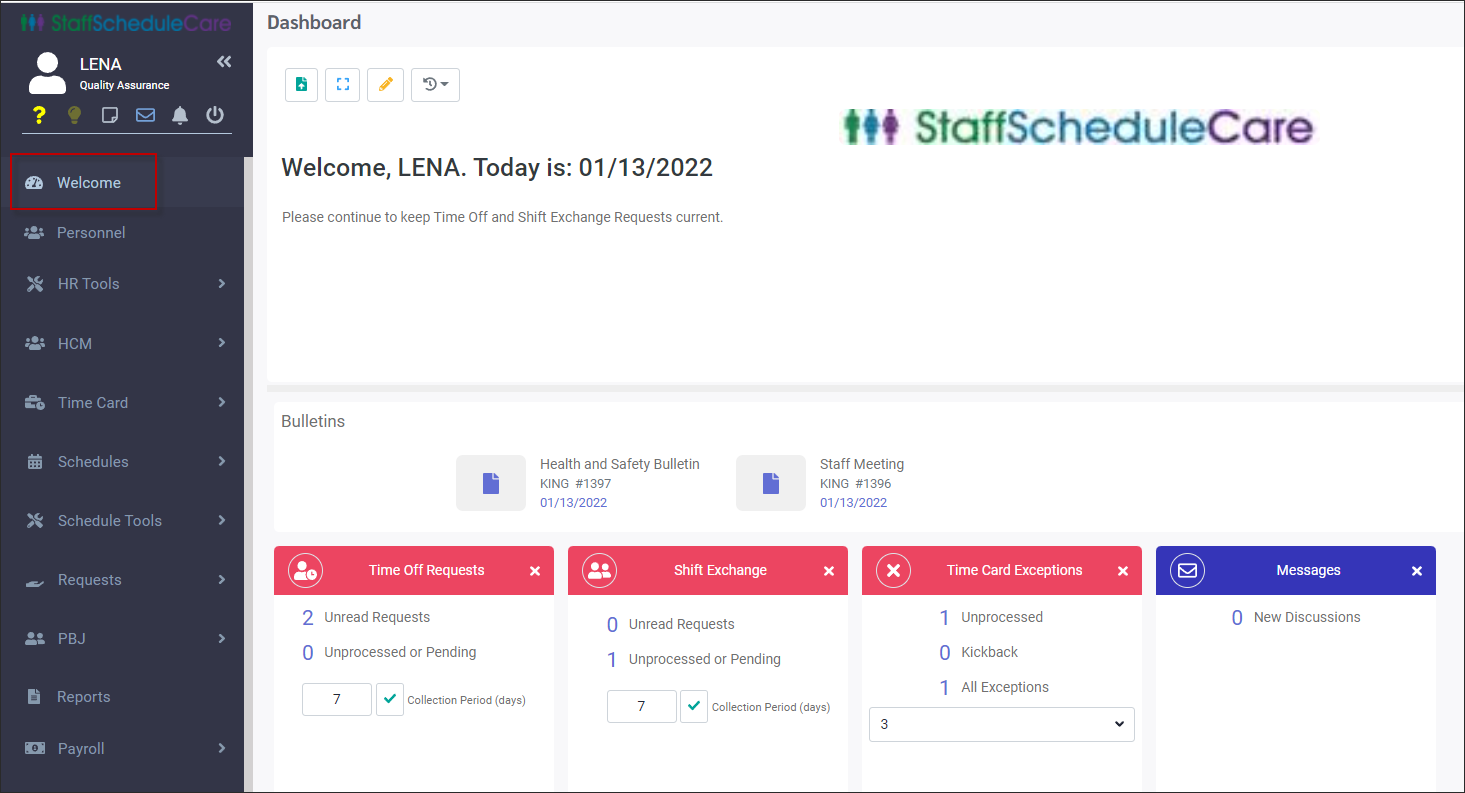
The Welcome menu will appear with your login name in the centre next to the date.
The Welcome menu provides information at a glance. 1.The top of the screen may include the company logo and/or a general welcome message to the staff. 2.The middle of the screen is the Bulletin Board which may include notices for upcoming events or company news. To set up a bulletin see Bulletins. 3.In this example the bottom section display widgets. This user has theTime Off and Shift Exchange Requests, Time Card Exceptions and the Import widgets configured.
You may adjust the size of the panels by moving the grey divider bar up or down. Please see Menu Setup Option for additional information.
|

Tool Bar Options Menu
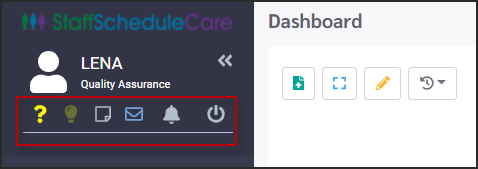
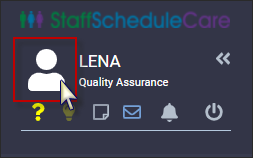
The Welcome menu provides different functions by means of icons found under the Employee header on the left side panel.
Question Mark (Help Manual) When you click on the question mark you will be redirected to the StaffScheduleCare online help manual. Depending on where you are in the software, once clicked the manual will be opened to that section. In the example below we are on the Welcome menu when we clicked the help manual which then opened to the Welcome menu section of the help manual.
Light bulb (Reminders) For detailed instructions on how to create and manage Reminders please see Reminders.
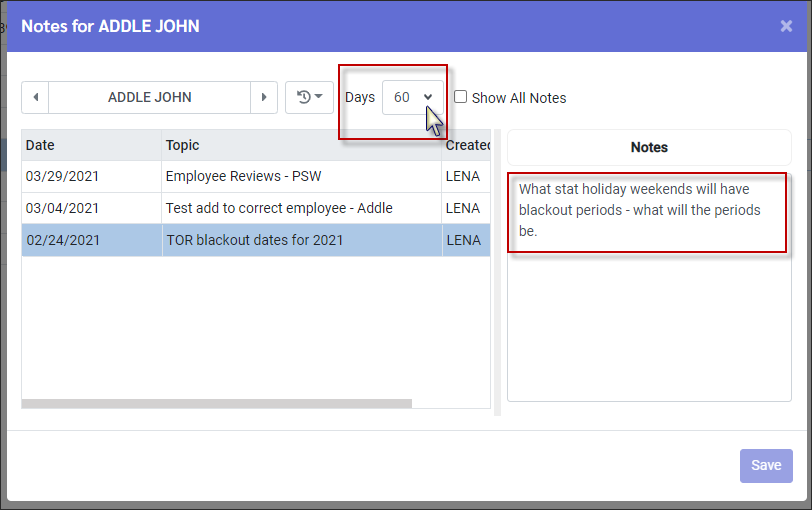
Paper (Notes)
The Notes section of the Welcome menu allows managers to create notes within the Welcome page, for their view only. This could be used to keep reminders regarding an employee or notes on the how to run a specific process in the system etc.
You may select how far back you wish to view these notes by selecting the number of days from the Days drop-down list. When you click on the message you wish to review, it will appear on the right-side panel.
All managers (users) will be able to see the notes. Managers may add and delete any notes, even if they are not the creator of the note. To view other manager's notes, tick on the Show All Notes. Untick this option to only see your own notes.
Use the Employee Panel to switch to a different employee (if applicable) by clicking in the employee name window and selecting a new employee.
Bell (Report Processing) When reports are being generated or a process is running, the bell icon will rock side to side with a red circle to indicate that an action is in progress.
Power (Log out) Click this icon to exit the system.
Profile Options
To change such options as time representation, localization (for language settings), and password, click on the Profile icon. The menu options available will depend on your security access configuration. Please see Time / Password / Display Settings for additional information.
|


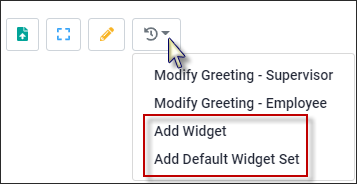
The Welcome menu can be user defined by using the Dashboard options. Managers may add widgets to their Welcome menu to provide a overview of the activity that requires follow-up action, such as processing time off requests, shift exchange requests etc.
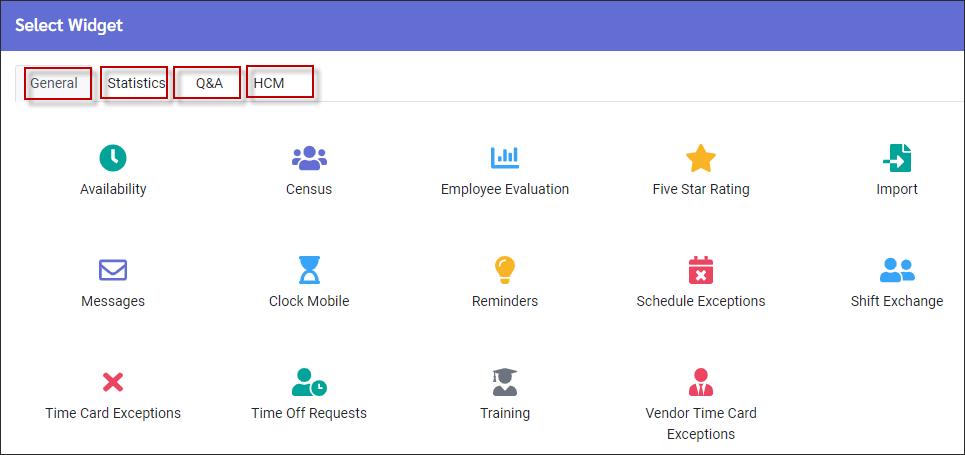
Add Widget Select Add Widget and the full list of options will appear (General option shown below). The tabs available will depend on your security access configuration. Each tab provides widgets for that topic.
Click on the item to select it. It will appear at the bottom of the Welcome menu. Repeat to add additional widgets.To remove items from the Welcome menu, simply click on the X symbol on the top right.
Add Default Widget Sets
Select this option to add the default set of topics to your Welcome menu (shown below).
Please see Welcome Menu Widgets for additional information |