The Welcome menu provides managers with three areas to exchange information with employees.
Messages
You may create and send messages to other managers / supervisors or employees. These messages will appear with a "count", or number indicating how may messages have been sent, on their Welcome menu.
Bulletins
Bulletins may be used to inform employees or groups of employees of upcoming events, deadlines, scheduling information or any other relevant information. Bulletins will appear in the centre section of the Welcome menu.
Reminders
Use the Reminder option to set up your own personal reminders relating to specific employees or just general reminders.

Bulletins may be used to inform employees or groups of employees of upcoming events, deadlines, scheduling information or any other relevant information. Bulletins will appear in the centre section of the Welcome menu.
To add a bulletin click on the Manage Bulletin icon located in the top left corner of the Welcome menu.
From the Manage Bulletins menu, click on the plus symbol (+) to add a new bulletin or click on an existing bulletin to modify it. If you would like to add an attachment to the bulletin, click on the plus symbol (+) beside the Attach Document field. From the directory, select the file you would like to attach.
Employees will be able to view the attachment when they open the bulletin.
Text Tab
▪In the Title window enter the title of the bulletin. This will be displayed in the Bulletin section of the Welcome menu. ▪You can set an expiry date for your bulletin by selecting a date in the Expiry Date window. ▪Bulletins can be created or edited using the standard editing tools pictured above. To edit font size etc. first highlight the existing text, then select your editing options. ▪Complete the body section to add bulletin details. ▪If you would like to set up bulletin restrictions by facility, department or class, do NOT click Save until you have selected your filters on the Restrictions tab.
Restrictions Tab
This option allows you to filter your list of employees who will see this bulletin. Please note that this filter applies to employees only. Users (managers) will see all bulletins regardless of restrictions.
▪Click on the down arrow to open a drop-down list of options you wish to filter by e.g. Department and Class. ▪If you wish to change your settings, click Reset to undo your selections (not shown). ▪Click Save. This will save your restrictions and send out your bulletin.
|


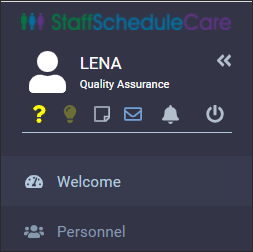
You can use the Reminders option to set reminders for yourself as a manager pertaining to specific employees or to set general personal reminders.
The Reminder icon is the light bulb image located under the employee / manager name.
If a Reminder has been created for current date, it will be displayed upon logging in.
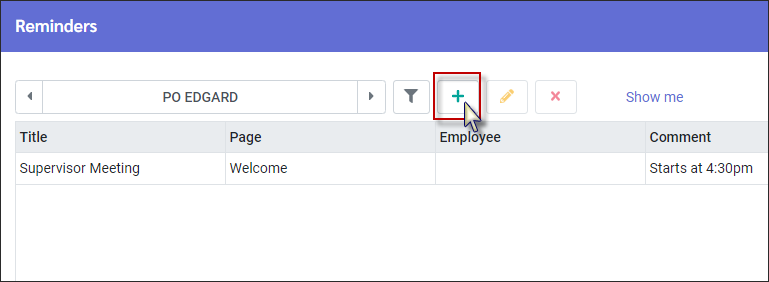
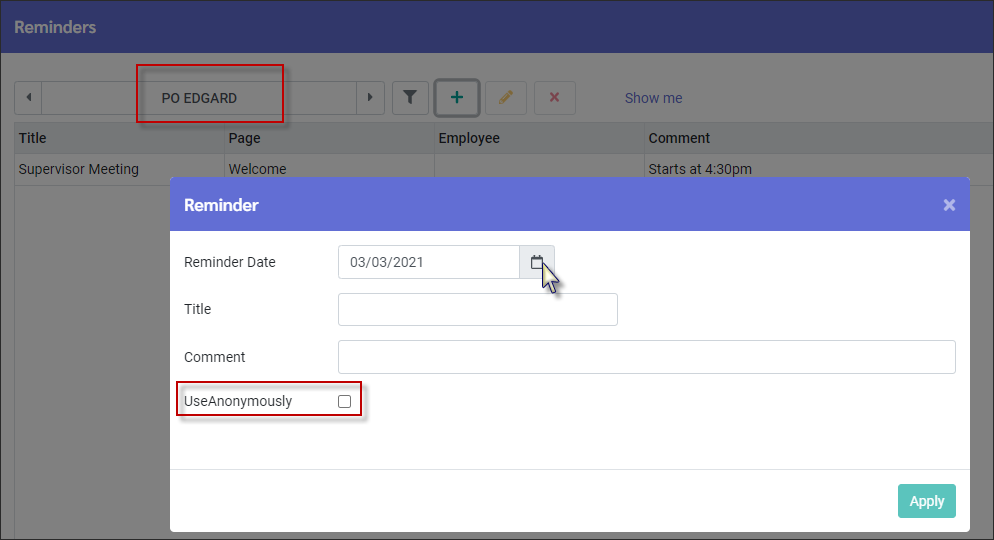
Creating A Reminder ▪Click on the light bulb. This will open the Reminder window.Click on the plus symbol (+).
Click on the calendar icon to select a reminder date.
Employee Reminders You may create a Reminder related to a specific employee. If the reminder pertains to a specific menu in the system as well (e.g. the Hours menu), you should initiate the reminder from this menu. It may be configured as follows: ▪Navigate to the menu which the reminder relates to (if applicable). ▪From your Employee Panel, select the employee to be associated with the reminder. ▪Click on the light bulb and plus symbol (+) as described above to initiate the reminder process. ▪Type in your reminder details and the date you want it to appear on your reminder widget. ▪Click Apply.
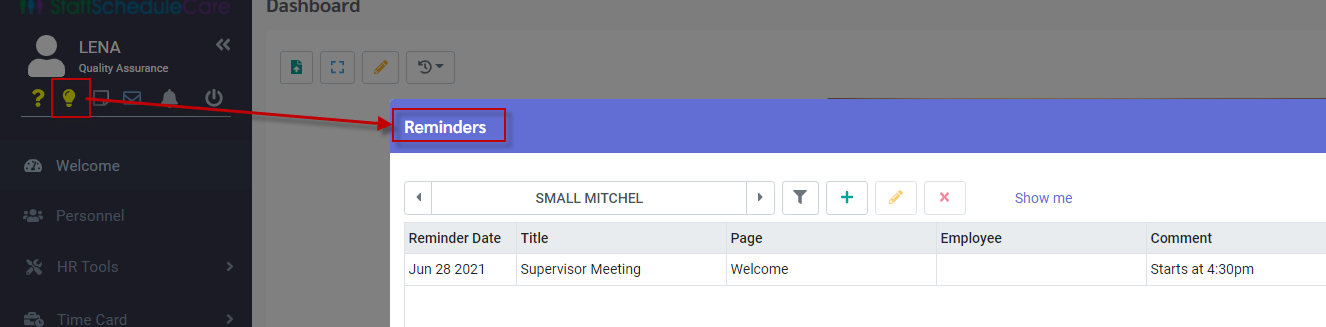
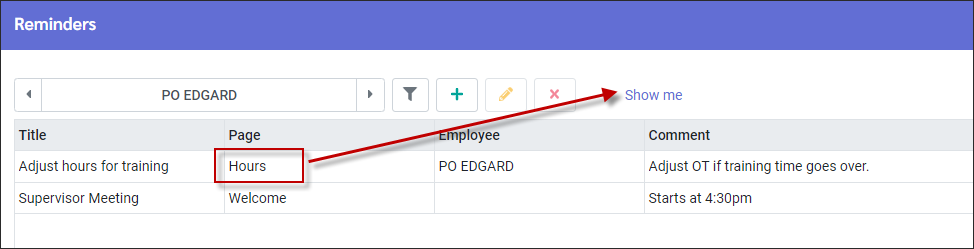
When the reminder date is the current date this reminder is shown immediately on your Reminder widget.
Click on the Show me link to be taken to the page (area of the software) the Reminder was generated from. In our example this reminder was created for Edgard Po while in the Hours section.
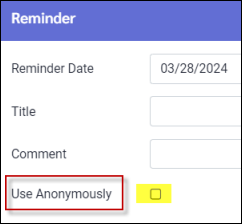
General Reminders To create a general (anonymous) reminders for yourself, you may detach the reminder from the employee by ticking the Use Anonymously tick box when creating the Reminder.
Use this feature to create personal reminders that do not relate to specific employees.
|
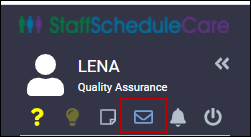
The Messages option (accessible from any menu) is where you will see a numbered list of all unread general discussions. These are discussions that are not related to any of the other menu options. Managers/users and employeesmay send and receive discussion messages to/from other managers and employees.
New Messages / Discussions
To create general discussions (not pertaining to shift exchanges, time off etc.)
▪Click on the Discussions or Messages (Envelope) icon (shown above). ▪Select New Discussions and the discussions screen will appear:
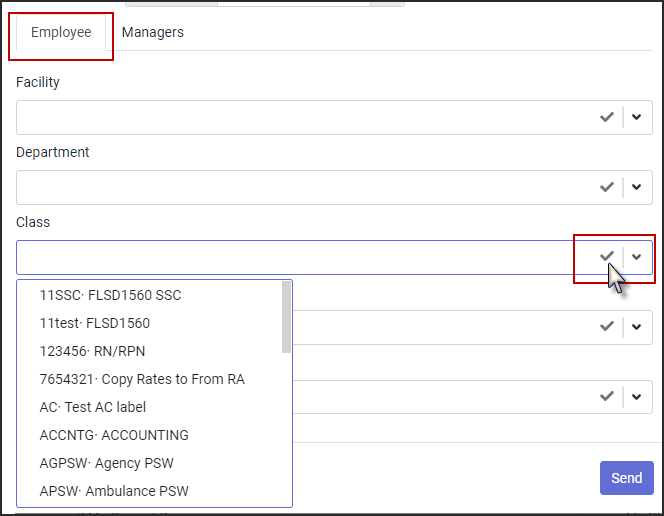
On the Employee tab you may use the filters to select the employee(s), department or class you wish to send your discussion to.
▪Click in the filter window and select from the drop-down list.
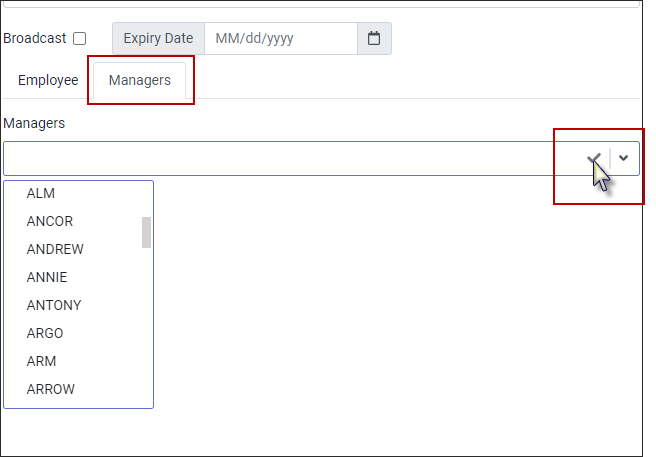
You may also filter by manager(s) from the Manager tab.
▪Click on the Managers field and select one or more managers from the list.
To send a broadcast message to all employees, tick the Broadcast option. Use the Expiry Date calendar to set an expiry date for the message.
▪Type your Topic and Body. ▪Click Send.
Message Widget
You may add the Message widget to you Welcome menu. For information on how to add new widgets see Welcome menu widgets
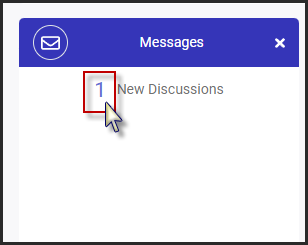
Click on the number beside New Discussions on the Messages widget. This will display unopened incoming and outgoing messages.
|


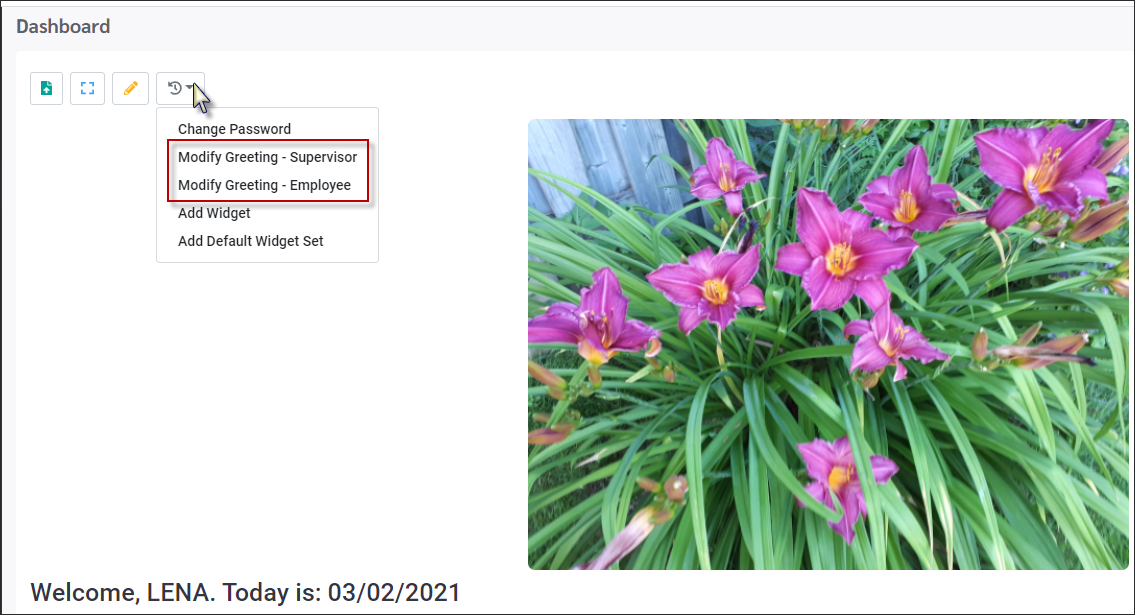
The centre panel of the Welcome menu may be user defined by adding employee and manager greetings, bulletins and your facility logo. The ability to add, create or delete messages is available if configured in the user's security access.
To add either a supervisor or employee greeting, click on the Action icon. From the drop-down list select which greeting you would like to add or delete.
Modify Greeting - Supervisor or Employee
By clicking on either greeting option, supervisor or employee, the dialogue box pictured below will appear. If a greeting exists already, it will appear in the text box. If no greeting exists, the text box will be blank.
▪To delete the message highlight it and click Delete on your keyboard. ▪If you chose to delete the message the Welcome menu now appears with no message at all in the centre. ▪To edit the message simply type over or re-word what is there. Standard tool bar options allow you to change font size, colour etc. for your message. ▪Click Save to send your new message to the Welcome menu.
|