The Welcome menu was designed as a dashboard to keep employees and managers up to date on all the system transactions. Managers and employees, for example will be able to keep current on any company news, messages, bulletins and announcements. Certain options would apply to managers only, for example access to review and/or approve Time Off and Shift Exchange requests, edit daily Time Card Exceptions and follow-up on Performance Evaluations & Training classes etc.
After logging into the software with your user name and password, you will be launched directly onto the Welcome menu (default setting).
Click on the number in the Dependency column to display the users or employees assigned to that particular Security Access Group. You will not be able to delete that group as long as there is a number visible (dependency) for that group. The image above below shows that the Level 2 group including 104 dependencies.
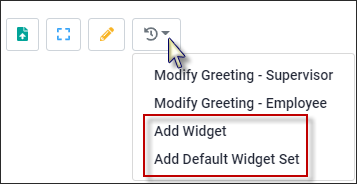
From the Actions list, select Add Default Widget Set to your Welcome menu (shown below).
The defaults widgets are: Messages, Reminders, Schedule Exceptions, Time Off Requests, Shift Exchange and Time Card Exceptions.
Widgets may be refreshed or updated while you are logged in by clicking on the Refresh icon for the widget.
Add Widget Click on the Action icon and select Add Widget.
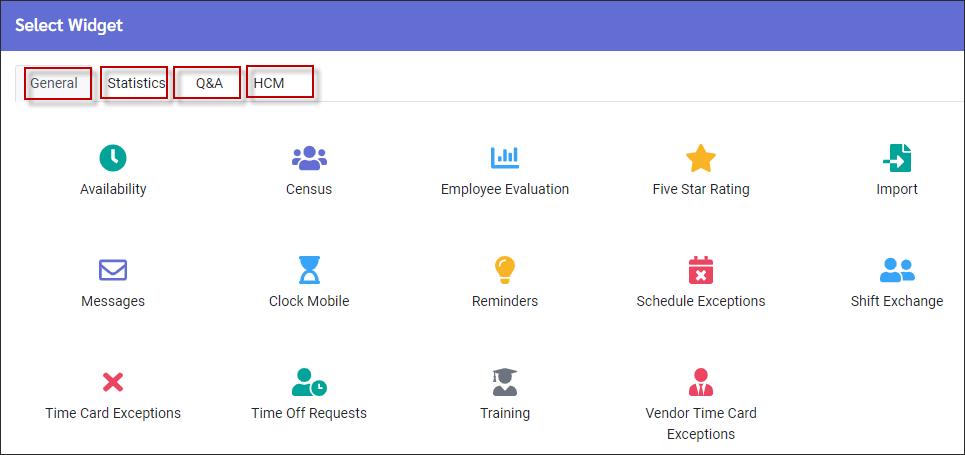
The full list of options will appear (General option shown below). The tabs available will depend on the manager's and employee's security access configuration. Each tab provides widgets for that topic.
Click on the item to select it. It will appear at the bottom of the Welcome menu. Repeat to add additional widgets.To remove items from the Welcome menu, simply click on the X symbol on the top right.
|


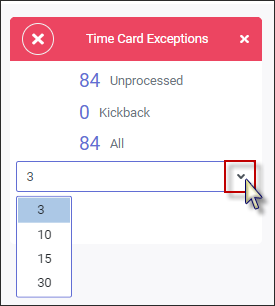
The Time Card Exception widget provides a link that you, as a manager, must address. In this example there are 84 exceptions for the number of days being tracked.
The number of days being included can be set by clicking on the drop-down arrow and selecting the number of days back from current day. Current day is never included in the exception count.
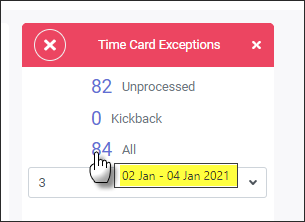
If you hover over the numbers 82 or 84 you will see the date range as defined from the drop-down.
▪Today is January 5, if I were to hover over the number 84, I would see that my exceptions encompass the previous three days of 3 days starting from January 2nd. ▪If you edit a Time Card, but it doesn’t cause the exception to go away the exception remains part of the count. ▪If Time Card editing includes both the Reviewed (e.g. supervisor) & Approved (e.g. manager) methods, the count will reduce as the supervisor edits, but will remain at the original number for the manager to know how many items he/she must approve. ▪A kickback is a method of multi-level approval. For example, employees might submit their time and a supervisor might review the time, but if the manager who approves the records doesn’t like what they see they can untick the Submit and/or Review buttons and the Time Card edit "kicks back" to whomever submitted it. If this occurs you will see a link under the Kickback option and you would follow that link as you would the Unprocessed or All links to the Time Card to review the kickback. ▪The count under All, regardless of your Processed and Approved exceptions, will show an accumulative total of all exceptions and kickbacks (if used) for the period being tracked, i.e. 3, 5, 10 or 15 days.
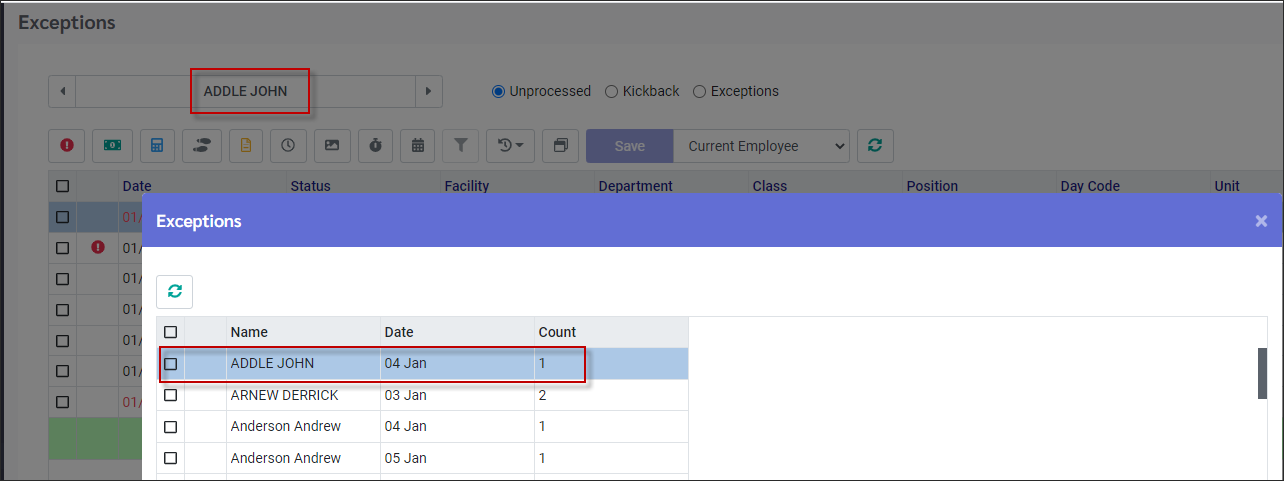
To view and work on the exceptions shown in our image above, we would click on the number 82 and the system will take us to the Time Card menu, where we may view and process employees exceptions, according to the layout configured on this menu.
If you have your Time Card layout showing all three sections, Hours, Attendance, and Punches you will also get a pop-up window as shown below. Click to select an employee and the Exception screen (background) will display that employee and line with the Exception. Click the X to close the Exception List.
|
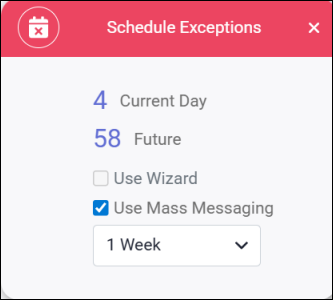
The Schedule Exception widget contains a link to the Daily Schedule or Schedule Wizard to view and fill unfilled shifts.
Current Day There are 4 unfilled shifts.
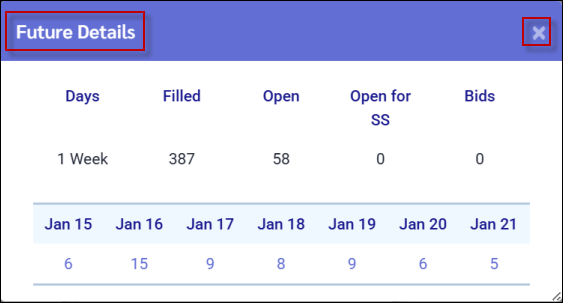
Future There are 58 unfilled shifts. To view a summary of future exceptions, click on the corresponding number (58) and a summary similar to the example below will appear. To exit click on the X.
Click on any link under the Days column of this summary screen to view shift details on the Daily Schedule.
Filling Unfilled Shifts
To access and fill the unfilled shifts for today, click on the corresponding number (4), which will take you to the Daily Schedule page.
If you would prefer to use the Scheduling Wizard or Mass Messages / Automated Call Outs to fill unfilled shifts: ▪Click the check box beside Use Wizard or Use Mass Messaging. ▪Click on the number 4 and you will be taken directly to the specified location. If Automated Call Outs is enabled in your system, you will be directed to this menu instead of the Mass Messaging menu.
|
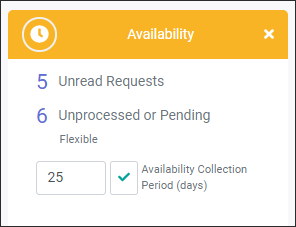
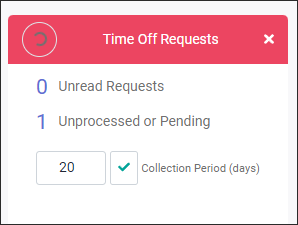
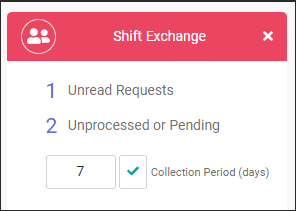
The number beside the Unread Requests or Unprocessed or Pending request links indicates how many requests you have that you have not addressed.
To change the Collection Period days:
▪Click in the count window. ▪Change the number of days. ▪Click on the green check mark to save the change.
The Collection Period for the Time Off Request widget may be set to a maximum of 365 days. The Collection Period for the Shift Exchange widget may be set to a maximum of 100 days.
The widget will automatically refresh with the corresponding numbers.
|
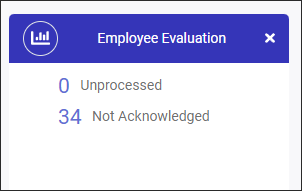
Performance Evaluations
When Performance Evaluations are created and saved, the system begins to track them for you by their due dates. When you log in you will see how many evaluations may be Unprocessed (near their due date) and/or Not Acknowledged by the employee to whom they were sent after you Committed it.
When clicking on the number beside Not Acknowledged, in this example 34, you will be taken to the evaluation form for the employee with an evaluation acknowledgment still outstanding.
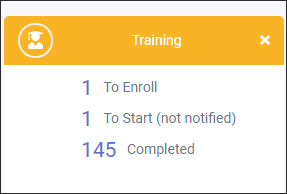
Training
The Training widget lets you know employee training status: To Enroll, To Start or Completed. Clicking on any of the three numbered links will take you to the employee training list.
|
Availability may be set up by either the employee, a manager or supervisor, with or without approval required. If approval is required, you may track your Availability Requests using the Welcome menu.
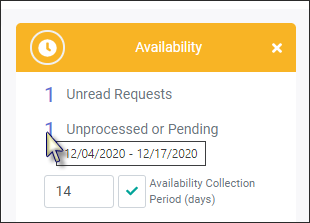
The Availability widget displays the Unprocessed or Pending availability requests for the number of days you configured when you set up your Availability requirements.
Hover over the number of requests and the configured time period will appear.
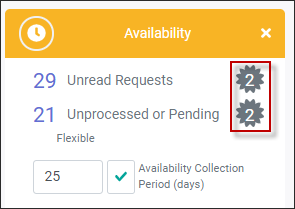
The Blackout icon will appear within the Availability widget if there is a Blackout date configured during the time frame defined in the widget Availability Collection Period.
|