Once the Profile-based criteria, Custom Criteria and Onboarding Groups have been created the next step is to start creating the postings.
By using the Profile-based criteria the user can define what requirements are needed to get the best applicant. Within the Profile-based Criteria the education, skill levels and experience can be defined.
The applicant's answers are measured / weighted against the Custom Criteria assigned to the job posting.
A Job Posting defines the position being posted. The rate, salary, responsibilities etc. are specified and the Profile-based Criteria is attached.
Resulting in a Job Offer and onboarding.
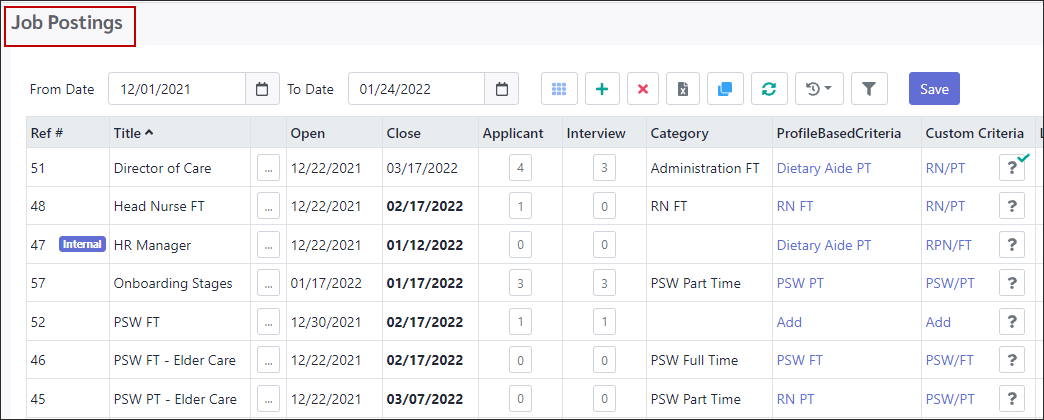
In this section we will review how to view Job Postings and the toolbar options available. Job Postings are what the applicants will view when they log in. The Job Postings screen will always default to show the open job postings unless the filter has been set.
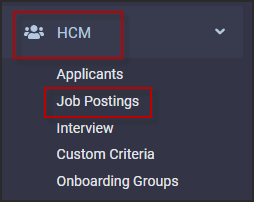
To view Job Postings: ▪Select the HCM menu. ▪Select the Job Postings menu.
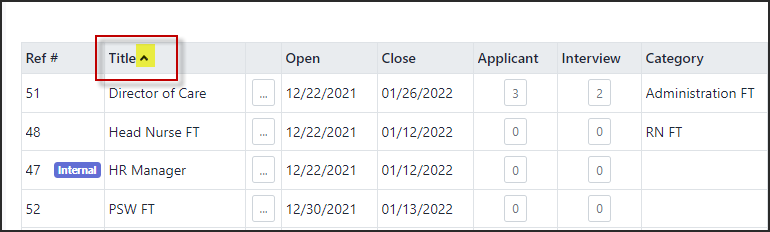
This screen lists all Job Postings created between the From and To dates.
You may use the column header up/down sort arrows to view the job postings in different orders.
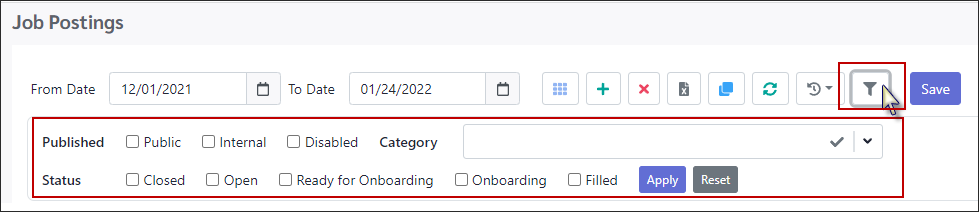
Filter Options Use the From/To dates to select the date range you would like to work with. Click on the Funnel icon to open the filter options. You may select multiple combinations. An example might be to select Internal and Open to view only the open internal job postings. Once you have selected the options, click Apply. The Funnel (filter) icon will be blue if there are selected options.
Published Public - These are posting available to all applicants on the Applicant Centre. Internal - Include postings that are for existing employees only. Disabled - Include postings that are Disabled. Disabled postings are not released for applicants to view.
Category Click in the Category window and select from the drop-down list which categories you would like to view.
Status Closed - These are job postings that have reached their closed date. Applicants no longer can apply for these postings. Open - Applicants are still able to apply for these postings. Ready for Onboarding - The job offer(s) to fill this posting have been accepted; the next step is to onboard the new employee. Filled - Postings with a filled or completed status.
Toolbar Options
Field Visibility - See the Field Visibility section for detailed instructions. Plus icon - Add - Create a Job Posting. Red X icon - Delete - Delete a Job Posting. Cancel - If you have not saved the record and would like to remove the data, click on Cancel. Clone - Allows you to copy (clone) a posting.
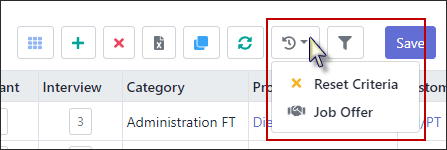
Click on the Action icon for a drop-down of available options. Reset Criteria - This will remove the current Custom Criteria assigned to the job posting that is highlighted. The Criteria name will be removed and now Add will be displayed. Click on Add to select a new criteria from the drop-down list. Job Offer - Click on this option to display a list and the status of all employees for this posting that have been offered a job.
|
The user/manager who creates the job posting will be the owner. This is important if you will be using the Interview Widget as the interviews listed are those based on the login ID. You may create a job posting but are not ready to release it. Assigning it a status of Disabled will allow you to release it when you are ready. Use the Internal option to release a posting that only current employees may view when they log into the Applicant Centre.
▪Select the HCM menu. ▪Select the Job Postings menu.
Create a Job Posting
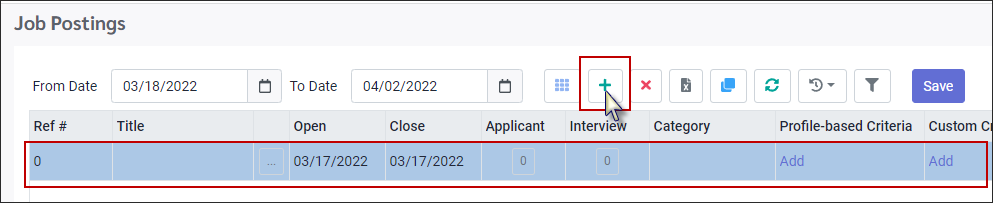
▪ Click on the Plus icon.
A new template (highlighted in blue) will be opened at the bottom of the screen.
Column Descriptions
Ref# The system will automatically assign the Job Posting Ref#.
Title Double click to enter the name you would like for the posting.
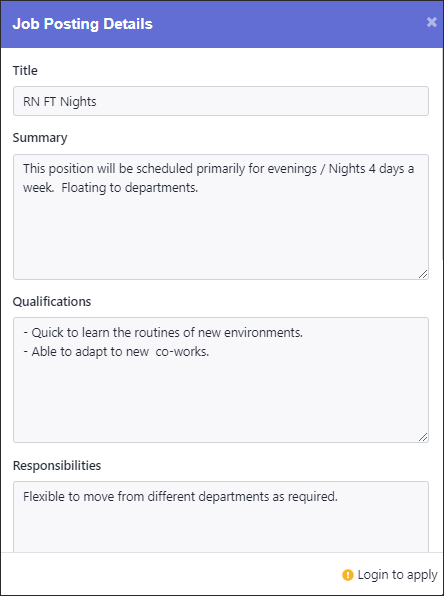
Job Detail Information Click on the white button to the right of the title field to access the detail tabs. The detail section consists of two tabs. The Summary tab and Other tab.
Summary Tab Here you enter information to be included in the job description for the applicant to review. You may stretch the fields by clicking on the bottom right corner of the sections.
Applicant's view of the Summary tab information.
Other tab Click on the box beside Internal if this posting is for current staff only.
Disabled A Job Posting can be created but not published by clicking on the Disabled box. When the job is ready to be posted, the disabled option is unticked. The posting is now showing on the Applicant Centre.
Internal Tick this option to make the posting only visible to existing employees when they log into the Applicant Centre. Internal postings are marked with Internal beside the Reference number.
Type Code Click in the Type Code field to open the drop-down list and select the type required.
Union / Hours/Rate/Salary From / Salary To Click in the field and enter the associated union. This will be included in the job posting for the applicants to view.
Open / Close Dates Double click in the dates window to access the calendar. Select your dates. You can select an Open date in the future for when you would like this job to be available to applicants to view. The Close date will be when you do no longer are accepting applications for the position. The system will remove the posting from the Applicant Centre.
Applicant This column provides a quick view of the number of applicants for the job. As people apply for a position the system will track the applications on the Job Posting. This not populated by the manager and is not part of creating a Job Posting.
Interview As applicants accept their interview requests, the number of interviews scheduled is auto populated by the system.
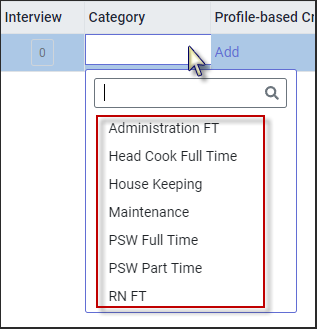
Category The Job Postings can be sorted by category by clicking beside the column header. ▪Click in the Category field to open the drop-down list of the categories.
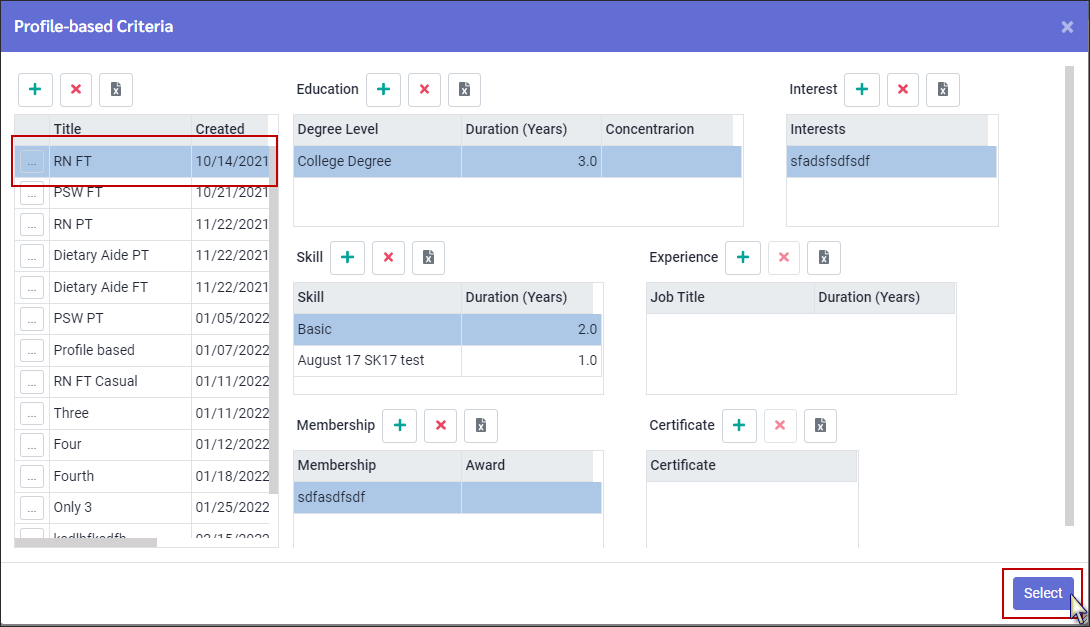
Profile-based Criteria In the Profile Based Criteria column click on the Add. This will pop-up the existing ones.
▪Click the desired Profile-based Criteria and click Select.
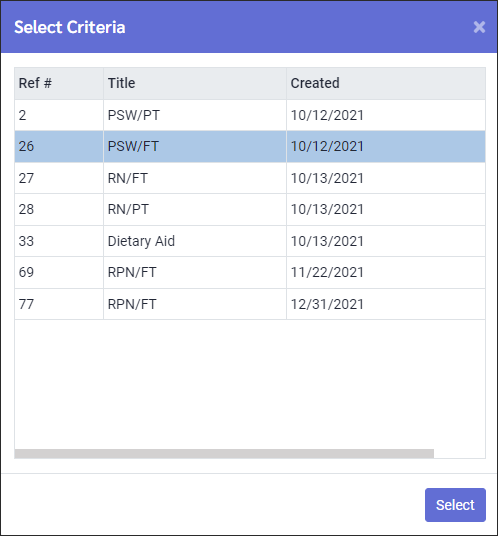
Custom Criteria To apply this to your Job Posting click on the Add and select the template. ▪Click Select.
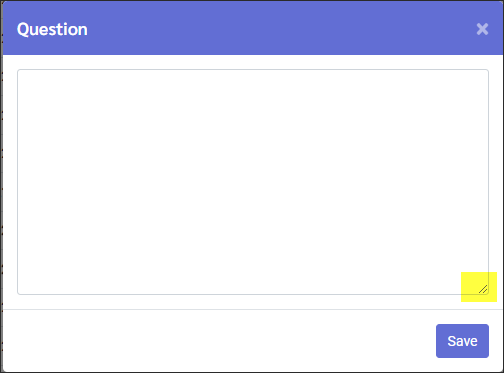
Custom Criteria Text Question Box You may add a question to the Custom Criteria. This question will be available when the applicant applies for the job. Since this question is not directly linked to the Custom Criteria is may be used when a unique question needs to be asked.
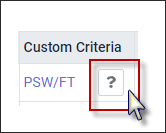
On the Job Posting screen, under Custom Criteria, click on the white button as shown below.
Enter your question in the Question box. This will be asked as part of the application process. If you required additional space, click on the three diagonal lines in the bottom right corner, hold and drag. Click Save when done.
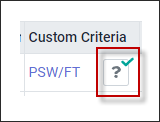
A green check mark will be displayed on the Question button.
Location & Schedule For both Location & Schedule fields the information is entered by clicking on the field.
Count Double click on the Count field to access the number window. Set this for the number of positions available for this job.
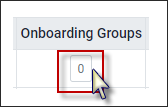
Onboarding Groups
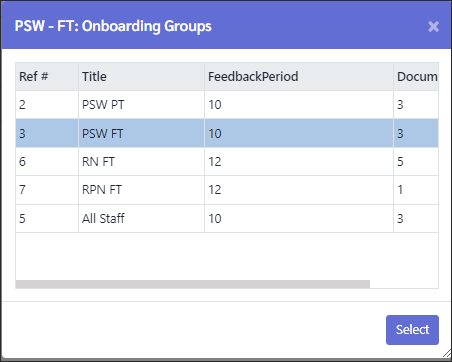
See the Onboarding Groups Quick Reference Guide to create a new group. Hover over the number in the Onboarding Groups column until the white hand appears then click.
▪Click on the Onboarding Group you would like to use. ▪Click Select. ▪
Onboarding Column This column is not part of creating a new job posting. The system uses this column to display the onboarding status of the Job Posting.
|