Most menus in the system with columns and column headings allow you to customize them. You can rearrange the column order, edit headings, and hide columns you don’t need. Column configurations can also be standardized across different user groups.
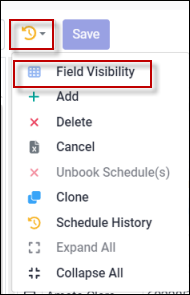
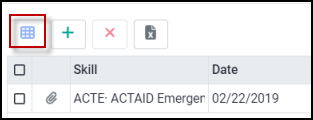
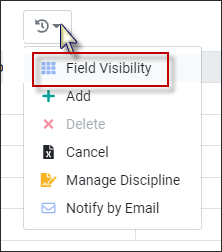
In most system menus, the Field Visibility option is located under the Actions menu. In menus without an Actions icon, Field Visibility may appear directly on the toolbar.
Actions Menu
Toolbar
. Field Visibility allows you to select which columns you wish to see on your menu and to rename the column headings.
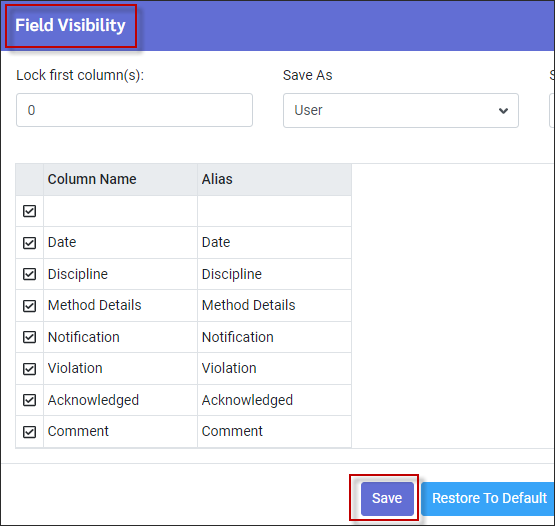
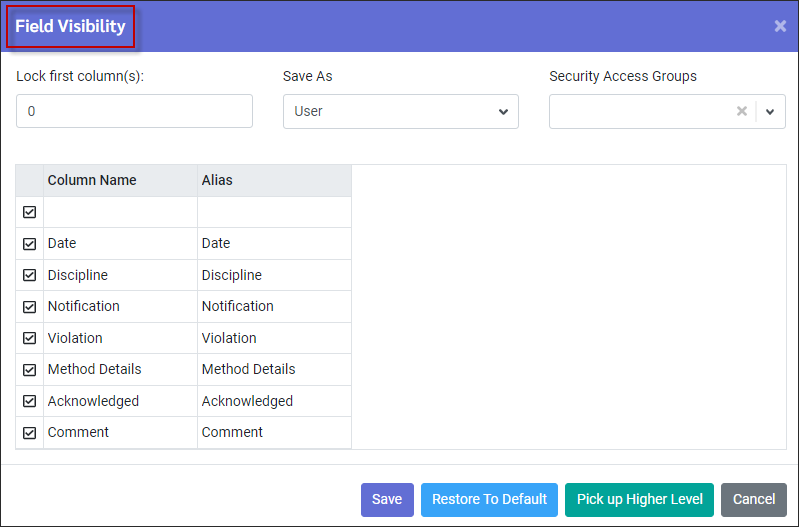
▪Select Field Visibility. ▪Select the columns you wish to see in your grid by ticking the corresponding boxes on the left hand side. ▪Under the Alias column, you can rename the column heading customizing it for your facility.
▪Click Save to save your settings.
|
The different levels of access for saving Field Visibility settings, are configured through the Security menu. From most menus within StaffScheduleCare click on the Actions icon and select the Field Visibility option from the drop-down menu.
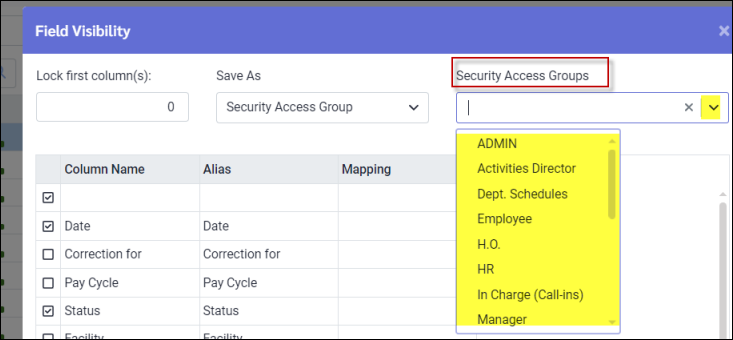
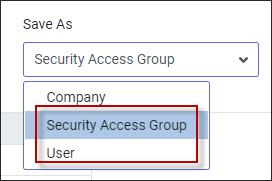
There are three levels of access relating to Field Visibility. These levels are displayed within the drop-down menu found beside the Save As option at the top right section of the Field Visibility menu:
▪Company ▪Security Access Group ▪User
If your Field Visibility access level is set to Company, your drop-down list will display all three levels:
When you make changes to your Field Visibility, you can choose any of the three levels to which to save your changes. If you select Company, your Field Visibility changes will affect all users. If you select Security Access Group, your changes will affect all users within your selected security access group. If you select User, your changes will only apply to your own user settings.
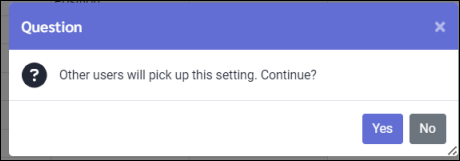
If you save to a level that affects more than just your user settings, the following message will appear:
Click Yes to continue.
If your Field Visibility access level is set to Security Access Group, your drop-down list will display the lower two levels i.e. Security Access Group and User. Edits to your Field Visibility can be applied to either of these two levels as described above with a warning displayed if other user settings will be affected.
If your Field Visibility access level is set to User, you can only save your Field Visibility changes to your own user settings.
Restore to Default Returns the Field Visibility screen and corresponding column setting to the default setting.
Pick up Higher Level This option corresponds to the Save As drop-down option described above.
If your Field Visibility access level is User, and you select Pick up Higher Level, your Field Visibility settings will change to the settings created by the users one level up, in this case Security Access Group. The Security Access Group settings would only apply to those users in the same access group as you.
If your access level is Security Access Group and you select Pick up Higher Level, the settings will change to the Field Visibility settings created by the users one level up from this access group, in this case the Company. When users in this group edit the Field Visibility, the edited settings apply to all user groups. If no new settings have been created by the group one level up, the system will take the settings from the level above that one. If there are no Field Visibility changes in this group, the system will return to the default settings.
Click Save to save your settings.
|
Once you have selected which columns should appear on your menu and renamed the column headings as desired using the Field Visibility option, from your main menu you may move columns to the left or right.
In the example below, we will move the Notification column (Discipline menu) to the right of Method Details:
▪Click and hold within the Notification header box until it appears highlighted in blue / purple. ▪Drag this column until it rests on top of the column to the right side of Method Details (the Violation column in this example).
▪Release your click and the moved column will appear in the new position:
To save your column settings:
▪Click on the Actions icon and select Field Visibility.
▪Click Save on the Field Visibility screen.
Locking Columns
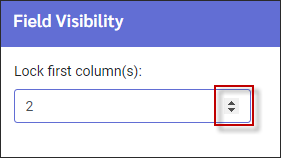
You can also lock the first column(s), so they remain visible when scrolling horizontally, by setting the number of columns you wish to lock (top left).
Click Save to save your selection.
|
 .
.
