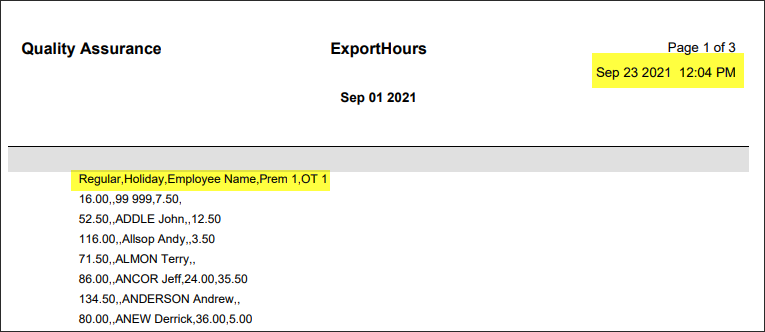
The Export Hours feature provides an output of employees' hours in Excel spreadsheet format or a PDF report.
By using the Filter option, the export can be filtered to specific groups. i.e., departments, class, or employees.
To access:
▪Select the Payroll Tools menu.
▪Select Export Hours.
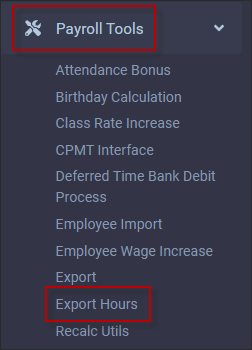
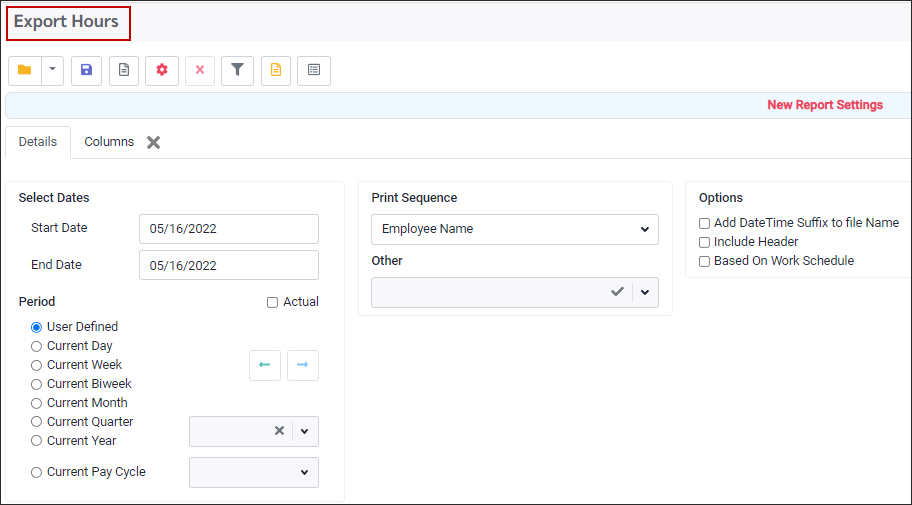
The Export Hours menu will be displayed.
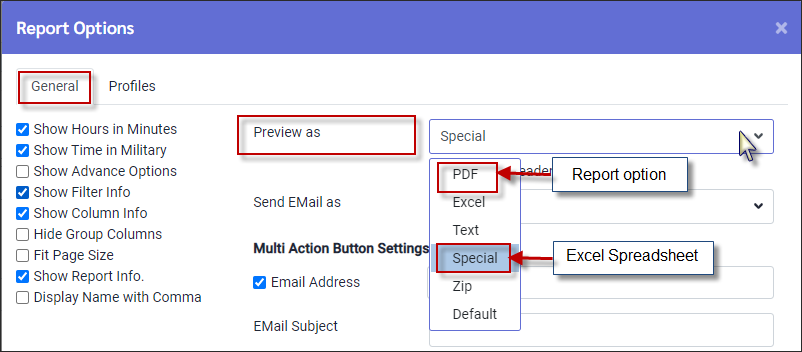
The output format can be either a report or an Excel spreadsheet. Before processing select the output format you would like.
▪Click on the Options icon.

▪On the General tab, click in the Preview As window to open the drop-down list.
▪From the drop-down list, select either Special (for Excel spreadsheet) or PDF (for a report).
Select Columns to Include in Export
For further details on selecting / deleting columns see Reports Functions Overview.
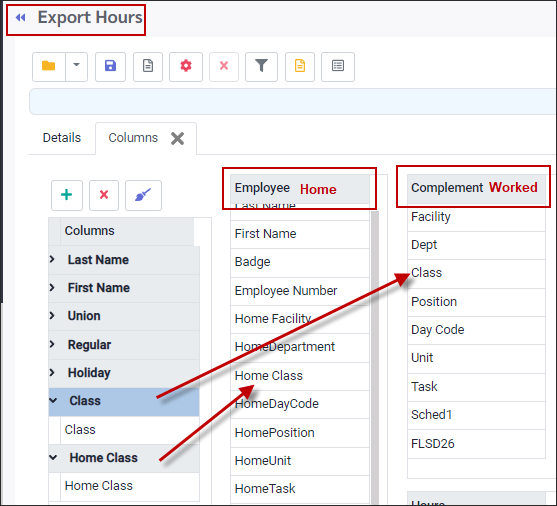
▪Click on the Report Column icon.

▪To add fields to the left side column panel, double click on the fields. This will move the field to the Column panel. When selecting fields, those under Employee are HOME fields, and under Complement are WORKED fields.
Filter
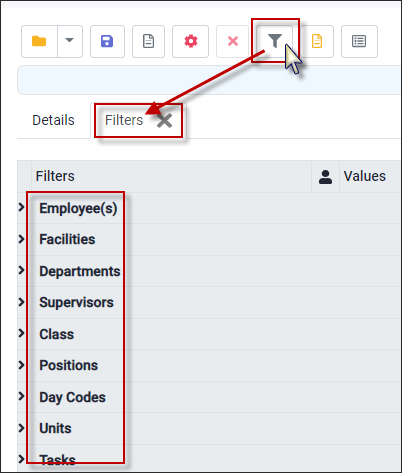
Use the filter option (funnel icon) to select a specific group to be exported.
Print Sequence
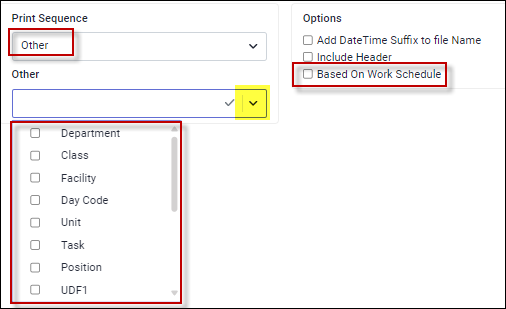
Under Other, to sort by home (Employee fields assigned in Personnel), Based on Work Schedule must be disabled. To sort by worked (Complements fields), Based on Schedule must be ON and the report fields need to pull from the Complement column.
If Other / Print Sequence is selected, you must also select the columns to have the print sequence (rort) field show on the export.
Excel Export Output
The Options / Report Options / General tab / Preview as option must be set to Special.
Set a date range for the hours to be pulled from. The User Defined option allows you to use the Start / End Date range option. You may also choose from the defined Period section.
Options
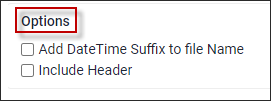
The option, Add Date Time Suffix to the file Name will add the date and time to the Excel file name.

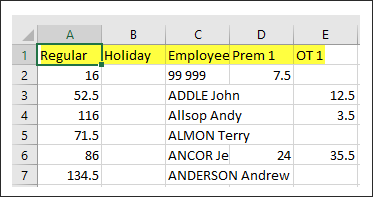
The option, Include Header will include the column headers in the Excel layout.
Processing
▪Click on the Process icon (red wheel) to export the hours.
▪Click Yes to continue.

Once the process is complete, the Excel spreadsheet will be displayed in the bottom left corner. Click on the window to open the spreadsheet.

PDF Report Output
The Options / Report Options / General tab / Preview as option must be set to PDF.
Set a date range for the hours to be pulled from. The User Defined option allows you to use the Start / End Date range option. You may also choose from the defined Period section.
The option, Include Header Headers are not a default with this PDF report, however, date and time are. Tick on if headers are required.
Processing
▪Click on the Process icon (red wheel) to export the hours.
▪Click Yes to continue.

When processing is complete the PDF will be displayed in the lower left-hand side.
In the example below the Include Header option was ticked on. The date and time are included as a report layout default.
