The StaffScheduleCare system has both an import and export feature. In both cases the StaffScheduleCare support team must submit a internal request to create the client specific import or export.
To import employee data, use the Employee Import. For payroll data, use the Payroll Import . The export feature is for all data within the StaffScheduleCare database.
Create an Employee Punch Export File
To access Export:
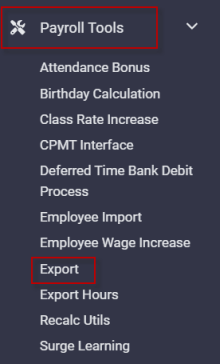
▪Select the Payroll Tools menu.
▪Select Export.
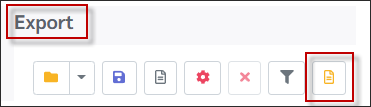
The following Export menu will appear:
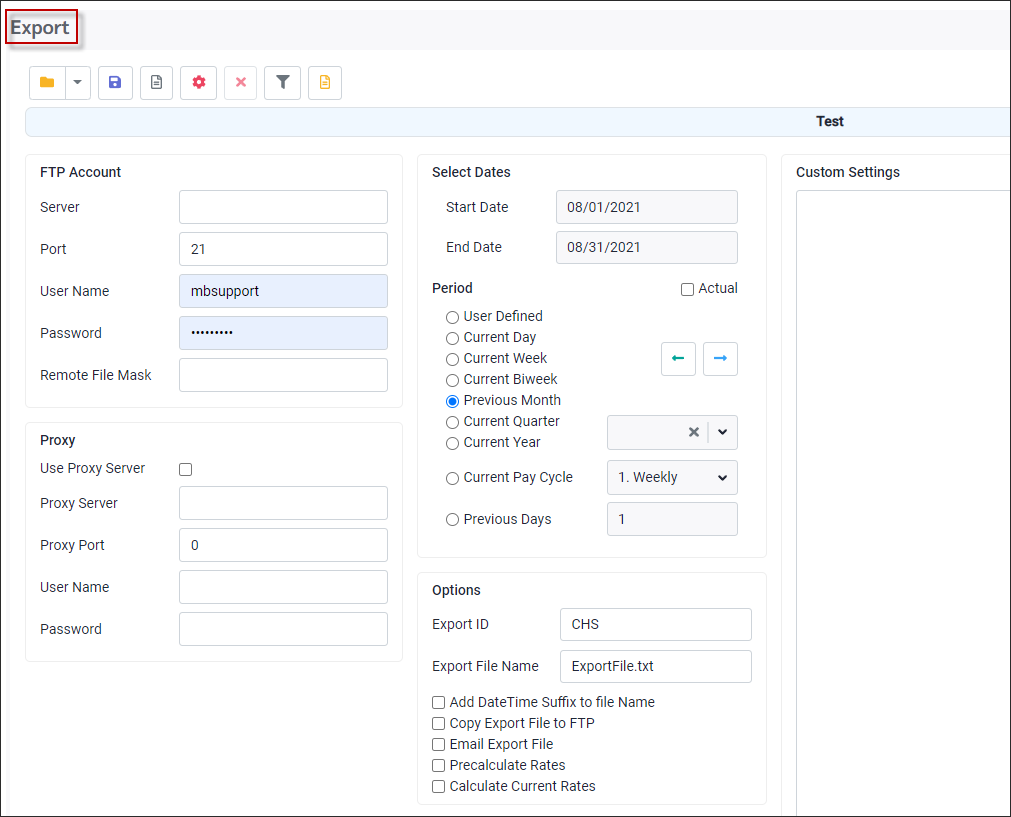
The export routine has two options for exporting the punch file:
1.Via an FTP Account
2.Via a Proxy Server
Once you have determined which method you will use, complete the appropriate section. In this example we have used an FTP Account and completed the appropriate fields: Server, Port, User Name and Password.

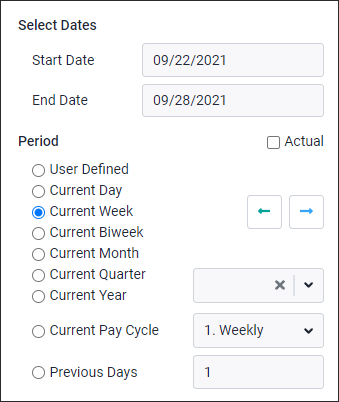
The date section allows you to select a defined period (Current Day, Current Month etc.) or a specific User Defined time period (by entering the Start Date and End Date).
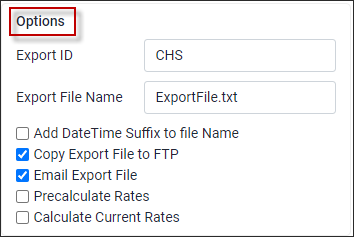
Configure the Options for the export, which include:
▪The Export ID.
▪The Export File Name (user definable). We have entered ExportFile.csv.
▪Tick Copy Export File to FTP.
▪Tick Email Export File (optional).
Report Options
Next, we define the additional Options of the export report.
▪Click on the Options icon.
▪Populate the options you would like for the report.
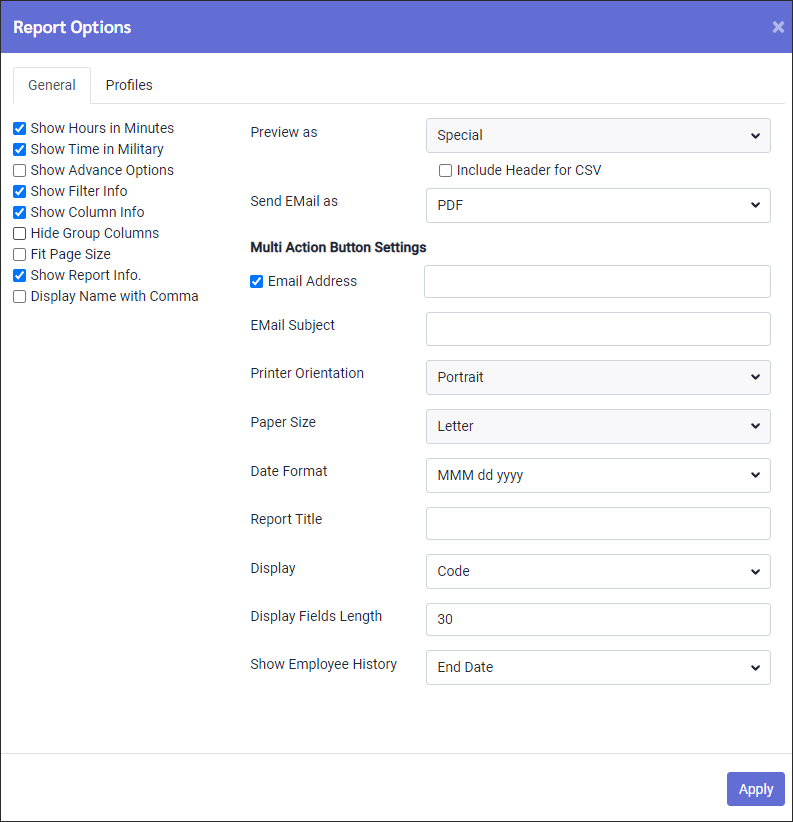
▪Preview As - is defaulted to Special for this custom export.
▪Send Email As - If you are emailing the export file you can choose your format, i.e., PDF.
▪Email Address - tick and enter in the email of the person to receive it.
▪Email Subject - enter in what you would the subject line to read. e.g., Punch Export File.
▪Report Title - enter in the title for the report.
▪Give a report a user definable Report Title, i.e., Employee Punches.
▪Click Apply to add these features to the export routine.
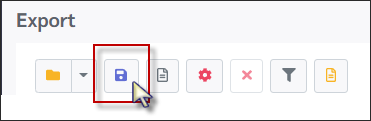
Saving the Report
Finally, we need to save our choices by clicking on the Save icon as follows:
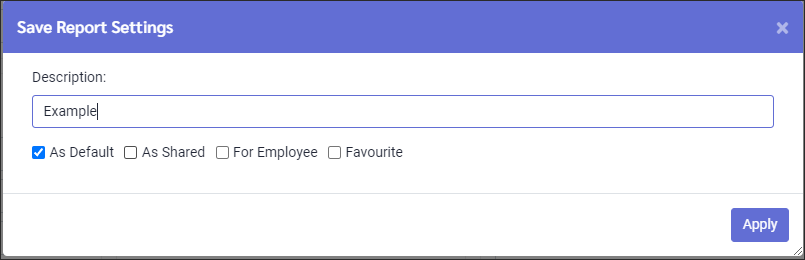
▪Add a Description, i.e., Employee Punches.
▪We flagged this process As Default process, which means if there was more than one process saved these configurations will always appear on screen when we enter the export menu.
▪If flagged As Shared, it means that anyone with access to this process can use these saved settings.
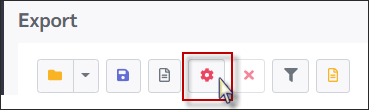
Processing the Export
▪Launch the Export menu.
▪Select your saved file.
▪Select the date(s) for processing.
▪Click the Process icon
▪Click Yes to the Continue with Operation message.
The file will export to the FTP site.
▪Choose Open or Save as follows:
![]()