StaffScheduleCare is uniquely designed to allow individual employees to log in and communicate with their managers or supervisors by requesting time off, requesting shift "give aways" or shift exchanges with other employees, setting their availability, using shift bidding or communicating in the form of general messages. Managers and/or supervisors may then respond to employee requests and communicate the response directly and quickly back to the employee. Employee and manager access rights may be set up uniquely for each facility allowing for a wide range of restriction levels. For example, employees may be allowed to exchange shifts with other employees or set up their availability with or without manager approval.
| | Log In Instructions |
▪Navigate to http://www.staffschedulecare.com using your browser. ▪Click Login.
▪Enter your Facility name (ncctrain2). ▪Enter your Login name (jtaylor). ▪Enter your Password (for employees the initial password will be provided by your manager). ▪Click on the flag that represents your region (this is done at first time logging in). ▪Click Sign In.
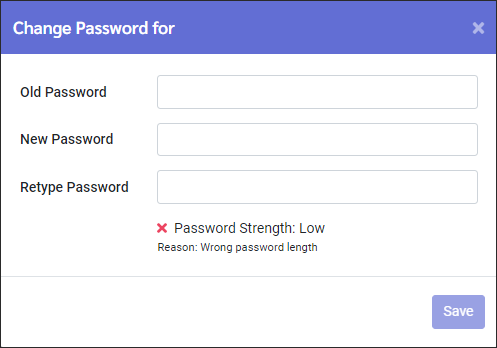
If logging in for the first time, you will be prompted to change your password immediately. Once your password is changed, you will be required to log in again using your new password.
Two-factor Authentication
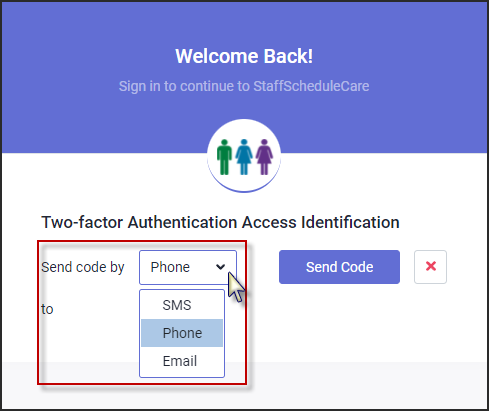
If your facility has enabled the two-factor authentication process, you will then be presented with a second pop-up menu.
Logging In ▪Change the Send code by method if desired. ▪Click on the Send Code button. ▪Click the red X to discontinue logging in.
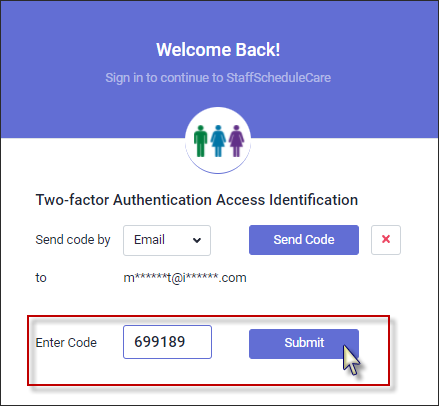
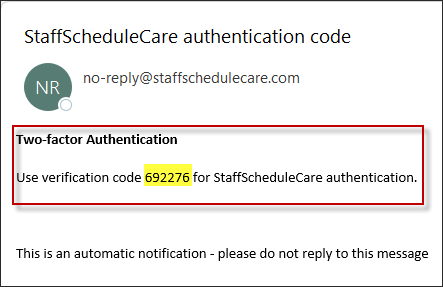
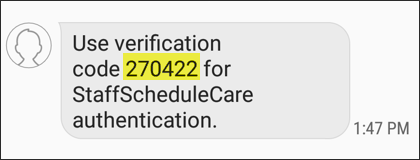
After the Send Code button has been clicked the screen will refresh. There is now a field to enter the verification code. Retrieve the verification code sent by the Send code by method selected.
▪Enter the verification code in the Enter Code field. ▪Click Submit. If the verification code is valid the StaffScheduleCare software will open.
Receiving Verification Code Methods
Text Message (SMS)
Phone The system will call the phone number provided with an automated message stating the verification code.
|
After logging in to the software with your Username & Password you will be launched right onto the Welcome menu (default setting). If this default setting is not configured, you would simply click the Welcome menu main heading.
Please see Welcome menu for additional information.
|
To view your personal information, select Personnel on the left menu. Personnel data viewing and editing access will vary depending on security settings.
A summary of employee data will appear on the left side (image below). The detail of the data will appear on the right.
|
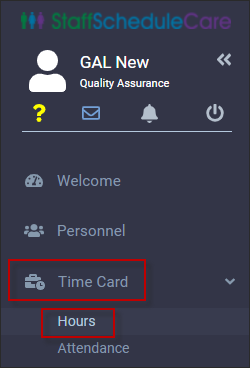
From the menu on the left side, navigate to Time Card / Hours menu as shown below.
Access to functions on the Time Card will vary based on your level of security.
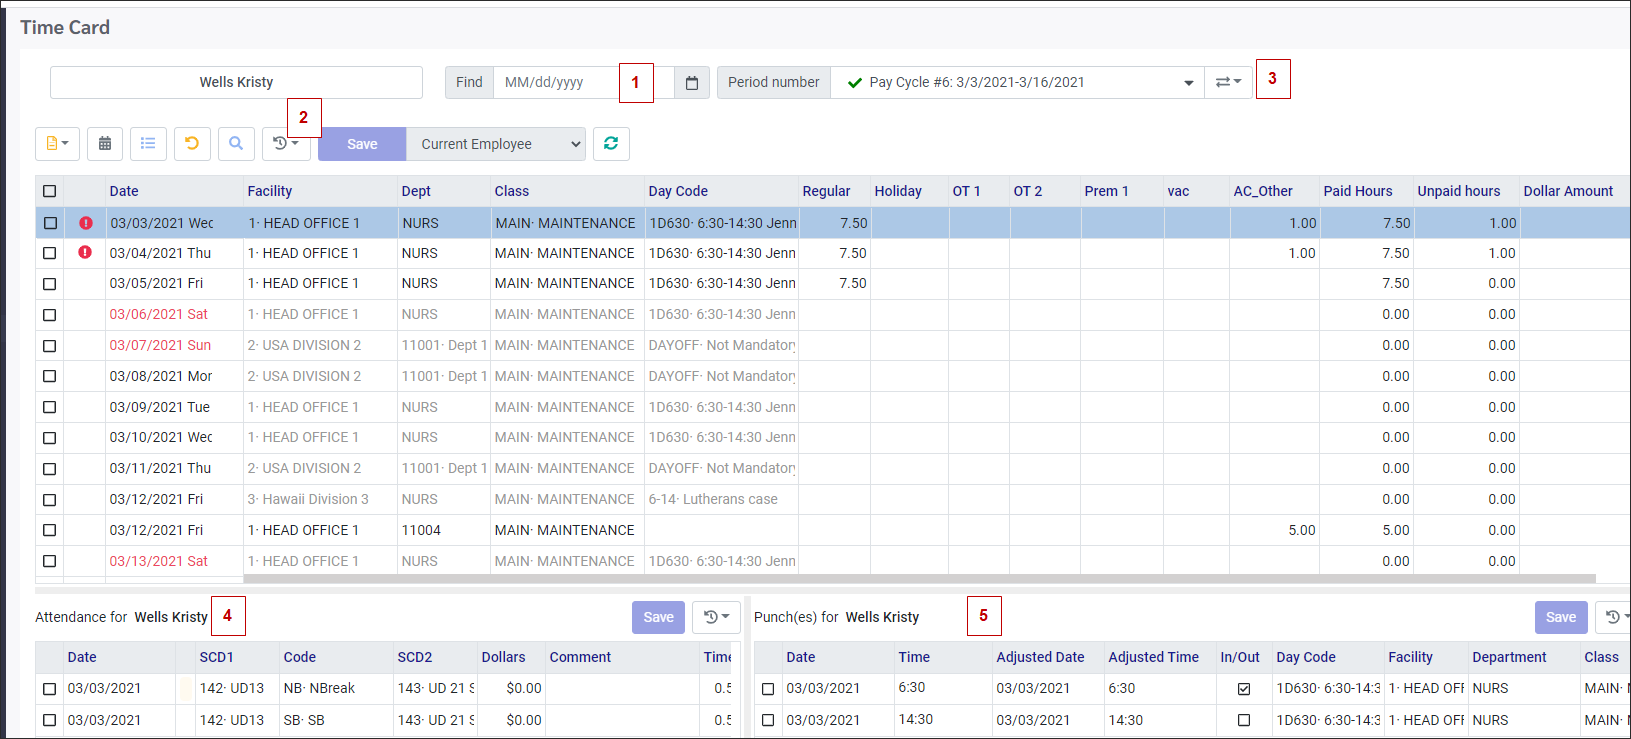
The top section displays the shift details with the hours earned within the appropriate column.
▪To find a specific day, use the Find calendar (1). ▪To select columns to be included in the view, select the Actions icon, and select Field Visibility (2). ▪Use the drop-down arrow in the Period Number window to select a pay cycle (3). ▪The Attendance and Punches for the day that is highlighted will show in the bottom sections (4 and 5).
|
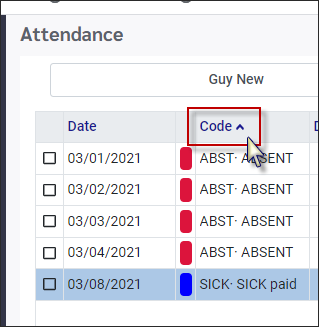
Use the Attendance menu to view attendance by Attendance Code. The functions on the Attendance menu you have access to is determined by your security level.
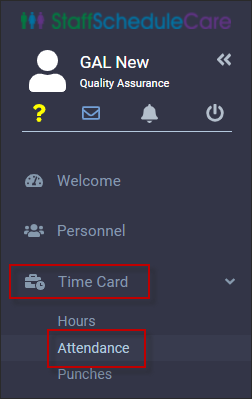
From the menu on the left side, navigate to Time Card / Attendance as shown:
The Attendance menu may be filtered by using the From Date / To Date calendars.
Columns may be sorted by clicking on the column header and using the up/down arrows.
|
Employees may view their schedule up to the current system Posted Date.
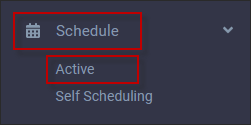
From the menu on the left hand side, navigate to Schedule / Active as shown:
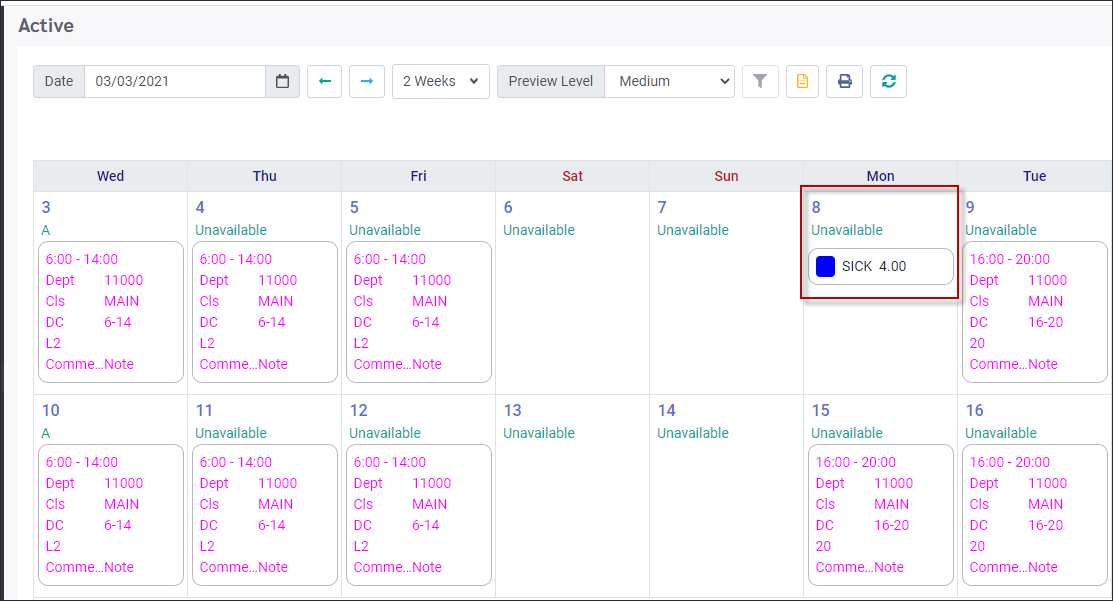
The schedule below is displaying a two-week period based on the date selected in the Date window. Use the drop-down and select how weeks or month you would like to view. Change the date in the Date window to select the start date.
Attendance Codes are visible as well. You will see a SICK code on Monday, March 8th below. The Availability for each day is also visible.
|


