The designation of Supervisors may be used as a security tool allowing managers to only see the employees assigned to them. The configuration of supervisors may be tied into User Access rights. If you choose to configure supervisors, and you begin Assigning Supervisors to Employees, you must assign a supervisor to EVERY employee.
The supervisor would typically be able to view / edit any data pertaining to his / her employees i.e., reports etc.
▪Select the Config menu.
▪Select the Setup menu.
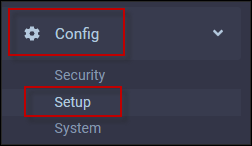
▪Select Supervisors Setup.

If you are using required fields on the new employee template please ensure the Supervisor field is set as a required field. |
Create new Supervisor
▪Click on the plus symbol (+) on the toolbar.
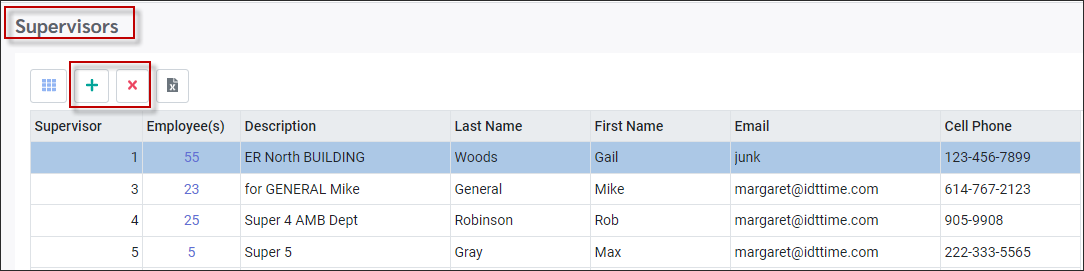
A new blank line will appear at the bottom of the grid.

▪Enter up to a 10-character numeric code in the Supervisor column. Do not enter zero.
▪Enter up to a 25-character description of the area supervised.
▪Enter the supervisor's Last Name (up to 20 alpha characters).
▪Enter the supervisor's First Name (up to 15 alpha characters).
▪Add the supervisor's email address if applicable.
▪Add the supervisor's cell phone number if applicable.
▪Click Save to save your data.
▪Repeat this process to add additional supervisors.
Assigning Supervisors to Employees
When assigning a supervisor to an employee profile you will see only the supervisor number and the description you have entered, however, the last and first names of the supervisor will appear on printed reports.
There are two methods to assign supervisors:
Personnel – Shift and Schedule
The first method to Assign Supervisors to Employees is on the Personnel menu under the Shift and Schedule option.

Supervisor Configuration Menu - Adding Individual or Multiple Employees
The second method is through the Supervisor Setup menu. Under the Employees column, the number of employees assigned to this supervisor is visible.
▪Click on the supervisor line you would like to view.
▪Click on the number in the Employee(s) column.
A window will open listing all employees who are assigned to this supervisor. In this example the supervisor currently has five (5) employees assigned.
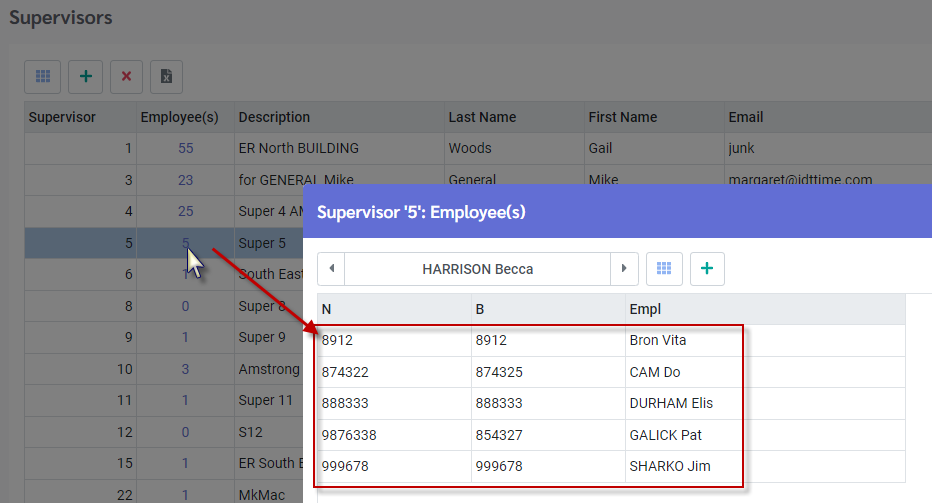
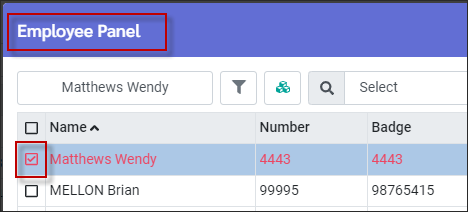
Click in the window with the employee’s name to open the selectable employee list.
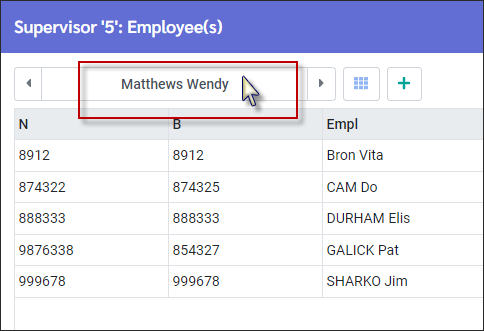
Click on the check box beside the name of the employee(s) who are to be assigned to this supervisor.
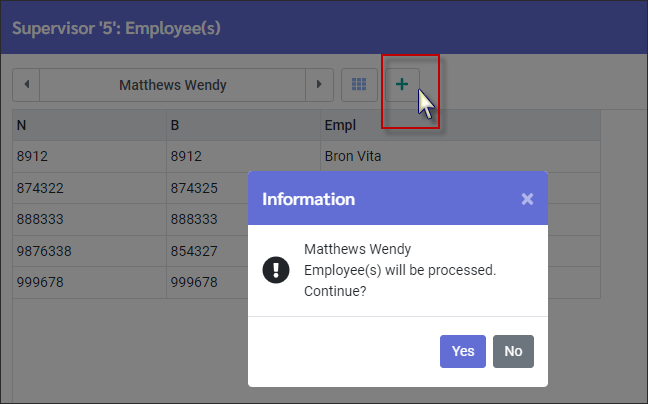
▪Click on the plus symbol (+) to add your selected employee(s) to this supervisor. The Information pop-up will confirm the employee(s) being added.
▪Click Yes to save.
The Information window will refresh displaying the newly added employee(s).
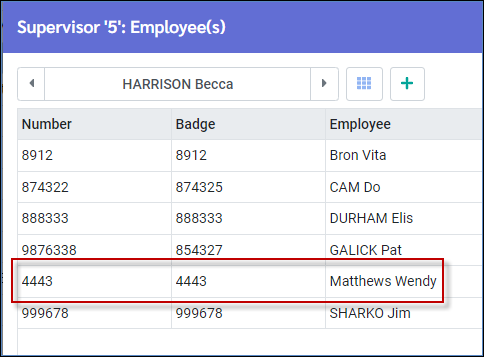
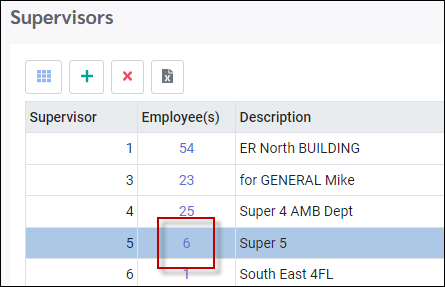
The Employees column for this supervisor has increased from five (5) to six (6):
For a newly created supervisor, you may add all the employees for a filtered department to this supervisor. See example of adding the dietary department employees to Supervisor 1234 below.

Following the method described above to add employee(s) to a supervisor, once the employee list pops up:
▪Filter your list to the required department (Dietary department in this example).
▪Select all the employees on the list by clicking the check box beside the Name column heading to select them all. Alternately to select some, tick only the boxes beside the employees you wish to add.

The confirmation message, indicating the number of employees to be added to this supervisor will appear:

▪Click Yes to process.
If you choose to configure supervisors, and you begin assigning them on the employee profile screen, you must assign a supervisor to EVERY employee. |
Deleting Supervisor(s)
Deleting a supervisor is rarely done. In most cases you would modify an existing supervisor’s information. Before deleting make sure that all employees assigned to this supervisor have been reassigned. The system will alert you if there are still employees assigned.
To delete:
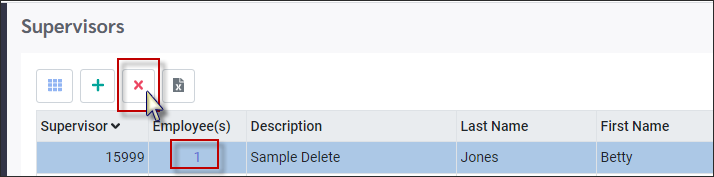
▪Click on the supervisor’s line so it is highlighted.
▪Click on the X icon.
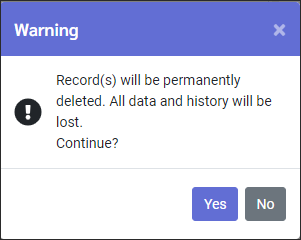
The first pop-up will warn that the history will be removed. Click Yes to continue.
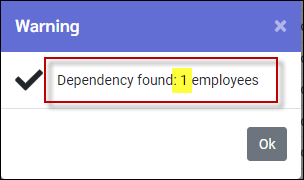
If there were employees assigned to this supervisor, the system will warn you. In the image above we can see that this supervisor does have one employee assigned. This employee should be reassigned before deleting.
To cancel the delete function, click on the X.
Hover over the mployee number for this supervisor and expand the employee list. Testguy, Mike should be re-assigned before deleting.

Once you have reassigned the employee, the employee count will be reduced to zero and you may delete the supervisor.
Removing Employees from a Supervisor
In the same way you may Assign Supervisors to Employees, you may remove an employee's supervisor by clicking the X (below).

You may also remove multiple employees from a supervisor using the Supervisor configuration menu in a similar way they were added:
▪Click on the number (13) under the Employee column indicating the number of employees assigned to this supervisor. The detailed list of employees will appear.
▪To remove all employees, tick the box beside the Number column heading to select them all. Alternately to select some, tick only the boxes beside the employees you wish to remove.
▪Click the red X to remove them.

An information pop-up will appear indicating the number of employees to be removed. Click Yes to accept.
