The Security Restriction Group configuration determines the data (department, class etc.) that managers (users) may access.
You may select the Security Restriction Group from a drop-down menu instead of setting up restrictions (departments, classes etc.) individually by user.
You may also apply different restriction groups to your employees, for example, if employees do their own Time Card corrections and need to select different classes they have worked in addition to their home classes. Employees are always restricted to view / edit their own data only.
▪Select the Config menu.
▪Select the Security menu.
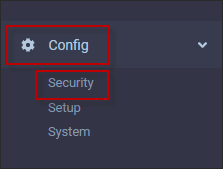
▪Select Security Restriction Groups
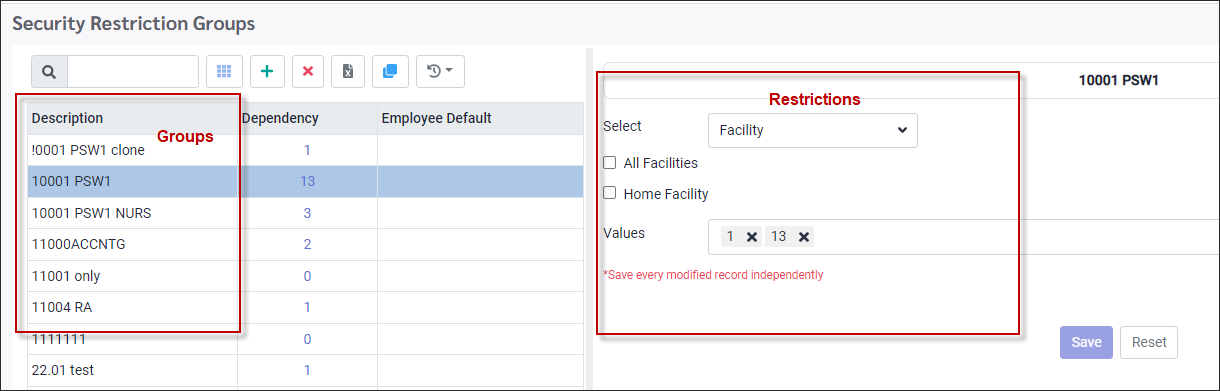
The following menu will appear. This menu is divided into two panels. The left panel is a list of the existing Security Restriction Groups and the employees/users assigned to the group. The right panel is the detail configuration of the group.
Click on a group and the restriction details are displayed on the right.
Please see Column Grid Headings Configuration for further information on Field Visibility, Add, Delete and Cancel.
Adding Security Restriction Groups
To create a new group, you can either Add or Clone an existing group.
Cloning a Group
If you have a group that is very similar to the new group you would like to create, you may clone it.
▪Click on the Group you would like to clone.
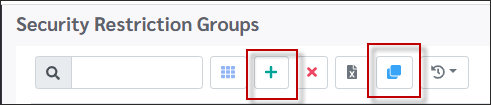
▪Click on the Clone icon. (Blue folders)
A new line will open at the bottom of the grid.

▪Modify the Description. The cloned lines restrictions have been copied. Make the changes you require on the right-hand panel.
▪Click Save.
Adding a New Group
▪Click on the plus symbol (+). A new blank line will open at the bottom of the grid.
▪Add a Description.
▪Click Save.
Click and select Employee Default (optional) to assign this group as the Employee Default group. Only one group may have this designation. You would assign one group as the Employee Default if all or most of your employees will have the same restriction group.

The next step is to assign the restriction information to this new group. On the right-hand panel, under the Select heading is a drop-down list of options that may be restricted.

The Values heading is the predefined data for each option. To allow access to all the selected option, click on the All check box.
▪On the Select drop-down, click on the options you wish access restricted to.
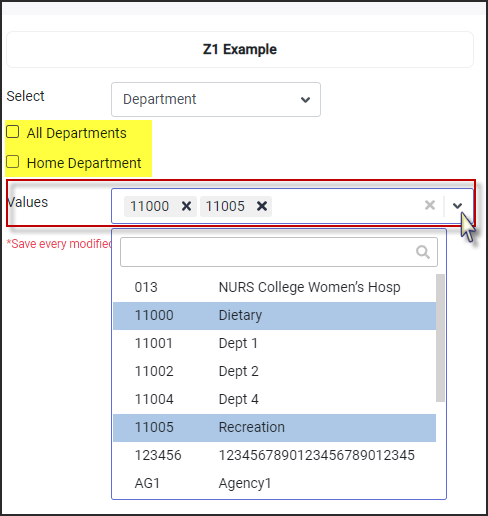
▪on the Values heading, click on the restriction options as shown (Dietary and Recreation are selected above). This group will only be able to see employees in these two departments.
▪Instead of selecting individual options, you may also select all of the values (All Departments) OR just the Home value (Home Department). The Home option will allow users/employees to see only the home department, class etc. they are assigned to.
▪Continue restricting all the options on the list as described.
▪Please note that you must save each modified record independently and will be prompted to do so.
In the Values field, you can click on the X to Deselect All or the check mark to Select All for each option.
You may also click Reset to return the current option to the default state (unchecked). Reset may also be applied after saving. |
Assigning Employees to a Group
There are two methods to assign a Security Restriction Group.
Personnel – Shift and Schedule
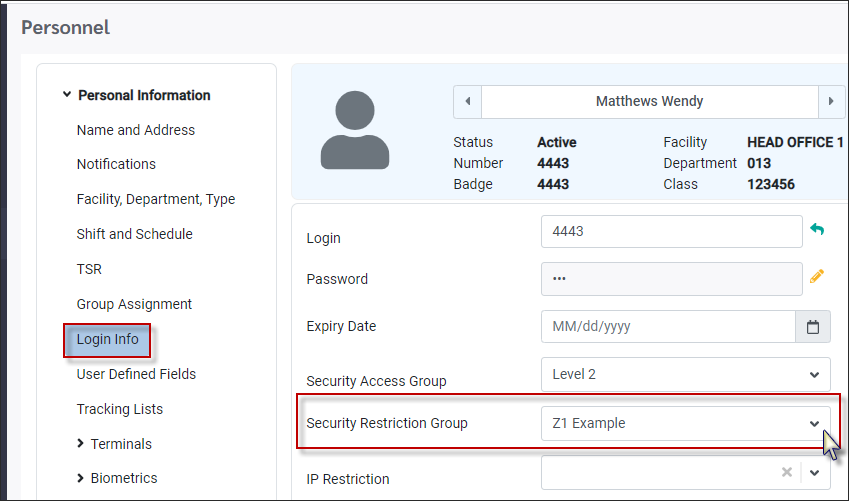
You may assign Security Restriction Groups to employees on the Personnel menu under the Login Info option.
Security Restriction Setup menu
under the Employees column, the number of employees assigned to this group is visible.
▪Click on the Restriction Group you would like to view.
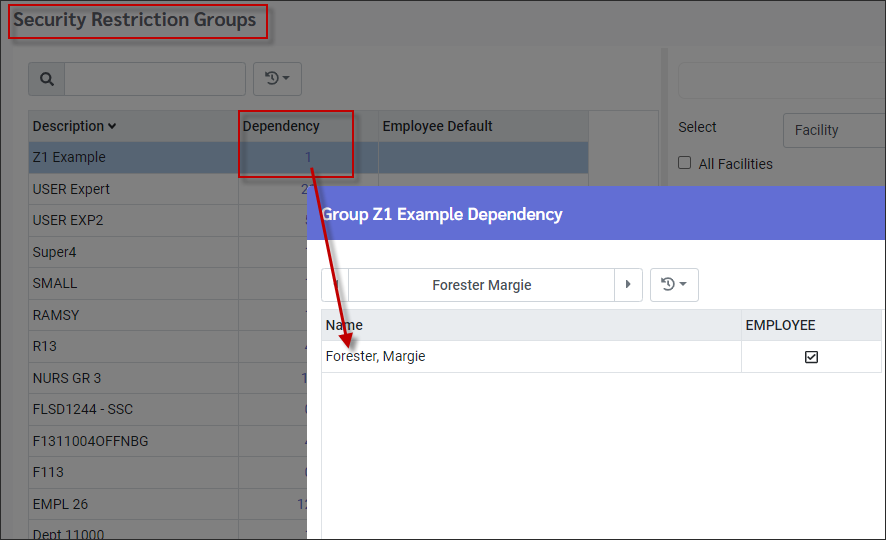
▪Click on the number in the Employee(s) column.
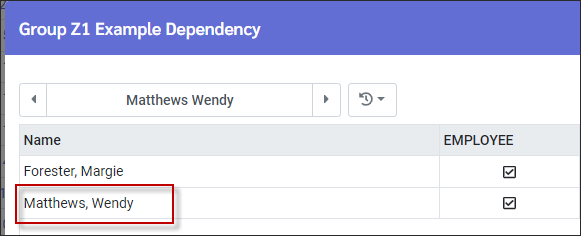
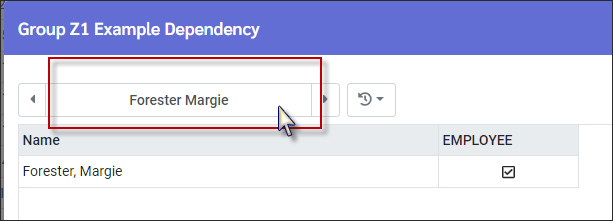
A window will open listing all employees who are assigned to this group. In this example the 1 employee is assigned.
▪Click in the employee name window to open the employee panel.
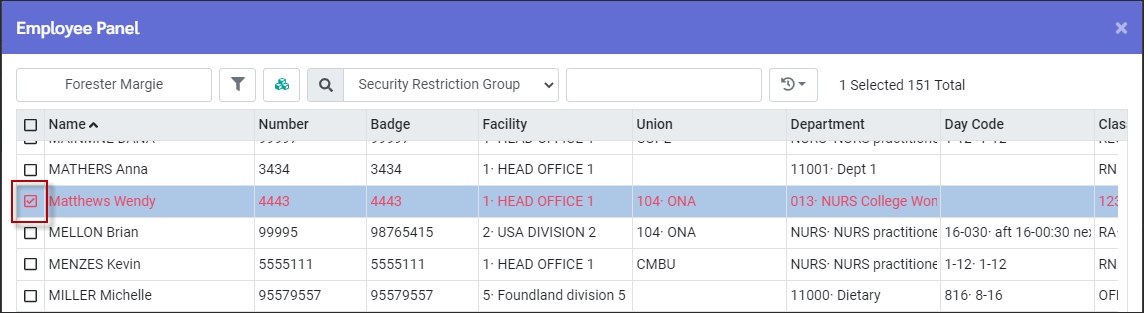
▪Click on the check box beside the name of the employee(s) who are to be assigned to this group. In this example we are assigning Wendy Matthews to this group.
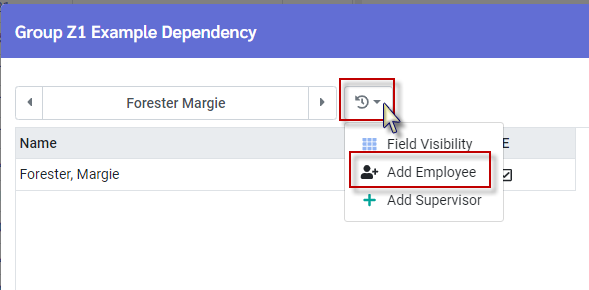
▪Click on the Actions icon to open the ADD option.
▪Select the applicable add option. In this example we are adding an employee.
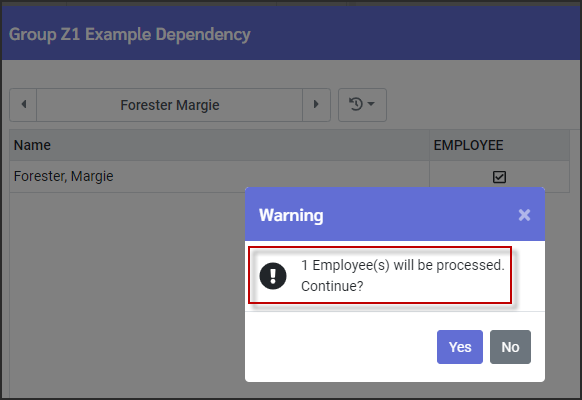
▪The Information pop-up will confirm the employee(s) being added.
▪Click Yes to save.
The Information window will refresh displaying the newly added employee(s).