Mass Messaging Lite allows managers or schedulers to broadcast available shifts or any type of custom message to individual employees or multiple employees simultaneously. This messaging is bilateral, allowing employees to respond back to the manager.
Based on the employees’ notification set up on their Personnel profiles, the messages are sent as text messaging or phone calls. Before launching this feature make sure the Notification section for employees has been configured.
Schedulers may use the dashboard to see employee responses and schedule accordingly.
Employees may only reply to the most recent message received via Mass Messaging Lite. |
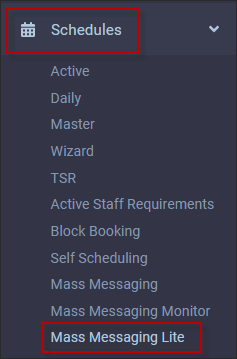
To access Mass Messaging Lite:
▪Select the Schedules menu.
▪Select the Mass Messaging Lite menu.
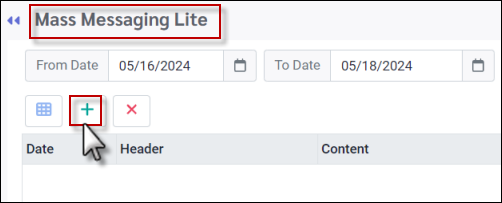
The Mass Messaging Lite dashboard is designed with two panels. The left side is for creating and managing the broadcasts.
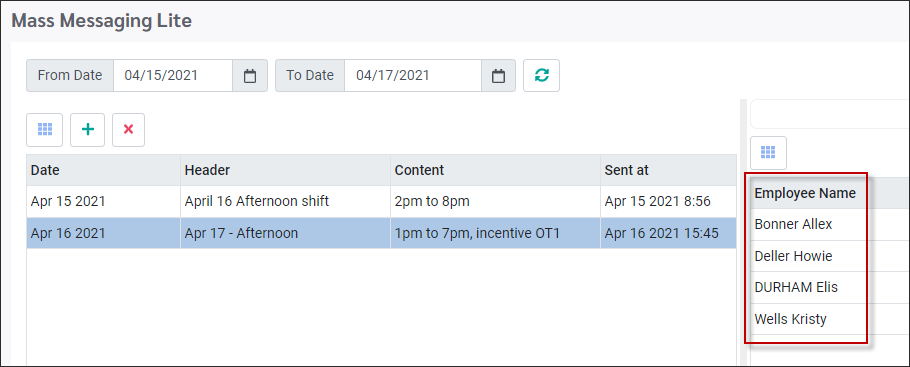
The right side shows the employees' responses and the time they were received, along with the employee profile information.

Create a Message
Click on the plus symbol (+).
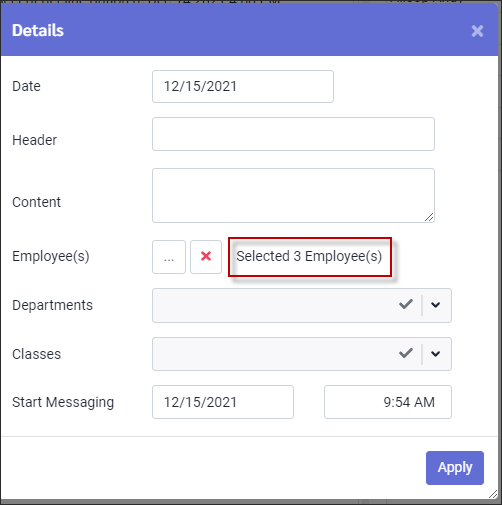
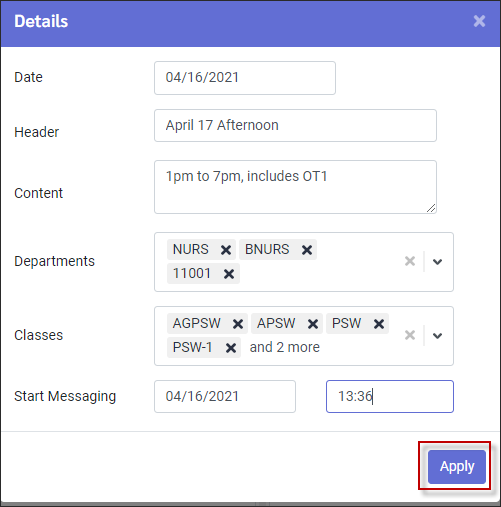
The Detail window will appear. This is where the scheduler creates the message. The date field will default to the current system date. All fields in this window are mandatory.
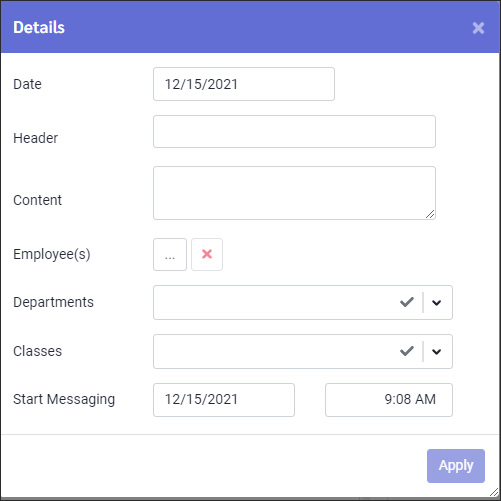
Header
Enter the information that will identify the broadcast.
Content
The Content field is the actual message that will be sent to the employee(s). Be sure to include all information relevant to this message. If the message is about available shifts, remember to include the shift date and any incentives related to the shift.
Employee(s)
Click on the three-dot button to open the Employee Panel. Select the employee(s) you would like to send the message to by clicking on the check box beside their name. Click Apply.

The number of employees selected will be displayed. If you are using the Employee Panel to select specific employees, the department and class options will be disabled. To clear the Employee(s) option, click on the red X.
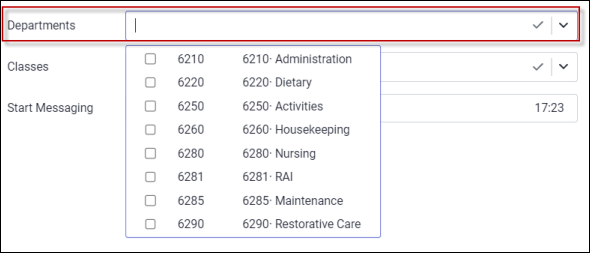
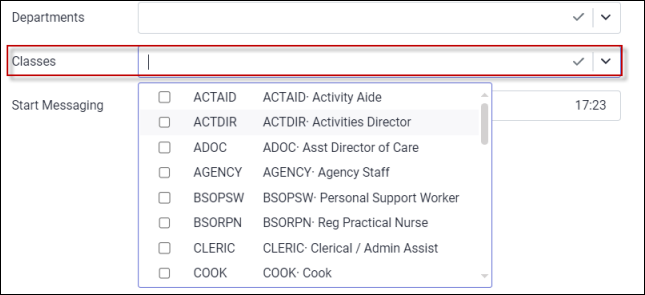
Department and Class
In both the Department and Class fields, use the drop-down list to select which department(s) and class(es) will receive the broadcast.
▪Click on the drop-down arrow.
▪Select the department(s) and class(es) from the list by ticking the applicable box(es). At least one department / class must be selected in each case, however, multiple selections may also be made.
Start Messaging Date / Time
The start date / time will default to the current date / time (plus 10 minutes) however, the broadcast may be set for a future date. Click on the calendar in the Date window and select the future date. You may also set a specific time for the broadcast. Click on the time field to highlight the existing time and edit it.
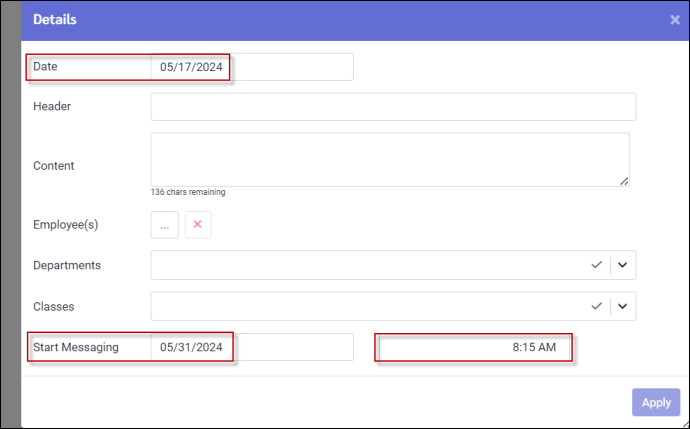
When you have populated all fields on the Detail window, click Apply. The Content field is what will be displayed in the text and said in the phone call.
The Mass Messaging Lite main menu shows the broadcast and the employees who will be receiving the message. Only employees who have their notification options set to allow text or calls will appear.
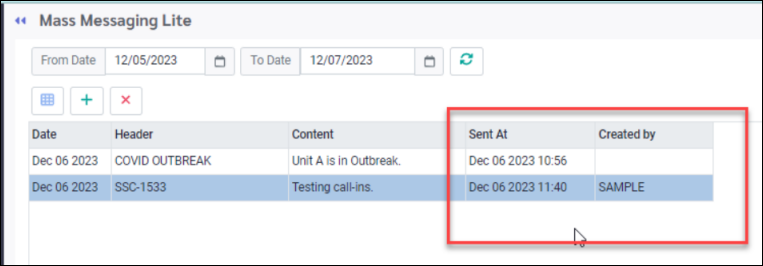
The broadcast will be visible on the creation date. To check when a message has been sent or is scheduled to be sent, see the Sent as field of the broadcast (above) on the main menu.
The login name of the manager (User) who created the message will appear for other managers to see (Sample below). This field may be made visible or hidden according to the Field Visibility setting.
Please note that this field will be blank for StaffScheduleCare support representatives.
Employee Responses
Text Message
Once the broadcast is sent out, the employees may start responding. If an employee does not respond, the Response section will remain blank.
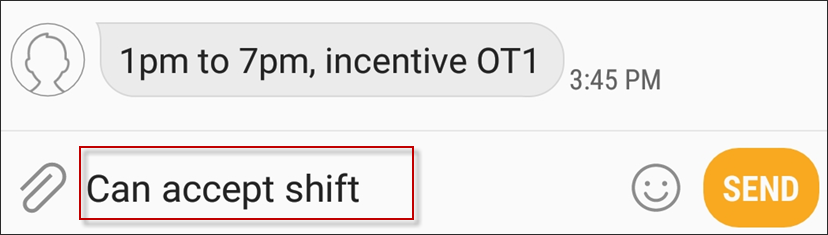
Employees who are setup to receive text messages will receive a text with the Content that was entered.
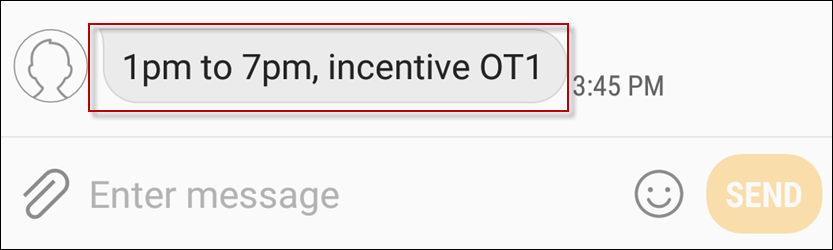
The employee enters a response and selects send.
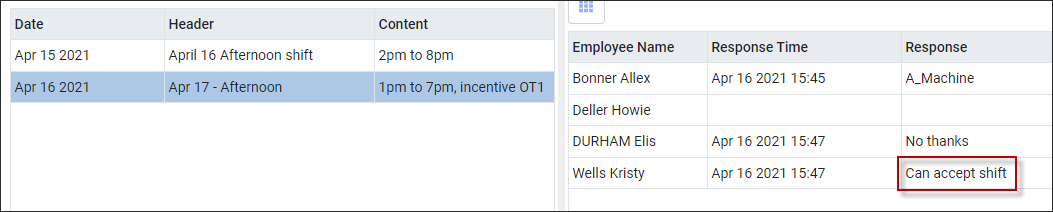
The employee's text response and time sent will be shown beside the employee's name in the Response side of the dashboard.
Phone Call
Employees who are setup to receive phone calls will be called to hear the Content as a verbal message. The message gives a choice of pressing 1 to indicate they are interested or pressing 2 to decline. The 1 response translates to Yes and the 2 response translates to No. Both will be displayed in the Response column. The phone call reply options will be relevant to broadcasts related to shifts being offered.

Voicemail
Should the call go to voice mail, the system will show that an answering machine was reached. Employees will not be able to send a response after listening to the voice mail. If they still wish to respond they must call the manager/scheduler.

Managing the Dashboard
Toolbar

In the example above only broadcasts created on or within this range will display. We will see broadcasts created on April 15 to April 17. Use the from / to date range to select which dates to display on the dashboard.
▪Click on the calendars in either window.
▪On the calendar provided select the new date.
Refresh
Click the green Refresh arrow icon to update the Response side of the dashboard.
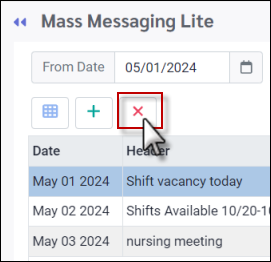
Delete Broadcasts
To remove or stop a broadcast from sending it must be deleted.
▪Click on the broadcast to highlight it.
▪Click the red X to delete.
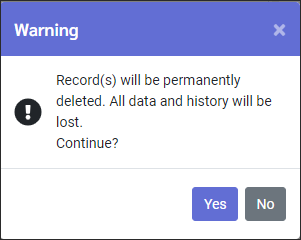
The system will pop-up a warning message. Clicking on Yes will remove the broadcast.
Header
Use this field to identify / reference a broadcast.
Content
The Content field is what the employees will see on the text message and hear on the phone call.
Sent At
This column is a combination of the Start Messaging date and the time fields populated when the broadcast was created.

Response Panel
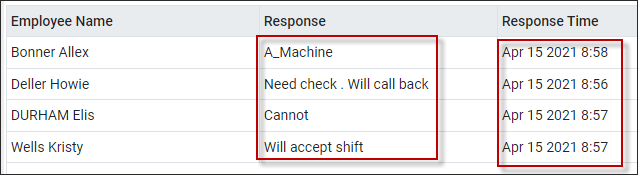
The employees’ responses will be displayed in the Response column. This will show who is interested or not interested in the shift. Keep in mind that phone responses are either 2 for not Interested or 1 indicating Interested.
The Response Time column provides the time the response was received by the system. You may view the employee's information using the horizontal scroll bar and move the screen to the left.
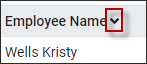
Sorting Columns
All columns may be sorted alphabetically in ascending or descending order.
▪Clicked on the column header.
▪Click on the arrow to sort the column.