Edits to the Daily Schedule may include:
▪Editing shifts, e.g. change of Day Code (shift), department, unit, etc.
▪Adding shifts.
▪Removing shifts.
▪Attendance entries e.g. for sick days, vacation days, etc.
▪Splitting shifts.
To access the Daily Schedule:
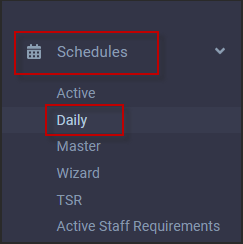
▪Select the Schedules menu.
▪Select the Daily menu.
The Daily Schedule will appear:
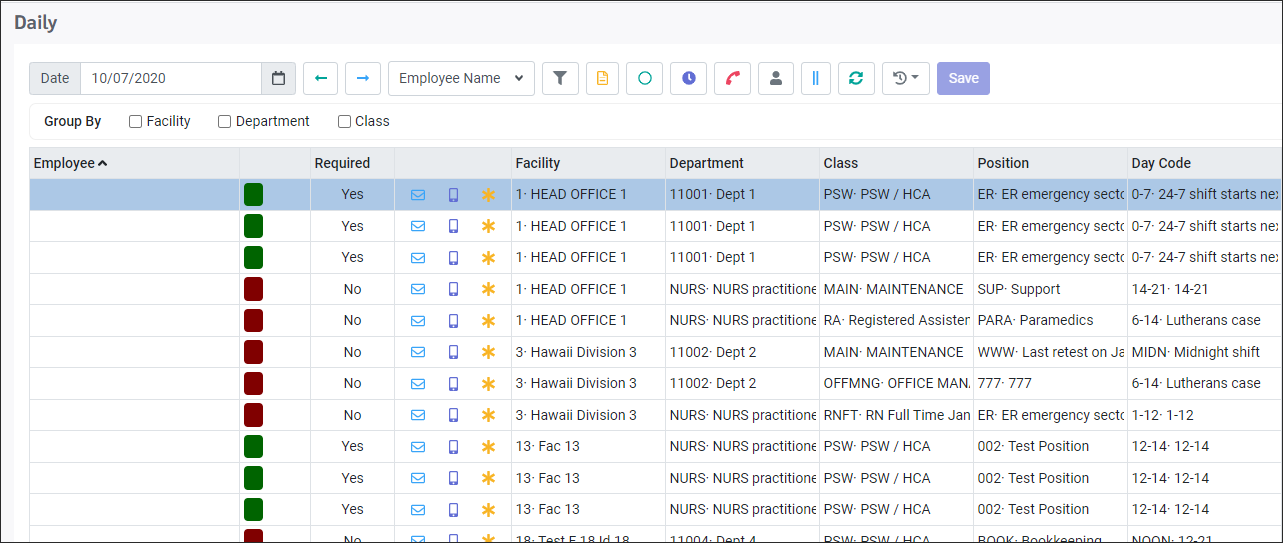
Modifying a Shift (Fields that are not Required)
▪Using the Date window calendar, select the applicable date. ▪Click on the line you wish to edit by clicking anywhere on it (this will highlight the line in blue).
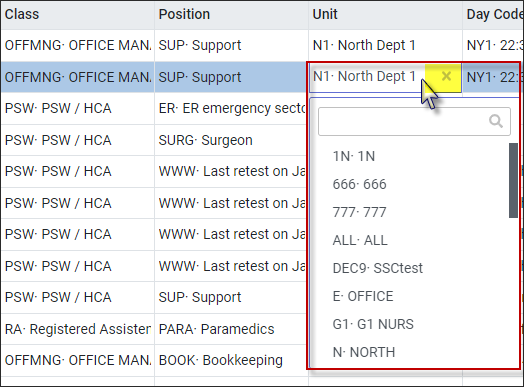
For our example, we will be editing the Unit for this unfilled shift.
▪Double click in the Unit window and select the new Unit. If you wish to just remove the unit and is not required, click the X. ▪Click the Save icon on the top toolbar.
In our example we have selected E-OFFICE. The edited line appears as follows:
Modifying a Required Field
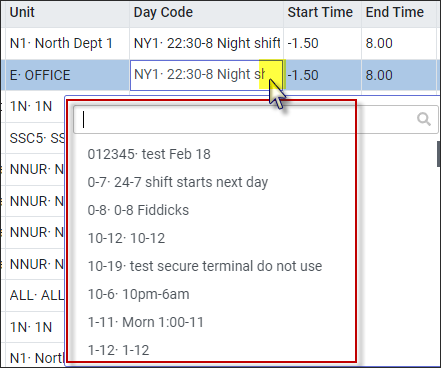
We will now modify the Day Code (required). Required fields may not be left blank, therefore the system does not provide the X option to clear the field.
▪Double click in the Day Code window. ▪Select the new Day Code or type in the code, then select it. ▪Click on Save.
The edited line appears as follows (notice the colour change to green).
|
To delete a shift from the Daily, click on the shift you would like to delete so it is highlighted blue.
▪Click on the Actions icon and select Delete from the drop-down list.
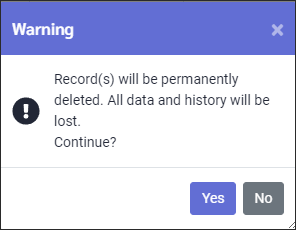
On the warning pop-up window, click Yes to continue or No to stop.
If you have selected a shift that is currently in a Mass Messaging broadcast the system will provide a warning. The shift's Mass Messaging reference is provided as part of the warning.
You must decide which of the two actions to take. Clicking on OK will close the pop-up window. You may not delete the shift until after the Mass Messaging is completed or you stop the broadcast.
|
There is an option on the Daily Schedule that allows you to split shifts, for example, you may take a shift from 6:00am – 7:00pm and create two smaller shifts, i.e. 6:00am – 12:00pm and 12:00pm – 7:00pm.
You will find the Split Shift icon on the top toolbar of the Daily Schedule.
▪Highlight the shift you want to split by clicking on the shift line.
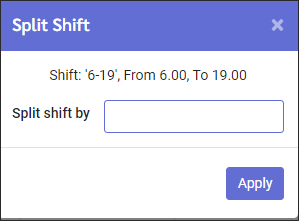
▪Click on the Split Shift icon. The following menu will appear:
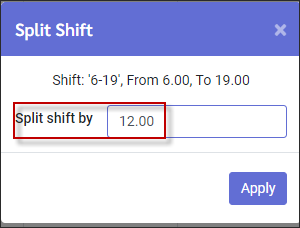
▪Enter the time you would like the split to occur (12:00 noon). ▪Click Apply.
The Daily Schedule screen will now appear with two unfilled shifts, 6-12 and 12-19 (7pm). The Day Code will remain the same (code and description).
Splitting an Assigned Shift
The following PSW shift from 6am to 7pm, assigned to Derrick Arnew, will be split following the same process described above.
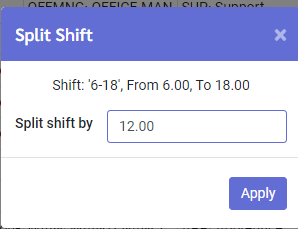
Enter the time where the shift is to be split. In this case 12.00pm (noon) has been entered:
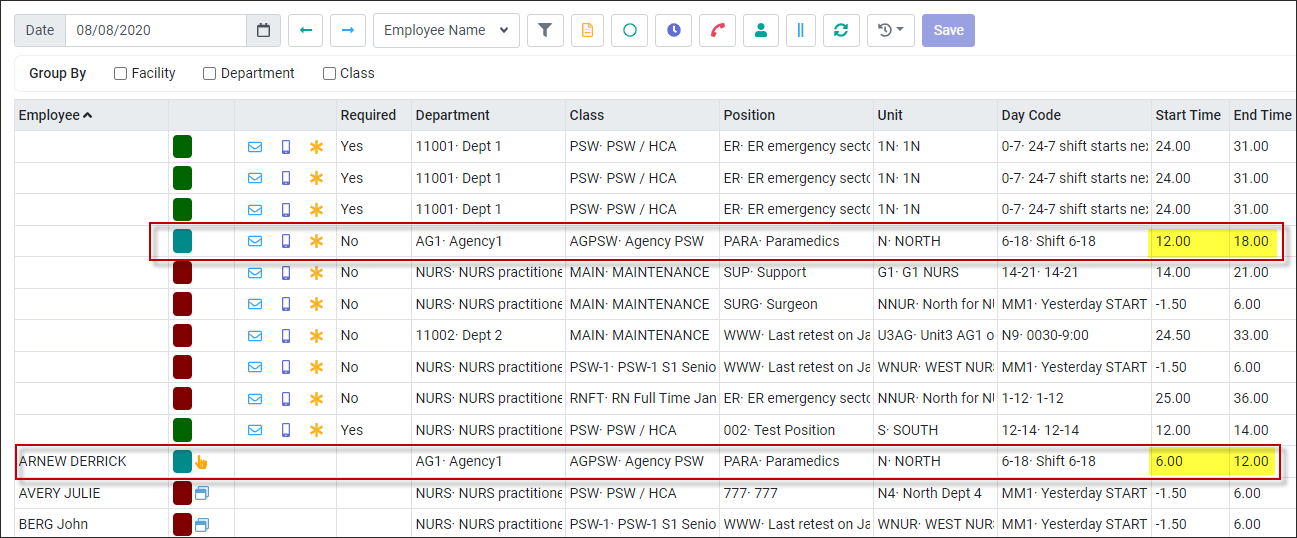
By default, the employee originally assigned to the shift before the split will be assigned to the first portion of the shift. Derrick's shift shows a start time of 6.00 and ends at 12.00. The second half of the split shift shows as an unfilled shift starting at 12.00 and ending at 18.00.
The Active Schedule will display the shift with the manual shift icon visible (hand) as well as the red icon indicating that the time was adjusted.
|
To unbook a shift on the Daily Schedule:
▪Click anywhere on the line to highlight it. We are going to unbook Julie Avery's 6am to 7pm shift on August 8.
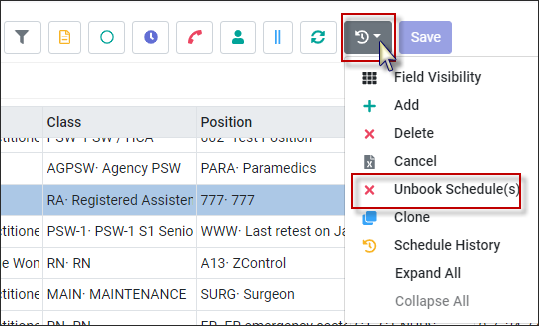
▪Click on the Actions icon and select Unbook Schedule(s).
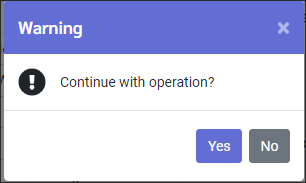
The following confirmation message will appear:
▪Click Yes to confirm.
The shift is now unfilled. Hovering over the colour indicator will show that Julie Avery was the original employee and the previous employee assigned to this shift.
Adding Unfilled Lines
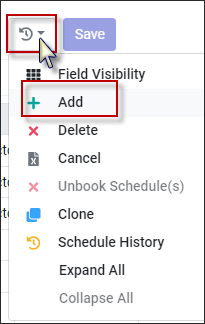
You may add unfilled shifts (lines) on the Daily Schedule when needed. To add a shift, click on the Actions icon and select Add from the window.
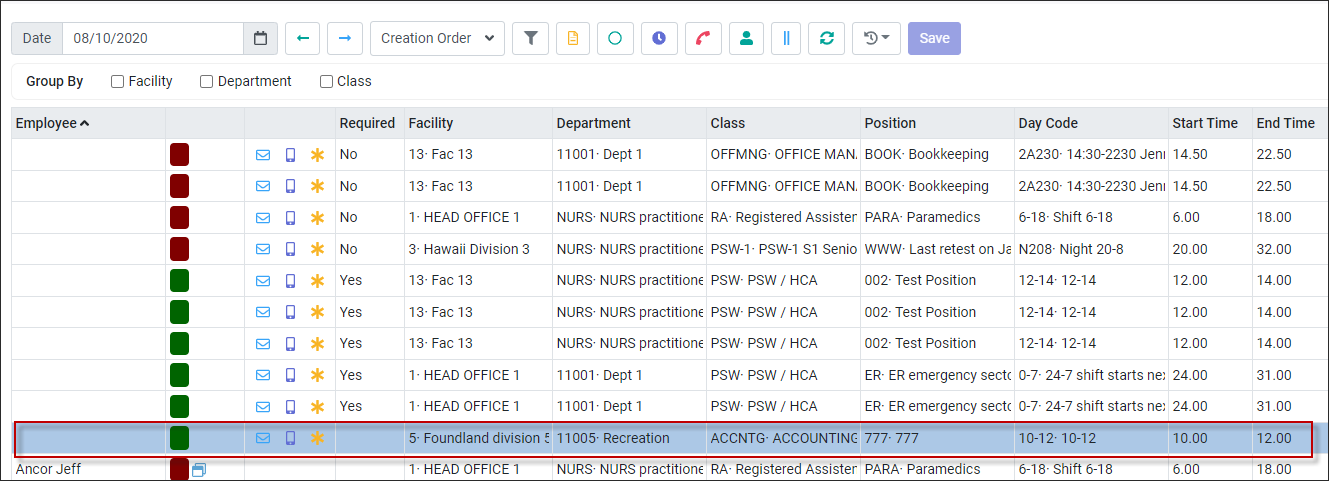
A new blank line will appear at the bottom of the unfilled shifts.
Select the required shift information and click Save.
You only need to add the required fields as shown above and the rest will auto-populate. We added Department, Class and Day Code. The start and end times, as well as the shift length automatically appeared (below).
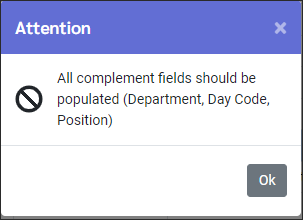
If you miss a required field, when you try to save your new line, the following message will appear indicating which field(s) you are missing (Department and Day Code below). You will not be able to save the line without this information.
|
You may clone a Daily Schedule line, whether filled or unfilled in unique situations where you need extra coverage.
▪Click anywhere on the line to highlight it. We are going to clone the 10am - noon shift.
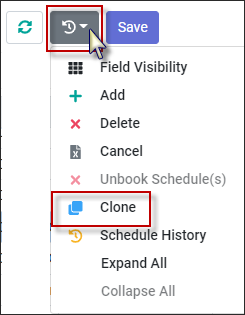
▪Click on the Actions icon and select Clone.
▪No confirmation is required. The line will immediately be cloned as shown below. ▪Click Save.
|
See Also:
Filling Shifts Using the Daily Schedule






 .
.
