The schedules are used to maintain the daily and weekly complement of shifts needed for your facility. The Master Schedule consists of lines created and assigned to the employees, which in turn are used to populate the Active Schedule. The Master Schedule is used for permanent schedule changes only. Temporary changes should be made to the employee's Active Schedule.
To create a Master Schedule, you will need to create Master Schedule lines (rotations) and assign the shift information to the lines. Lines will be assigned to employees but may also be left unassigned, to be filled as employees are available before or during the scheduling period.
More than one employee may be assigned to the same line. This section will describe creating new master lines. Please see Master Schedule Shifts for information on adding the shift information to the weeks of your master line rotation.
To create a new line:
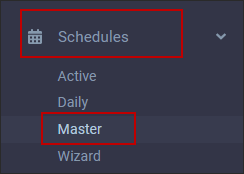
▪Select the Schedules menu. ▪Select the Master menu.
The menu below will appear (with existing lines where applicable).
To search for employees with their corresponding lines, you must synchronize the Master Schedule with the Employee Panel by ticking Synchronize with Employee Panel. When you open the Master Schedule menu the system will now highlight the Master Schedule line of your selected employee.
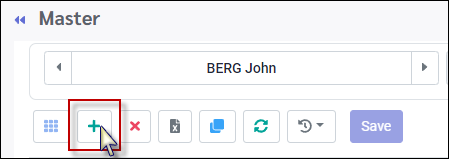
To add a new master line: ▪Click on the plus symbol (+). A new blank line highlighted in blue will appear at the bottom of your menu.
▪Add the applicable line information. Double click in the required field(s) to enter information. The most common fields used are Line, Description, Group, Days, and Count. ▪Click Save.
Column Descriptions
Line Enter a code for this line (maximum of 10 alpha-numeric characters with no spaces).
Description Enter a description for this line.
Groups Groups are designed for all lines, so that unfilled lines may be quickly updated by group, instead of selecting individual lines. Groups must be configured in the Additional Tables.
Employee Assigned This field will display the employee(s) assigned to the line and will be auto-populated as employees are assigned.
Days Enter the number of weeks (in days) for this line. For example, a six-week schedule would be entered as 42 days.
Count Enter the number of employees needed to fill this line (typically only one unless you have more than one employee assigned to identical rotations).
Booked This field is not editable. It will be auto populated as employees are assigned or unassigned to lines.
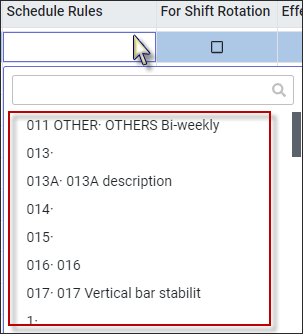
Schedule Rules This is not a required field, but you have the ability to apply predefined schedule rules to a particular master line, which would override the rules assigned to employees or employee groups. Double click in the window to display the drop-down menu.
For Shift Rotation This option provides the ability to quickly create and assign schedules to employees on fixed rotations e.g., salaried 9-5 employees, which do not require an Update from Master to appear on the Active Schedule . If this option is ticked, you will not need to create a separate rotation for each of these employees.
Effective Date You may add an effective date for this line to be applicable.
Expiry Date You may add an expiry date for this line.
FTE Hours Complete this field if Full Time Equivalency hours apply to this line (based on hours per day).
|
To edit any Master Schedule line:
▪Select the Schedules menu. ▪Select the Master menu.
▪Select the line you wish to edit by clicking on it to highlight it blue.
▪Double click in the field(s) you wish to edit and type in the new information or select it from the drop-down menu as applicable. ▪Click Save.
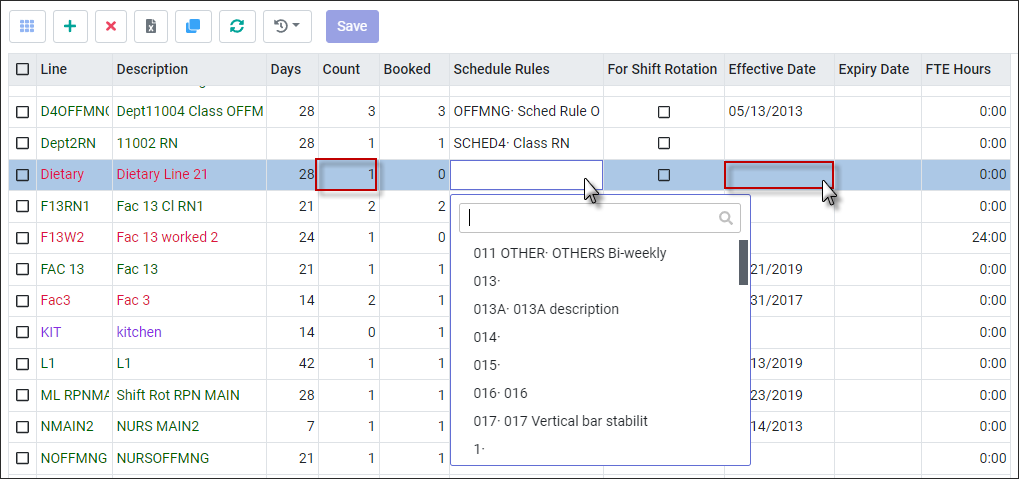
Result: In this example the count was change to 2 by typing it. The Schedule Rule was selected from the drop-down menu (predefined), and the Effective Date was selected from the pop-up calendar.
|
An easy way to create a new line that has the same criteria as an existing line is to clone the existing line.
▪Select the Schedules menu. ▪Select the Master menu.
On the Master Schedule menu, select the line you wish to clone by clicking on it to highlight it blue (Dietary below).
▪Click on the Clone icon.
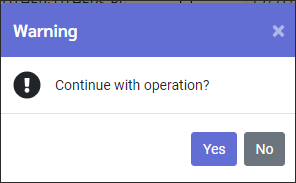
The following confirmation message will appear:
▪Click Yes. The cloned line will appear.
To rename your cloned line to something more user friendly, type over the cloned name in the line name column and click Save.
|
Once you have created your lines and assigned the Shift Information to them (not required before assigning employees to lines) you are ready to book employees to work the lines (schedule).
▪Select the Schedules menu. ▪Select the Master menu.
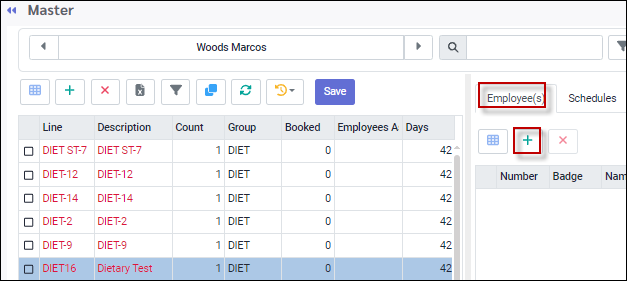
The following menu will appear:
This line has a Count of 1 (only one employee is required to work this line). Notice that the Booked column has a zero Count (there are no employees assigned to this line).
Book an Employee to the Line
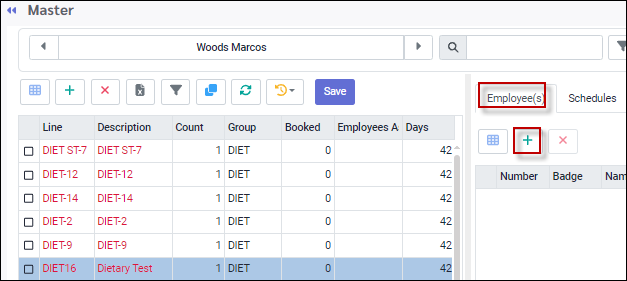
▪Select the Employee tab (right panel). ▪Click on the plus symbol (+).
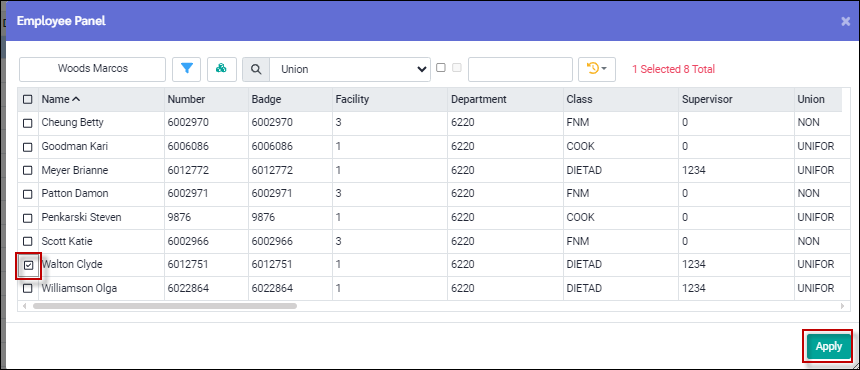
The list of available employees will appear.
▪Select the employee who will be assigned to the line. ▪Click Apply.
Under the Employee tab, the employee we selected is now assigned to this line.
Reassigning an Employee
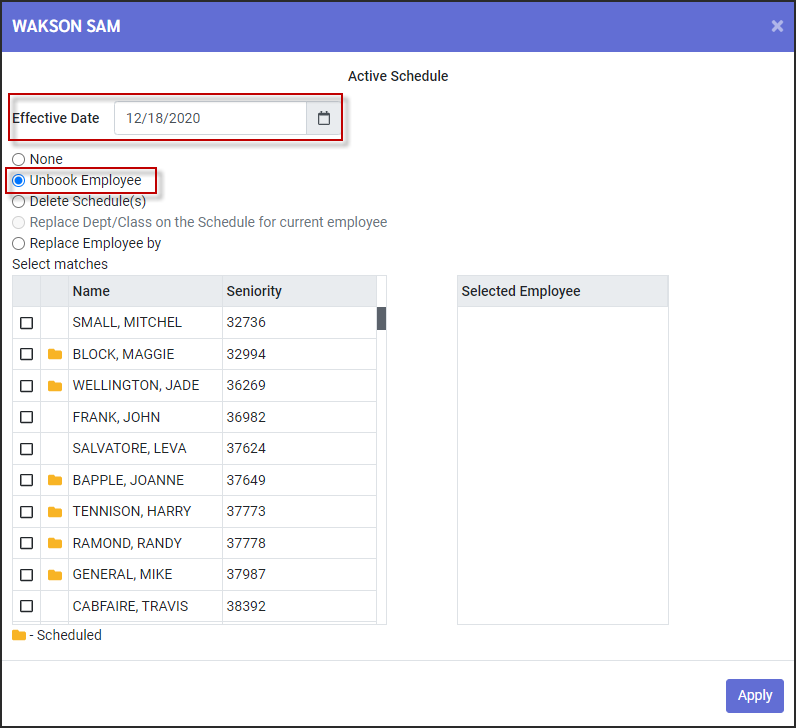
When you switch an employee to a different line through the Personnel menu, a pop-up menu will appear asking if you wish to unbook the employee from a previous line. If you select Unbook, the shifts that had belonged to this employee will be unbooked, and the unfilled shifts will be ready to be filled during your scheduling process.
If you then assign the employee to a different line and run an Update From Master for this employee, the unbooked shifts from their original line will be deleted from the employee's Active Schedule.
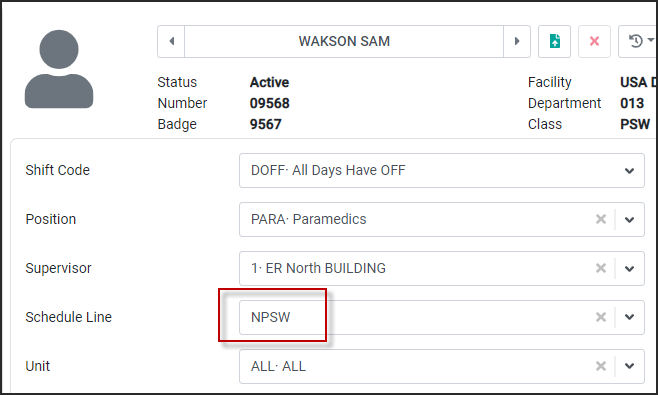
For example, in the screen shot below, Sam Wakson was originally assigned to line 013PSW.
If we wish to re-assign Sam to a different line, we will navigate to Personnel / Shift and Schedule / Schedule Line. From the drop-down menu, we select Sam's new line, NPSW and select Save.
When prompted, selected unbook effective of December 18th.
Once unbooked, Sam's shifts from his original line now show as unfilled.
|
See Also:
