Employers in Ontario, Canada may use the Ontario Employment Standard Act (OESA) as a guideline for vacation time and dollars earned.
How To Request Time Off
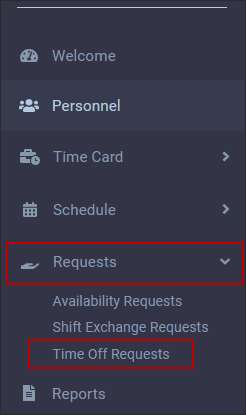
▪Select the Requests menu. ▪Select the Time Off Requests menu.
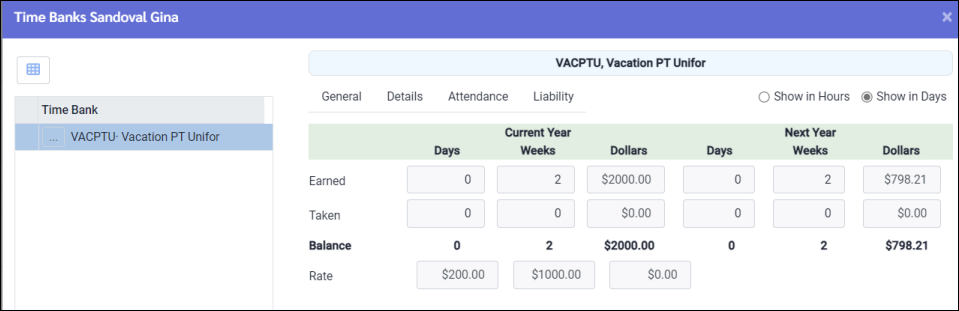
You may view your Time Banks at any time by clicking on the Time Bank icon.
The OESA balances will appear:
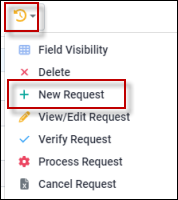
▪Click on the Actions icon and select New Request.
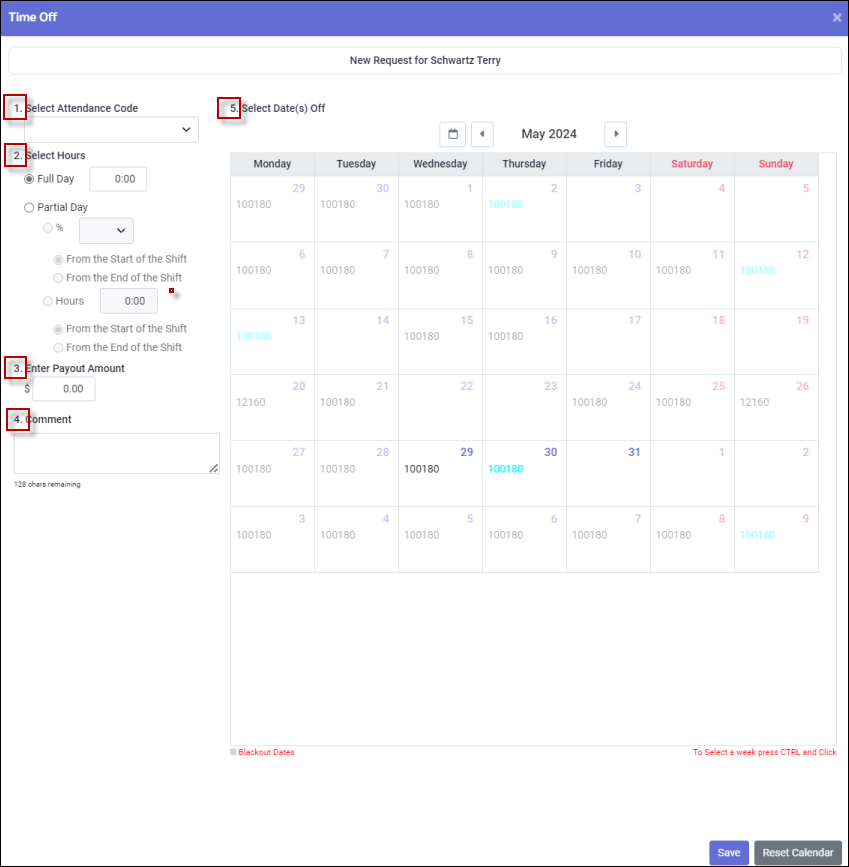
The Time Off Request menu will open.
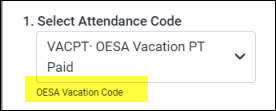
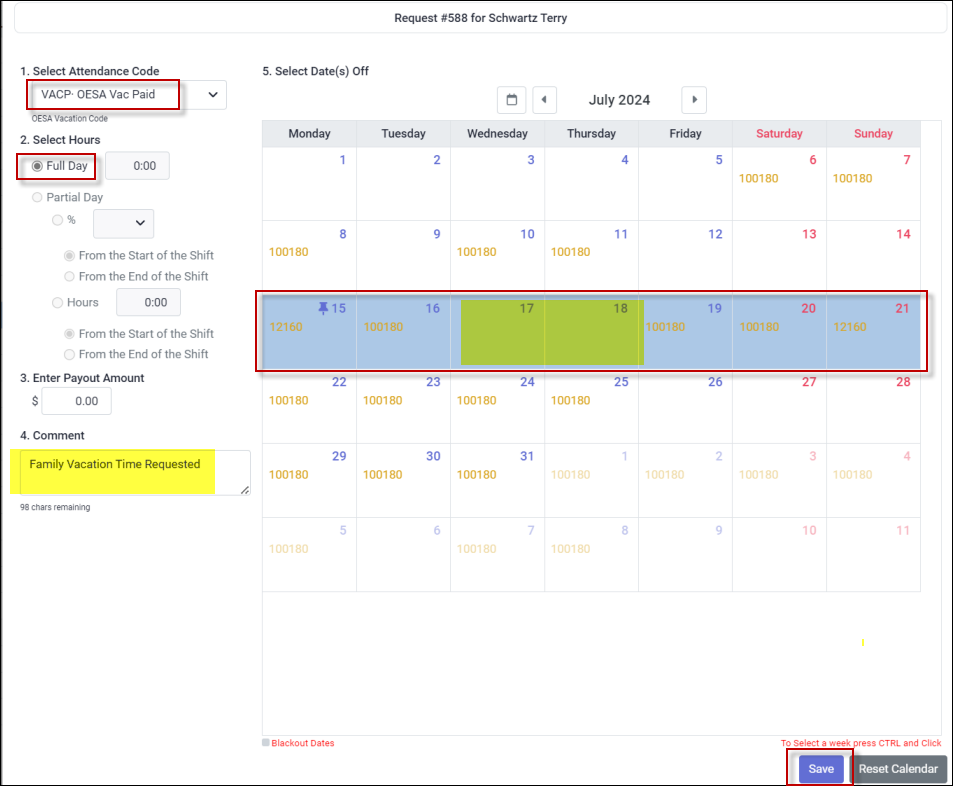
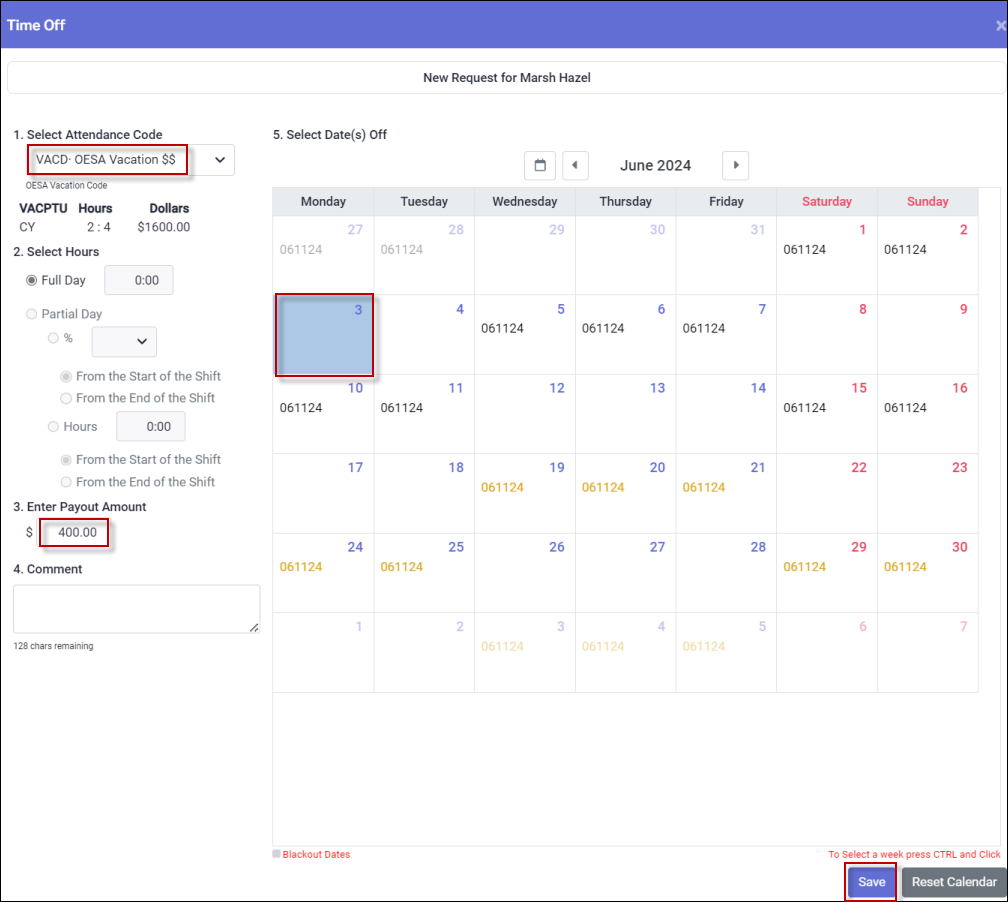
1.Select the applicable Attendance Code from the drop-down list. For a vacation request select the Attendance Code associated with the OESA vacation time bank. When an OESA Attendance Code is selected the OESA code hint appears.
2.Select the Full Day. The option to select Partial Day has been disabled for the OESA configuration. The system will automatically unbook the full length of the shift for the scheduled date(s) selected and will remove the time from the bank.
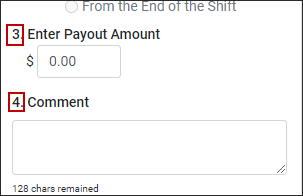
3. A Payout Amount should only be used if your system is configured to use dollar and hour options for the time banks. Please see your manager for the best method to use for your facility.
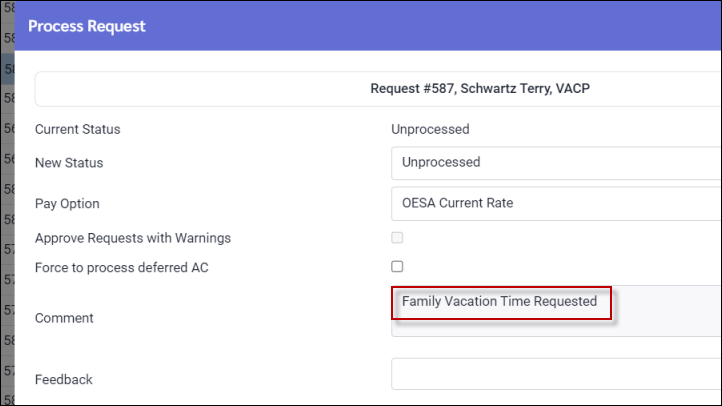
4. Addition of a comment is optional and may be used to communicate further details of your Time Off Request to your manager. If added, the comment will appear as follows when the manager views the request:
▪Click on the date(s) (see highlighted row). To select a full week, hold down the Control key on the keyboard and click on the first day of the week (indicated on the image below on the bottom right). The entire week will then be highlighted. Click Save. Please see Key Information tip below. ▪Click Save.
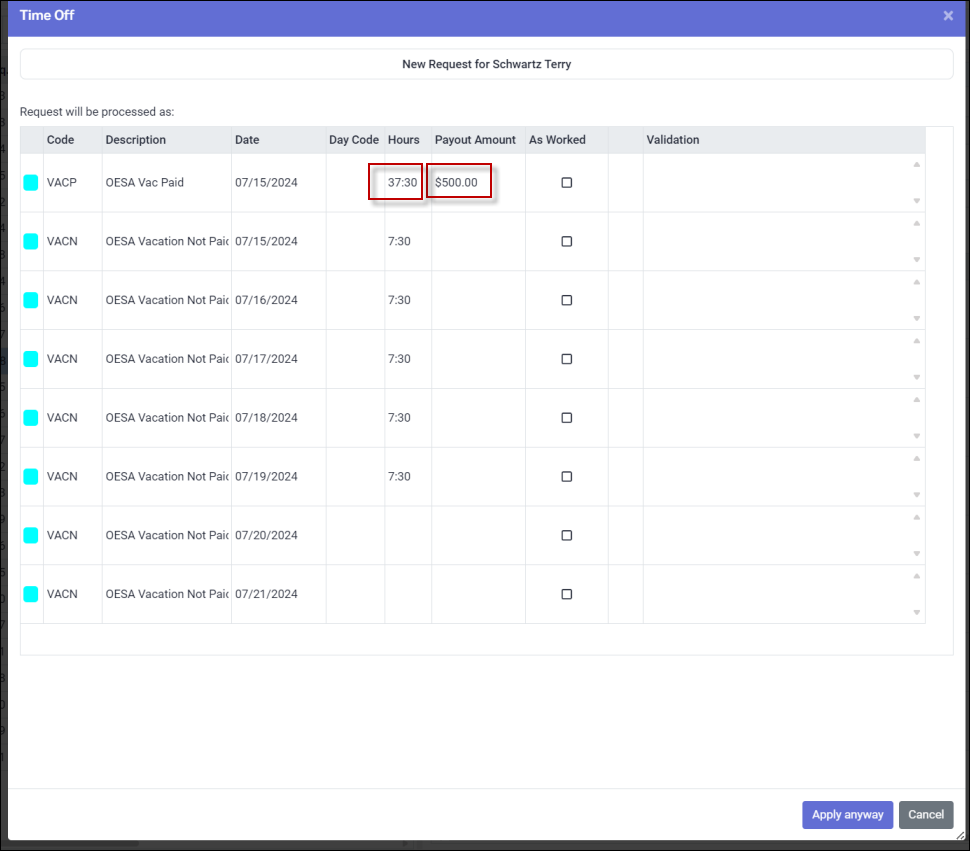
A confirmation window will open. If there are any validation issues, they will be shown in the Validation column.
The configuration for this bank is based on a 5-day week using a day length of 7.5 hours (total of 37.5 hours). This bank requires the employee to take time off in week blocks, not individual days. The system provided a weekly rate calculation ($500) when confirming the request. Regardless of when the employee was scheduled, the system will calculate the week based on 5 days for this configuration. The bank configuration must include an unpaid code so that the extra days on the schedule (anything above 5 days in this case) will appear with the unpaid vacation code with no hours so that the employee will not be available for call-ins on these extra days. Please see Managing OESA Time Off Requests for further information.
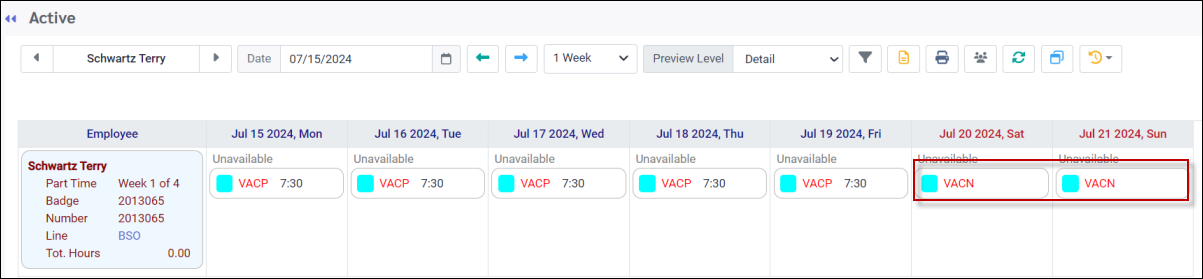
▪Click Apply anyway to submit the request. See this employee's Active Schedule below, based on the configuration described above:
|

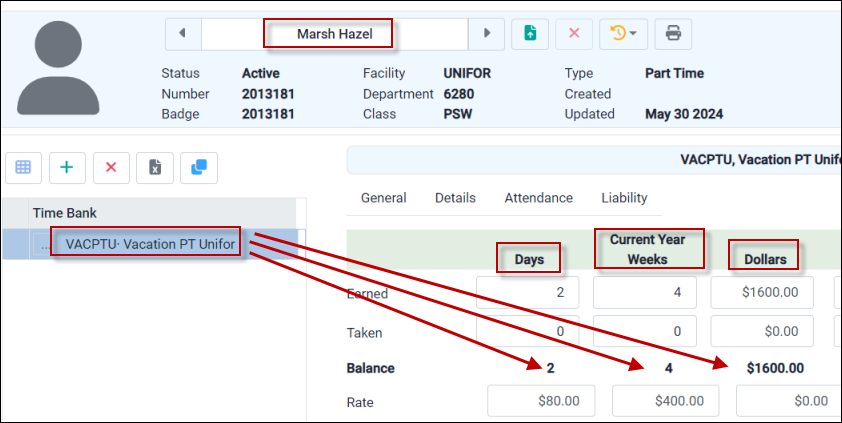
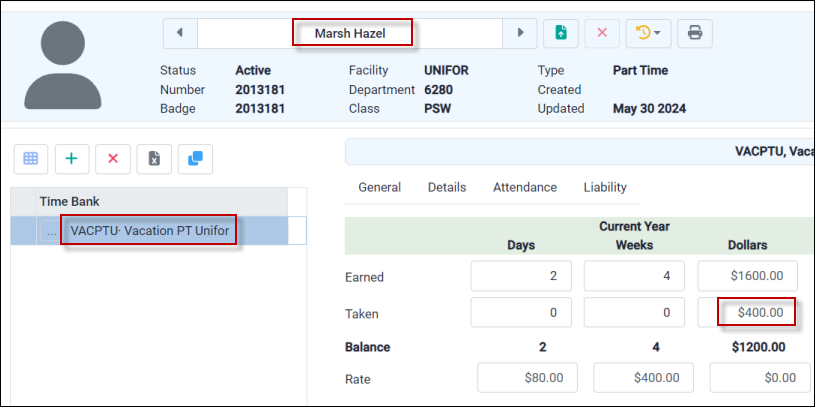
If dollars are being tracked in the OESA banks, you may request a dollar payout, without taking any time off if your company allows dollar only payouts. The employee below has time in weeks and days. She also has a dollar value from the previous year which can be used toward paid time off using the weekly or daily rates. If she requests a dollar pay out only, the time will remain in the bank, and the dollar amount will be reduced.
To make a payout only request navigate to the Time Off Request menu.
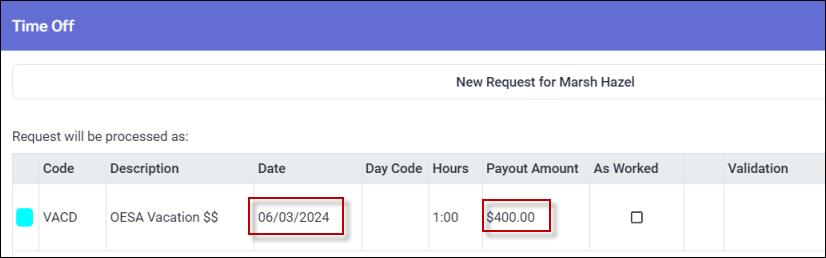
▪Using the drop-down arrow, select the OESA payout code from the list. ▪Enter the payout amount in the Payout Amount window. ▪To submit the request a day must be selected. The date you select will be the date the payout appears on the Time Card. ▪Click Save.
The following confirmation will appear. Click Apply Anyway (not shown).
On the Time Off Requests screen the request is now shown.
Once the manager approves the request the payout amount will be added to the Taken field on the OESA Time Bank. The time remains the same:
|

You may cancel or delete a Time Off Request if the status of the request is anything other than approved.
Deleting a Request that has not been Approved
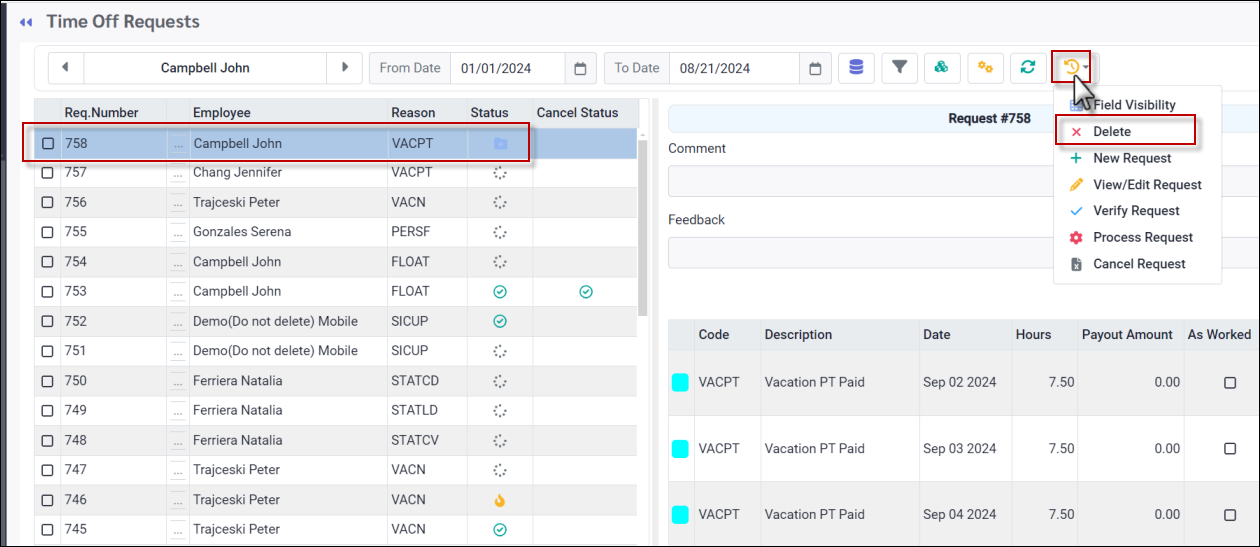
▪Click on the request to be deleted. ▪Click on the Actions icon. ▪Select Delete.
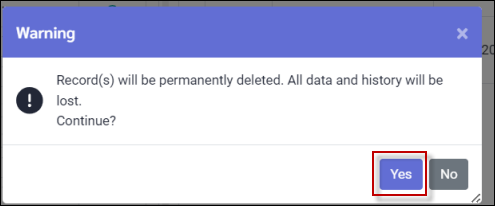
▪Select Yes to delete the request.
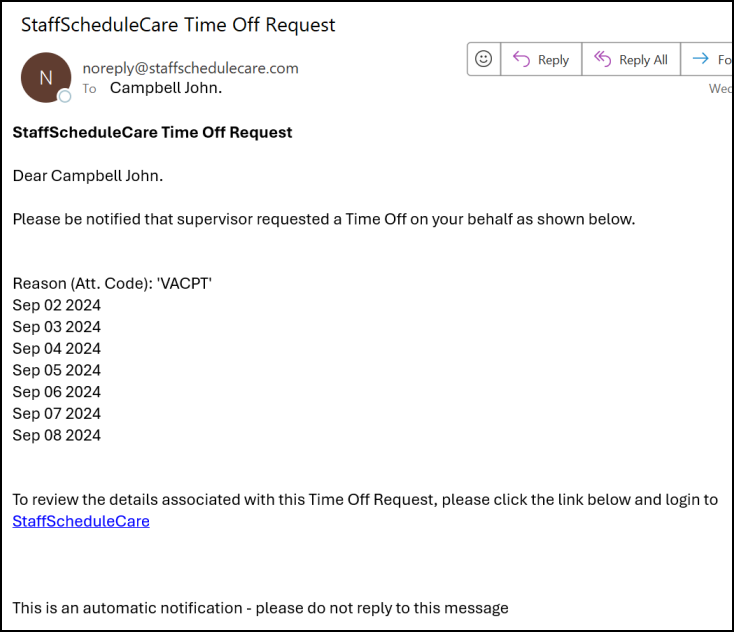
Your supervisor will be sent an email notifying that the request was deleted if the supervisor configuration has been activated.
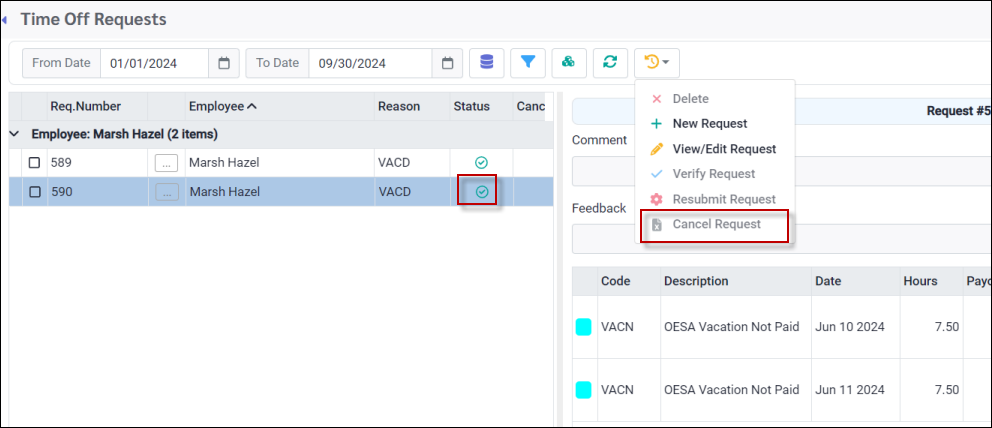
Canceling a request that has been Approved
The request below has already been approved. Note the options below that are not available to the employee in this case. You may still view the details of the request using the View / Edit Request option but editing will also be disabled.
|