Overview
The Payroll Based Journal (PBJ) module in StaffScheduleCare (SSC) is used to export direct care staffing data for electronic submission to the Centers for Medicare & Medicaid Services (CMS). Submissions are required quarterly and must cover the previous three months of employee worked hours.
CMS uses this data to calculate the Staffing domain of the Five-Star Quality Rating System, which is published publicly on Medicare Care Compare. Accurate, timely submissions directly affect a facility's star rating and regulatory standing.
As of April 1, 2026, SSC exports use CMS Data Specifications Version 4.10.0. Legacy spec versions are blocked. The daily hours cap per Employee ID is 22.5 hours. |

How it Works at a Glance
▪SSC maps each internal Labour Class to a CMS Job Code.
▪Employee time card hours are pulled for the selected quarter.
▪The system generates a validated XML file (zipped) for upload to the CMS QIES portal.
▪Agency/contract staff hours are entered separately via Kiosk Vendor Hours.
Fiscal Quarters:
Quarter |
Date Range |
Q1 |
October 1 – December 31 |
Q2 |
January 1 – March 31 |
Q3 |
April 1 – June 30 |
Q4 |
July 1 – September 30 |
Note: Q1 of a fiscal year covers October–December of the previous calendar year. For example, Q1 Fiscal Year 2026 = October 1 – December 31, 2025. When using Predefined Dates for Q4, select the next fiscal year (e.g., select 2027 for Q4 2026 data). Using Absolute Dates avoids this entirely.

Configuration is a one-time setup that must be completed before generating any PBJ export. These settings do not need to be repeated each quarter unless something changes at the facility level.
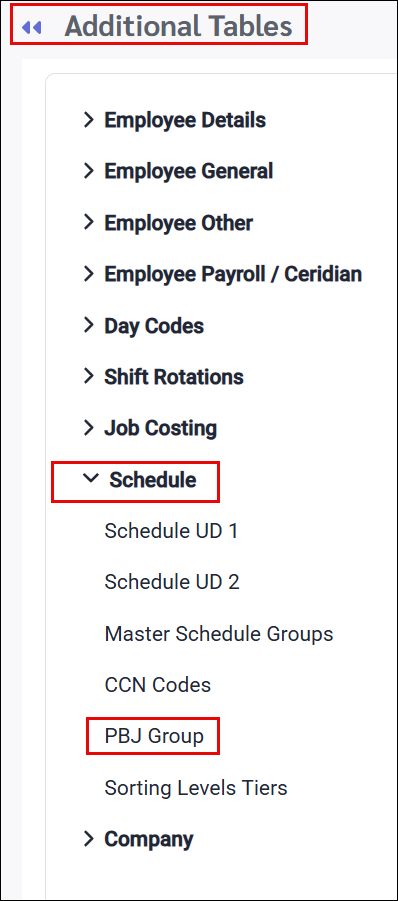
Set up PBJ Code (PBJ Group)
The PBJ Group Code is the Facility ID provided by CMS when the facility registers for their PBJ submission account. It must be entered in SSC before any export can be run. Go to Additional Tables:
▪Select Config. ▪Select Setup. ▪Select Additional Tables.
▪Under the Schedule sub-menu, select PBJ Group.
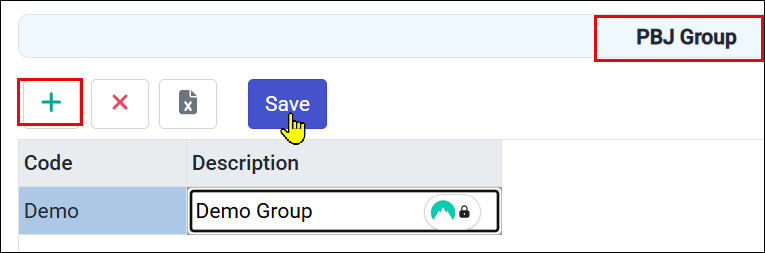
▪Click on the plus symbol (+) to add a new PBJ Group.
▪Enter the PBJ Group code and description provided by CMS. ▪Click Save.
Assign PBJ Code to Facility
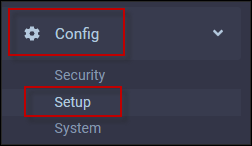
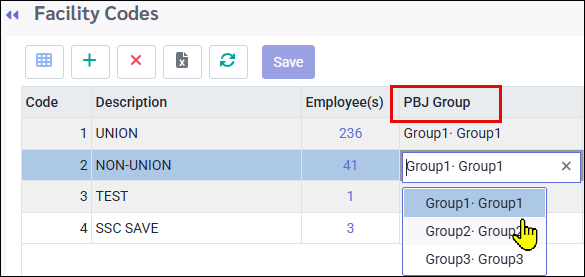
Each facility in SSC must be linked to its PBJ Group Code. To access the Facilities menu:
▪Select the Config menu. ▪Select the Setup menu.
▪Select Facilities.
▪For each facility requiring PBJ submission, select the correct PBJ Group from the drop-down list. ▪Click Save (not shown).
Assign PBJ Job Code to Classes
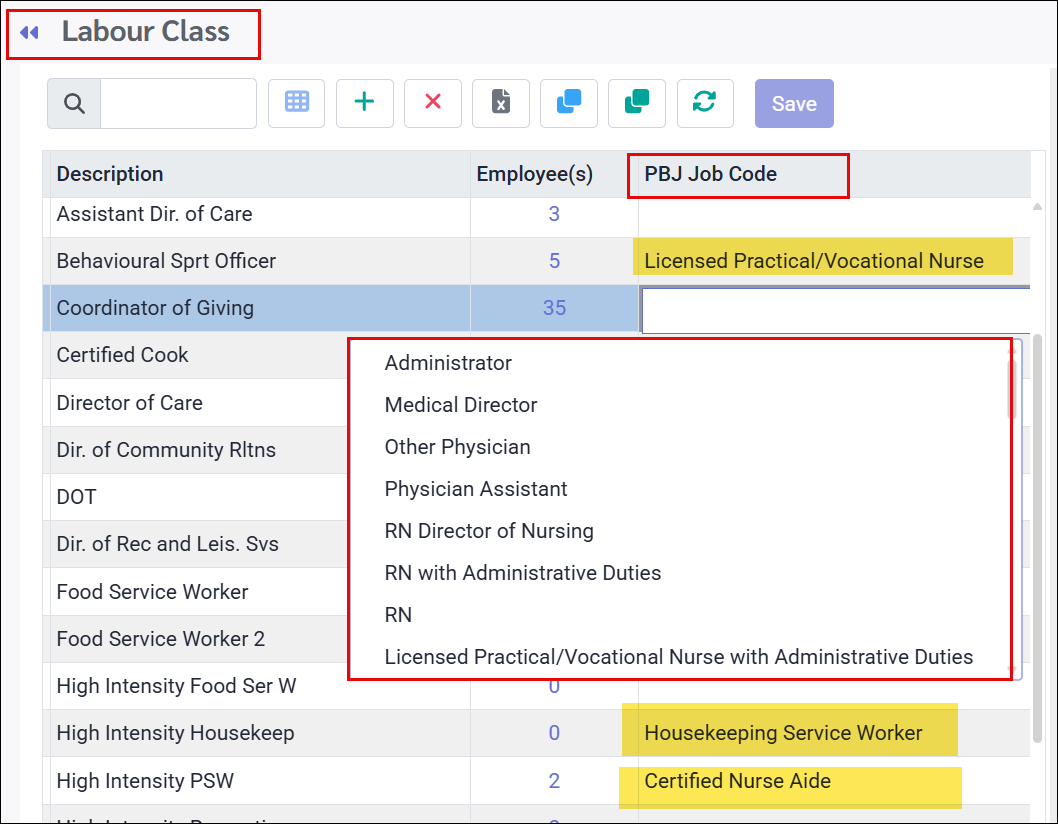
This is the core mapping step. Every Labour Class whose hours should appear in the PBJ export must be assigned the corresponding CMS Job Code. Hours worked in a class with no Job Code assigned will be silently excluded from the report. Navigate as follows:
▪Select the Config menu. ▪Select the Setup menu.
▪Select Labour Class.
▪In the PBJ Job Code column, use the drop-down to select the appropriate CMS Job Code for each Labour Class. ▪Click Save.
Common mappings for reference:
Time Allocation for Split Roles
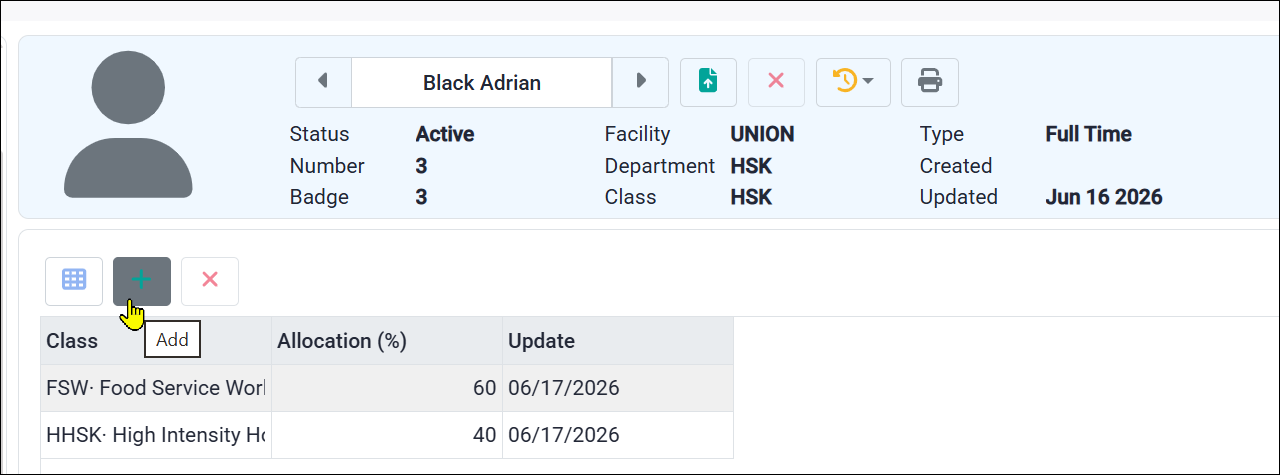
For employees who work across two roles in the same quarter (e.g., a DON who also works floor shifts as an RN), SSC supports a percentage-based time allocation.
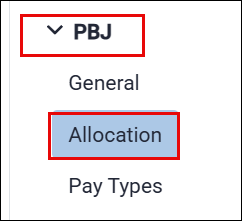
▪Select Personnel ▪Under PBJ, select Allocation.
▪Add a percentage allocation entry for each role. ▪The system applies this percentage to the employee's total quarterly hours when generating the export. ▪The allocation is date-driven and static for the quarter. To update it, add a new entry which takes effect from the entry date forward.
Census Information
The submission file must include the facility's resident census (occupancy) as of the last day of each month in the reporting quarter. Census must be entered for all three months.
▪Select the Config menu. ▪Select the Setup menu.
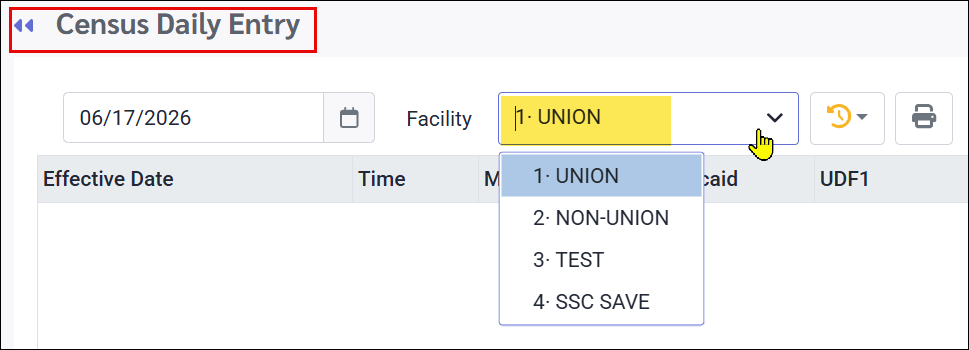
▪Select Census Daily Entry.
▪Select the Facility. ▪Select the date (last day of the first month of the quarter).
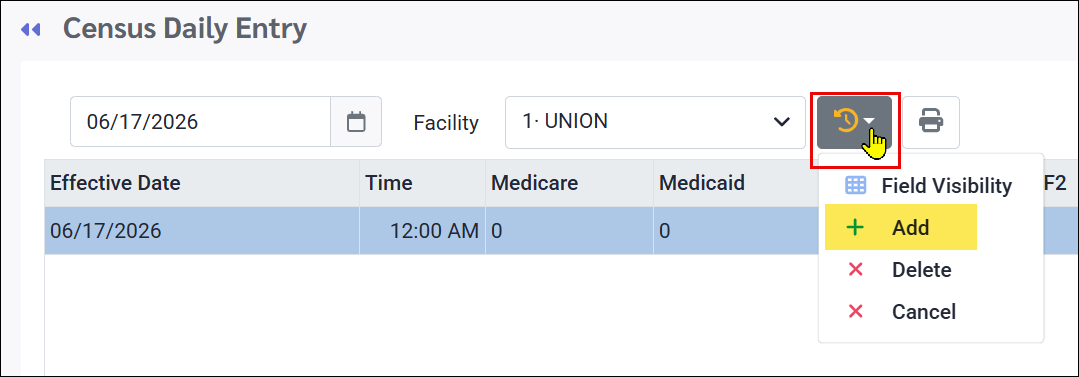
▪From the Action button select Add. ▪Enter the census figures (Medicare, Medicaid, Other) for that date and click Save (bottom, not shown). ▪Repeat for the last day of the remaining two months of the quarter.
Employee Pay Type
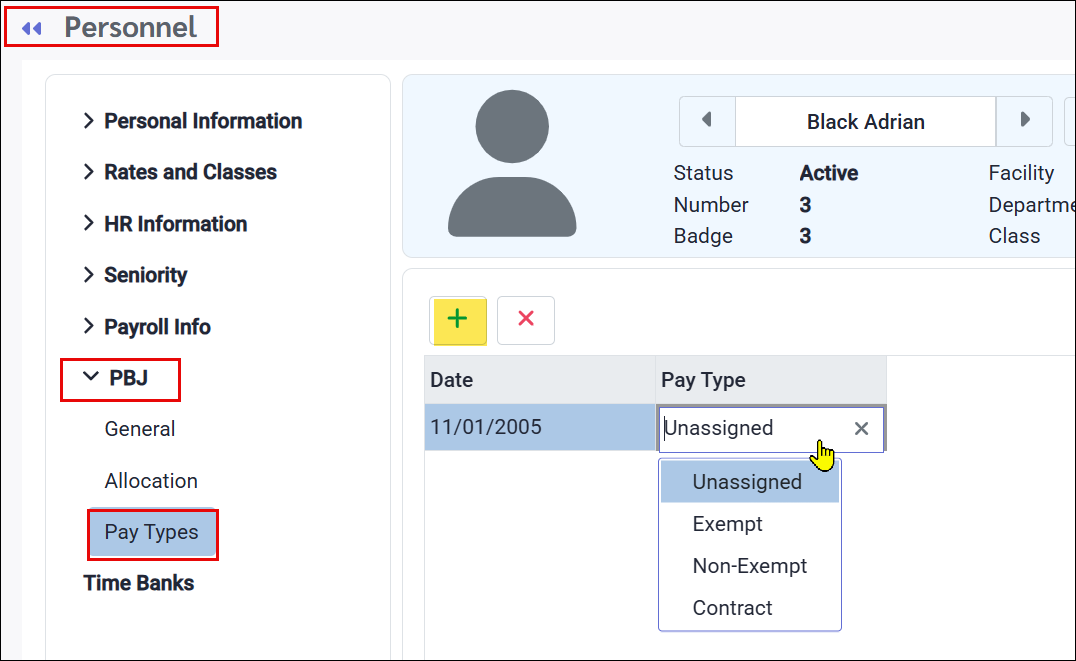
Each employee must have a Pay Type assigned. This determines how they are classified in the CMS export file. ▪Select Personnel ▪Select PBJ ▪Select Pay Types.
▪Click Add. ▪Enter the effective date. ▪Select the appropriate Pay Type from the drop-down. ▪Click Save (bottom, not shown).
|



Agency and contract staff hours must be included in the PBJ submission separately from facility employees. Vendor Profile
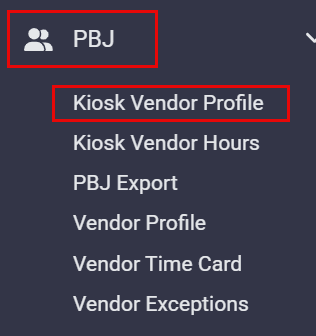
▪Select PBJ ▪Select Kiosk Vendor Profile.
▪Add the new vendor by clicking the plus symbol (+) to create a new row. ▪Enter the work Start Date. ▪Enter any Allocation (percentage) if applicable. ▪Enter the vendor PBJ Group, Labour Code & Job Code from the drop-down list. ▪Complete any other required fields and click Save.
Vendor Hours
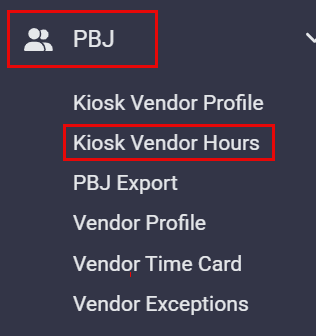
▪Select PBJ. ▪Select Kiosk Vendor Hours.
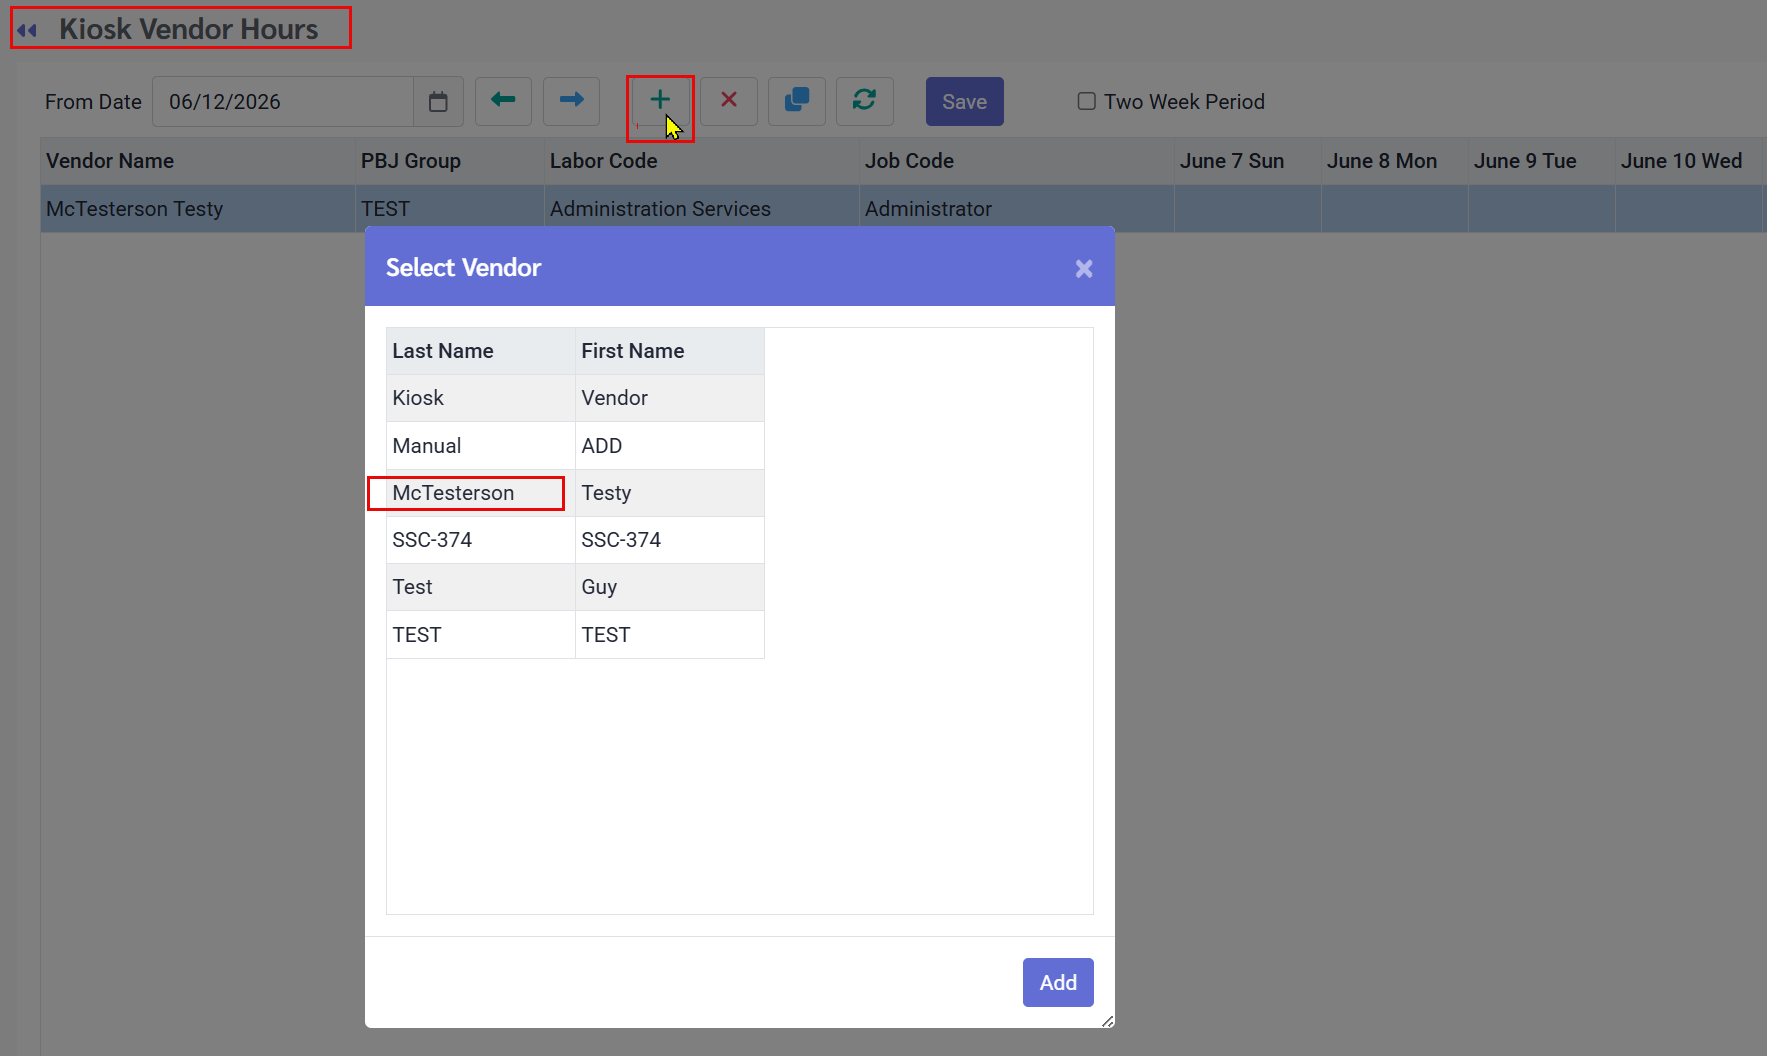
Click on the plus symbol (+) to select a vendor to add hours.
▪Enter the hours worked by day for each applicable vendor. ▪Click Save.
|


Accessing PBJ Export
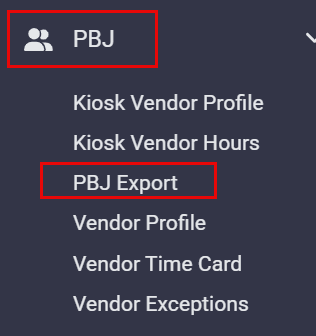
▪Select PBJ ▪Select PBJ Export.
Export Settings
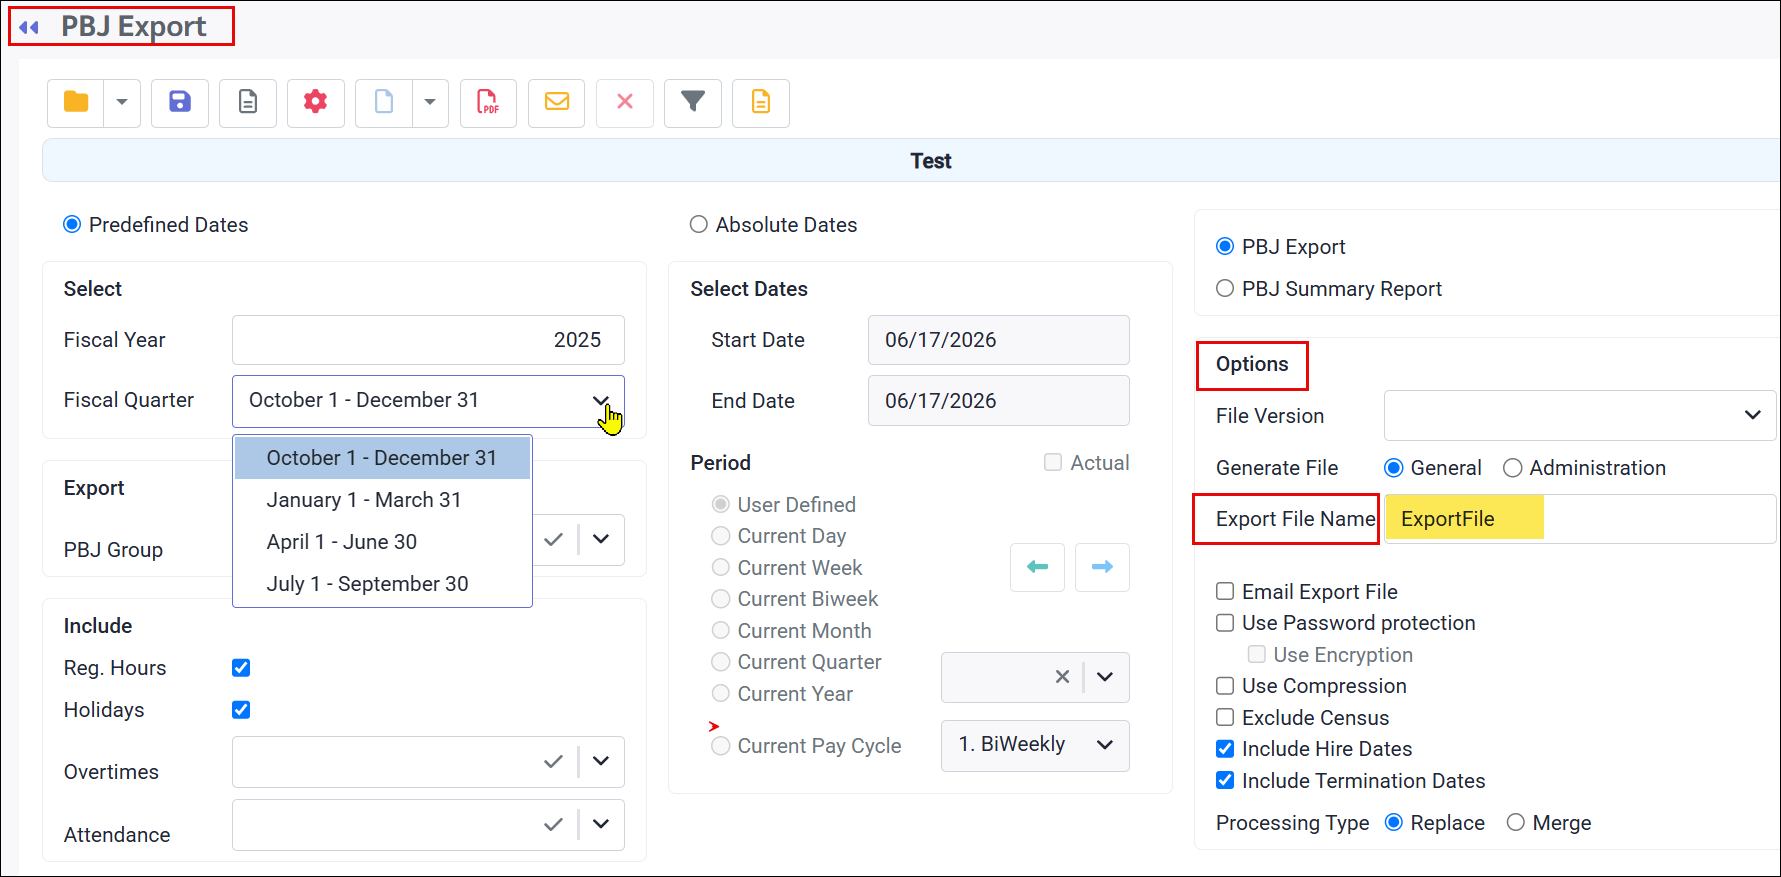
Before previewing or processing, configure the following settings on the PBJ Export menu. Date Range Choose one of two methods:
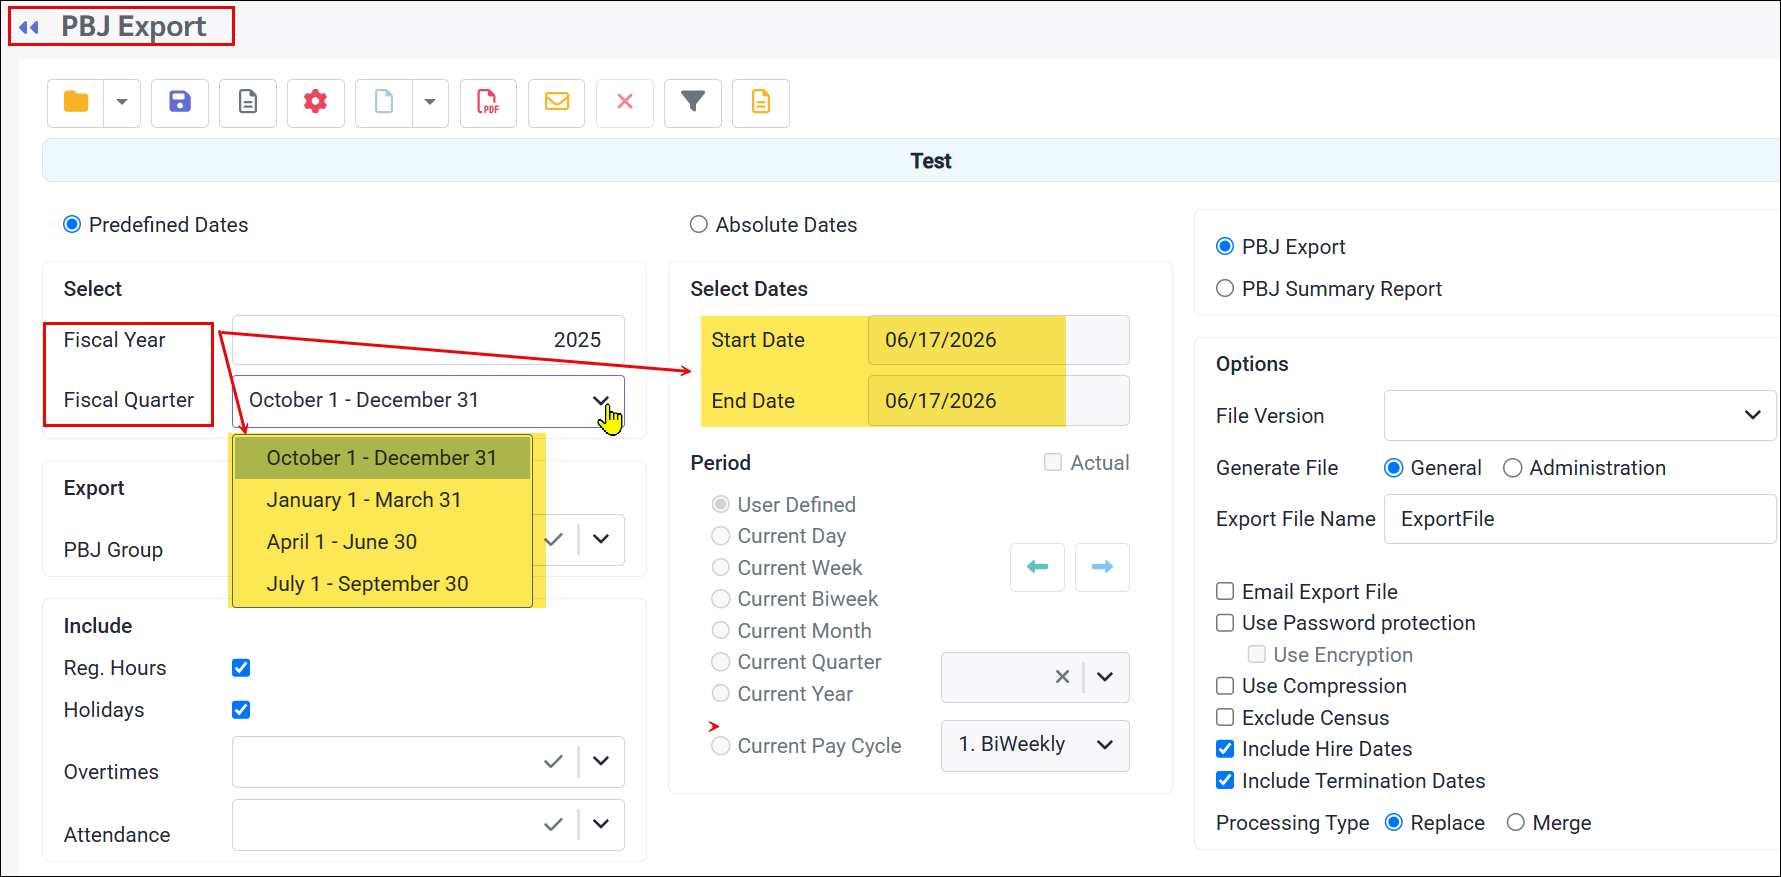
▪Predefined Dates - select the Fiscal Year and Fiscal Quarter from the drop-downs. Simple for most quarters. Note the Q4 year quirk: for Q4 2026 data (July–September 2026), select Fiscal Year 2027. ▪Absolute Dates (recommended) - enter a specific start and end date. This avoids the Q4 year-selection quirk and gives more precise control.
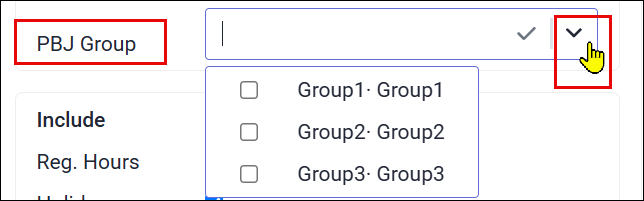
Select the PBJ Group to Export From the drop-down menu, select the applicable group(s)
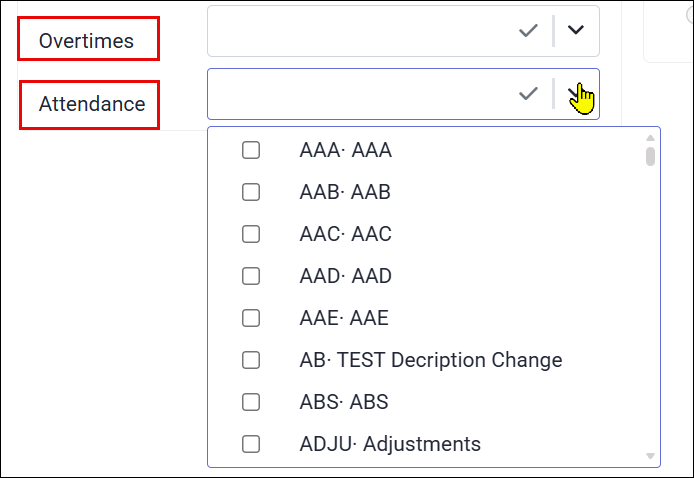
Select the Hours for Export Click on the hours to include in the PBJ export. For Overtimes and Attendance Codes, click on the drop-down arrow to display the list of predefined items you require (Attendance Codes shown below).
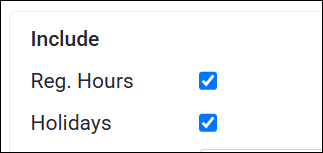
▪Check Reg. Hours to include standard Time Card hours. ▪Check Holidays to include Statutory Holiday hours.
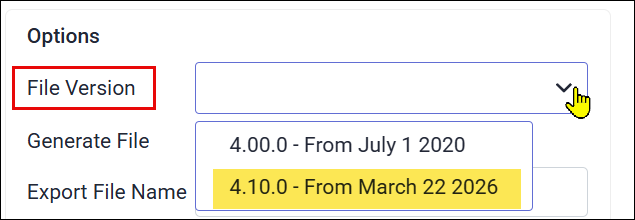
File Version Always ensure the export uses version 4.10.0. This is the CMS-mandated version effective April 1, 2026. Legacy spec versions are blocked by the system.
Previewing the Export
Preview the Report Always preview before processing. The preview validates the data against CMS rules and lists all errors at the end of the report. Fixing errors before generating the final file prevents CMS rejection.
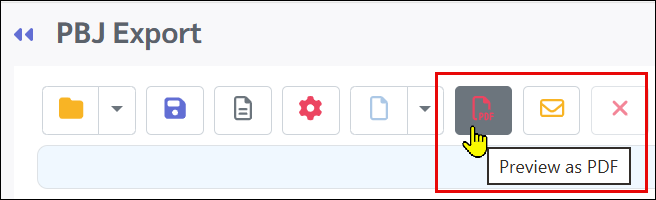
▪Click the Preview PDF icon in the toolbar. ▪Review the full preview report. ▪Check the validation section at the end. It must show OK before proceeding.
The preview report is organized into three sections:
Facility and Software Information
Employee Information
Hours Information
Census and Validation
Processing the Export
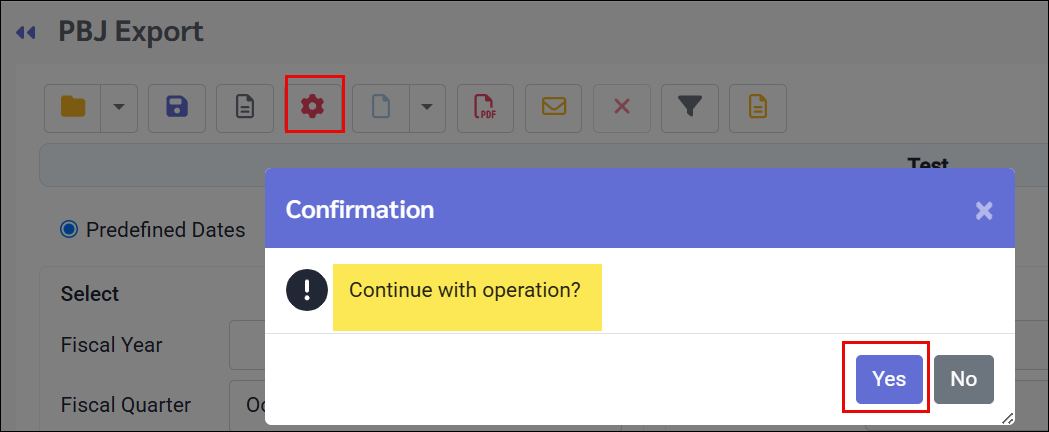
▪Click the Process icon in the toolbar. ▪Click Yes in the confirmation pop-up. ▪Choose a save location. The file is saved as a .zip file ready for upload to the CMS QIES portal.
Saving the Export Settings
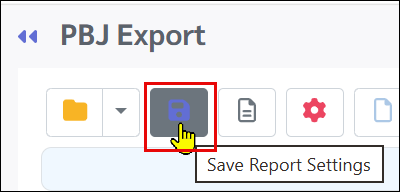
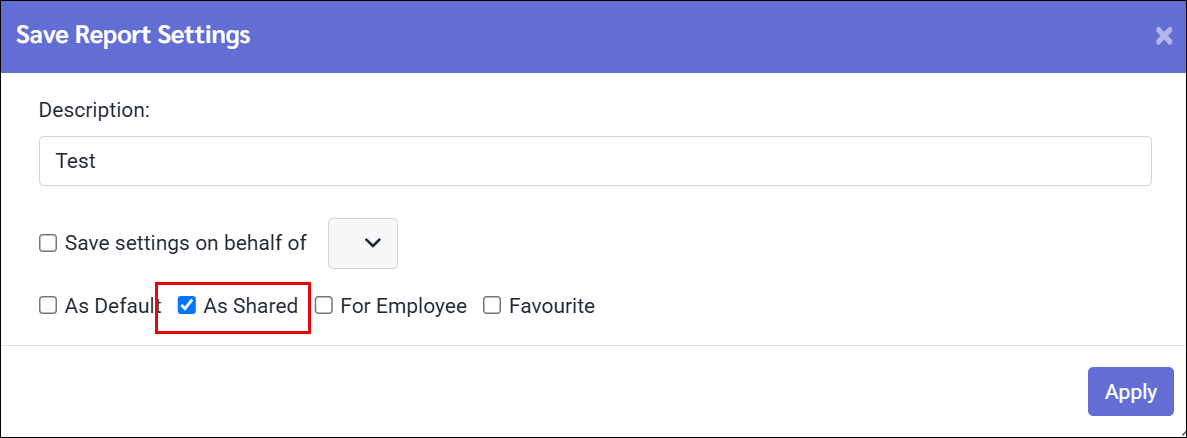
▪Click the Save icon in the toolbar. ▪Enter a description for the settings profile. ▪Tick As Shared if other users should have access to this profile. ▪Click Apply.
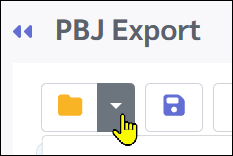
To load saved settings: ▪Click the drop-down arrow on the Open Report Setting icon. ▪Select the saved profile to use.
Processing Type - Replace vs. Merge When processing the export, you can choose how the data interacts with any previously uploaded submission for the same quarter.
Change Export File Name In the Options section of the export screen, enter a custom name in the Export File Name field. The system appends .zip automatically.
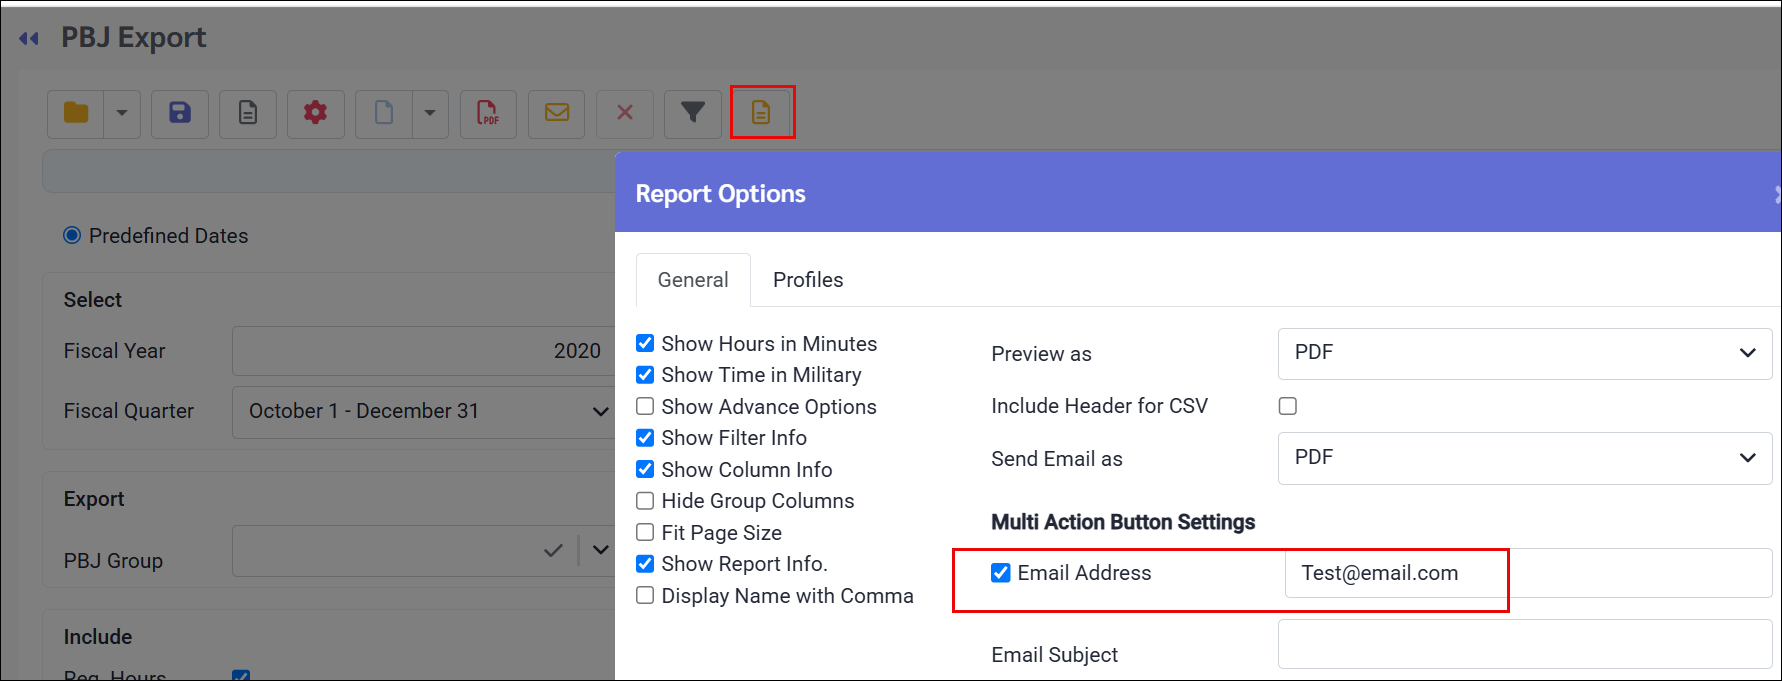
Email the Export File SSC can automatically email the export file upon processing.
Report Filter (Preview Only) The report can be filtered by worked department using the employee filter. This is useful for reviewing a subset of data during the preview step. The department filter does NOT apply when processing the actual export file. Always reset the filter to include all departments before clicking Process, or the export will be incomplete.
|
The Preview report runs CMS validation checks automatically. The validation section at the end of the preview will list any issues. Do not process the export until all errors are resolved.
After correcting errors, always re-run the Preview before processing to confirm all issues are resolved.
|