Two-factor authentication is an electronic authentication method in which a user is granted access to StaffScheduleCare only after successfully presenting two pieces of evidence.
The two layers of authentication is the StaffScheduleCare user ID and password followed by presenting an authentication code sent to a previously provided email address, telephone number or text to their cell phone.
The system will send the authentication code using one of three methods: SMS (text message), phone (to phone number provided) or to an email address provide in their profile.
Turning on the Two-factor Authentication is global and will apply to all employees or managers logging into StaffScheduleCare. If your Security Access profile allows you to access this menu, you may enable this feature.
To access the login and password options:
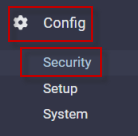
▪Select the Config menu. ▪Select the Security menu. ▪Select Login and Password.
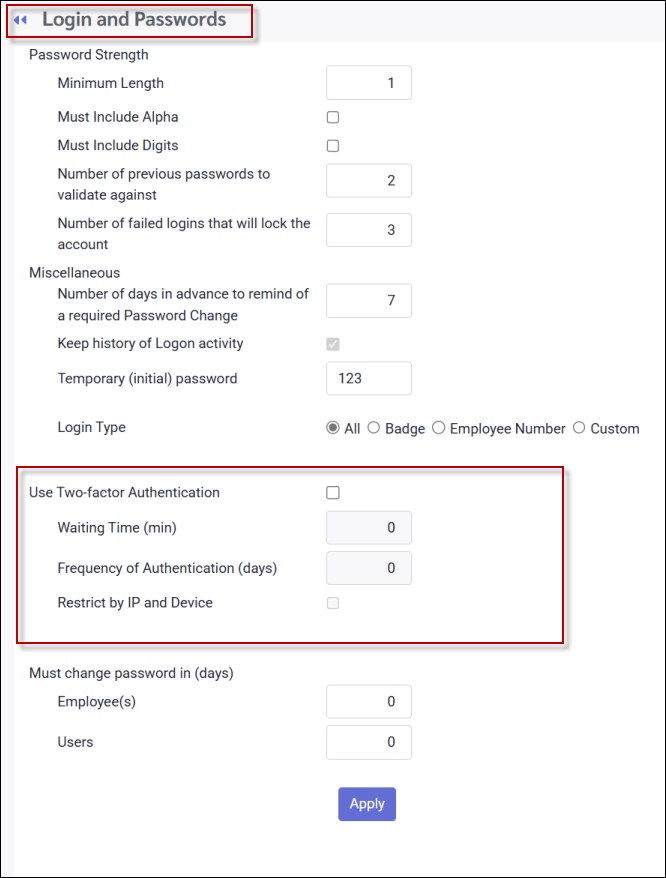
Here you will define the frequency (how often) and how long the system will wait for a reply back with the verification code.
▪Click the check box for Use Two-factor Authentication to enable the feature. ▪In the Waiting Time field enter the length of time, in minutes, in which the employee and manager must reply with the verification code before the time expires. ▪In the Frequency of Authentication (days) field enter the number of days (0-30) that must pass before this process must be repeated. Entering zero will force the authentication on every log in. ▪Tick Restrict by IP and Device if you would like to have Two-factor Authentication enabled every time you log in from a different device or IP address. If not enabled, the first time you log in, the system will request Two-factor Authentication. Once approved, you may then log in from your phone or another computer without Two-factor Authentication.
Manager Login Configuration
▪Select the Config menu. ▪Select the Setup menu. ▪Select Security Users.
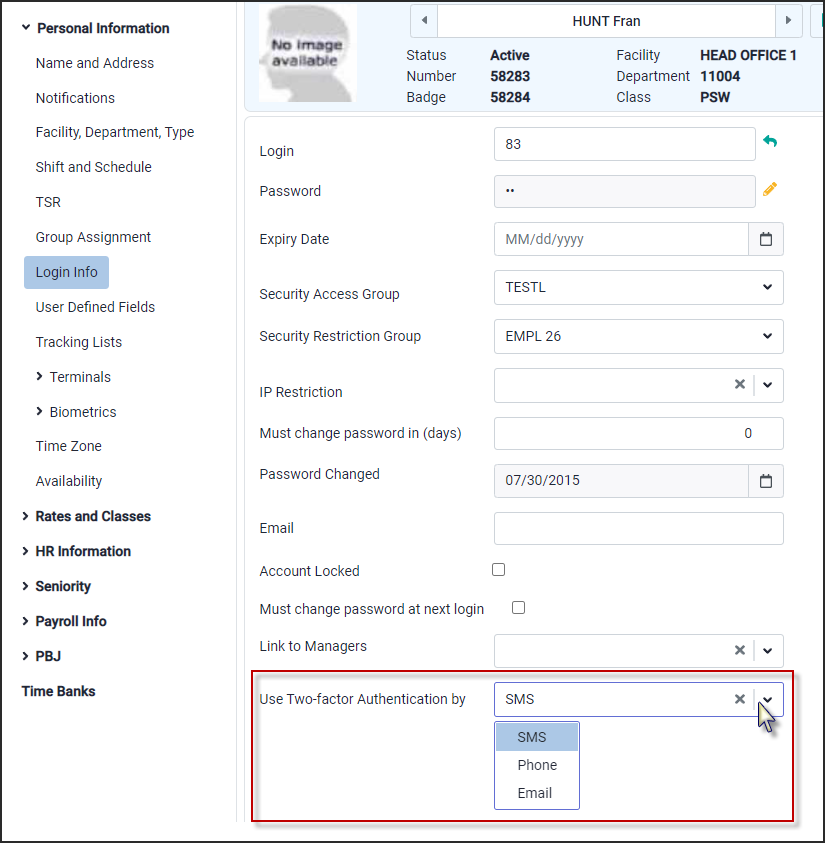
To apply the authentication feature to managers' login there must be a telephone number or an email address as well as a default method for sending an authentication code.
▪Click on the manager's name to highlight the line. ▪In the Use Two-factor Authentication click on the drop-down arrow and select the preferred default method of sending the authentication code. ▪The system will call, or send a text to the telephone number configured in the Telephone column. ▪Ensure an email address has been enter in the email field if this option has been selected.
Employee Login Configuration
▪Select the Personnel menu. ▪Select the Personal Information menu. ▪Select Login Info.
Select the default authentication method.
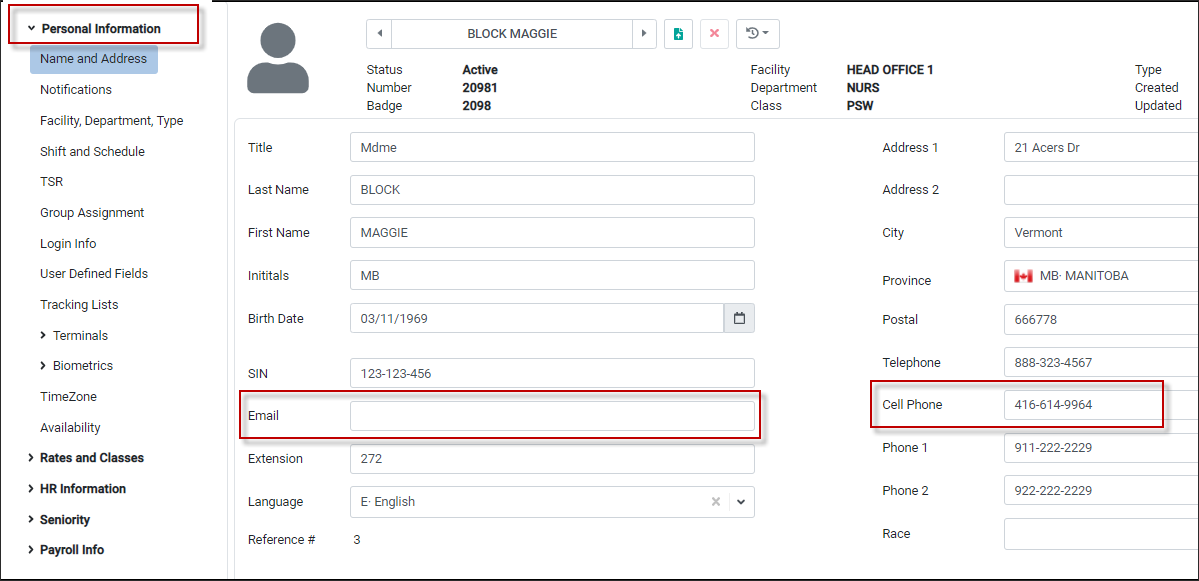
For an employee, the system will use the number entered int the cell phone on the personal profile to either send a text or a phone call. Should the employee request the code be sent by phone and does not have a cell phone, enter their telephone number in the cell phone field on the personnel profile.
Ensure the Email and Cell Phone fields are populated.
|

Once the Two-factor Authentication has been turned on, employees / managers will see an additional screen after logging into the StaffScheduleCare login screen.
They will be presented with a window in which they can either use the default method that was previously configured, or they may click on the drop-down arrow and select an alternative method.
The system will provide a security code using a "masked" view (with asterisks) of the phone number or the email address selected as the sending method.
Logging In
▪Change Send code by method if required; otherwise leave as is. ▪Click on the Send Code button. Click the red X to discontinue logging in.
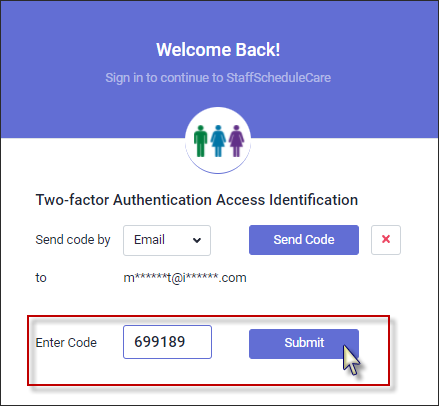
After the Send Code button has been clicked the screen will refresh. There will now be a field to enter the verification code. Retrieve the verification code sent using the method selected.
▪Enter the verification code in the Enter Code field. ▪Click Submit. If the verification code is valid the StaffScheduleCare software will open.
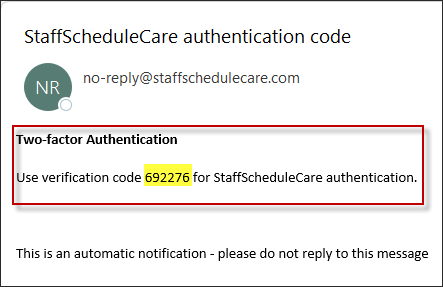
Receiving Verification Code Methods
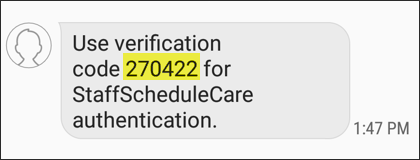
Text Message
Phone The system will call the phone number provided with an automated message stating the verification code.
|

Should a Send code by method be selected that has not been setup in the system a warning message will be provided. Below are examples of error messages.
Code Expired This happens if the verification code has been entered and the Submit button clicked after the Wait time has expired.
This occurs when there is not an email address associated with the login used. The masked email address is not displayed beside the to because that email address was not setup.
For a manager, check the Security User screen and ensure the email address field has been populated. If an employee receives this error, check on their Personnel / Personal / Name and Address screen that the email address field has been provided.
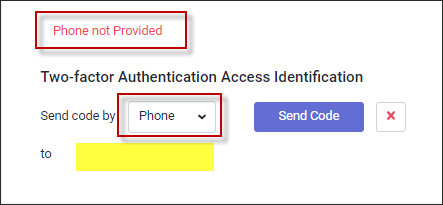
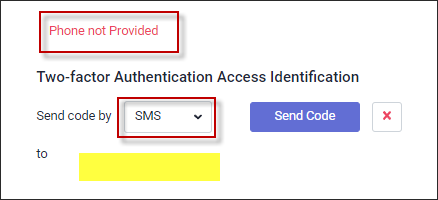
Phone not Provided The Phone not Provided warning will display if the Send code by option is either phone or SMS and a number has not been setup. The absence of the masked phone number beside the to indicates the system did not have a number to display.
For a manager, check the Security User menu and ensure the Telephone field has been populated. If an employee receives this error, check on their Name and Address menu that the Cell Phone number field has the required phone number.
|