To access budget option:
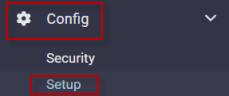
▪Select the Config menu.
▪Select the Setup menu.
▪Select Budgets.
To create a budget, you first need to set up the following fields:
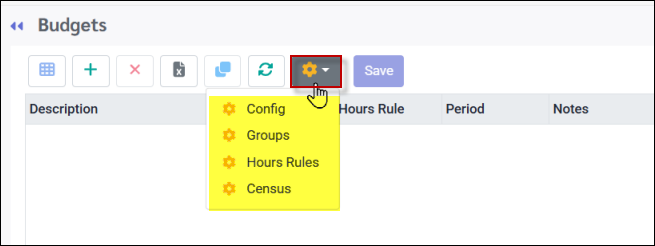
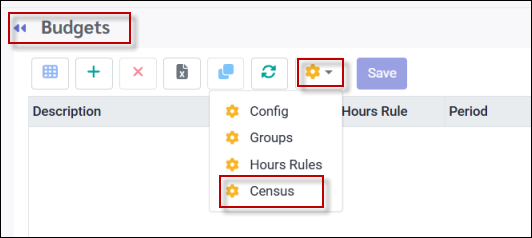
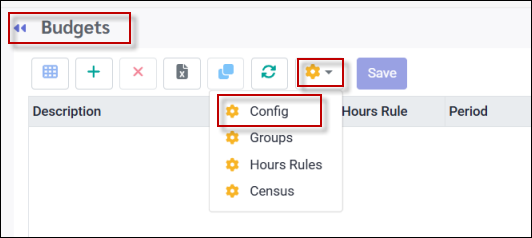
To configure the components of your budget, select the configuration icon to access the different options. Select Config.
The following menu will appear:
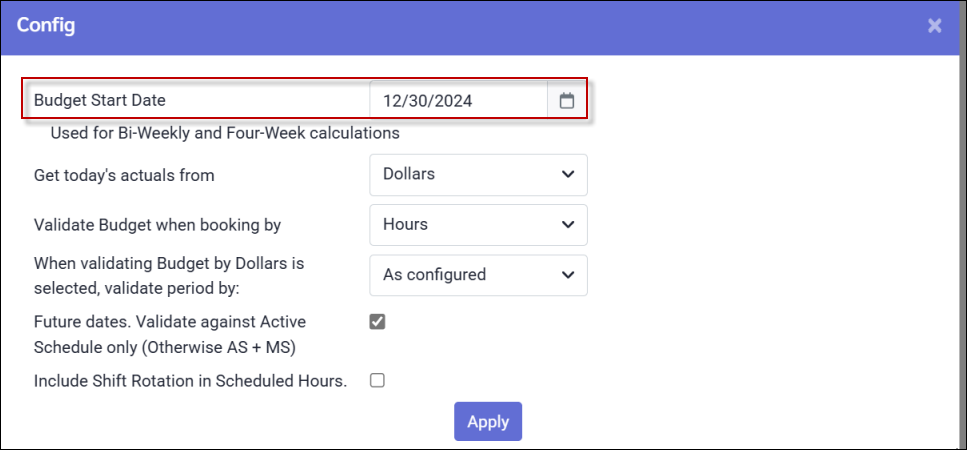
Budget Start Date Enter your budget start date. This date should coincide with your calculation period configuration For example if your first two-week pay period of the year starts on December 30th, this would be your budget start date.
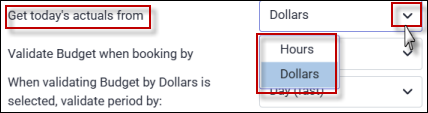
Get Today's Actuals From Select Hours or Dollars from the drop-down menu. The system will use the actual hours or dollar values from the current day.
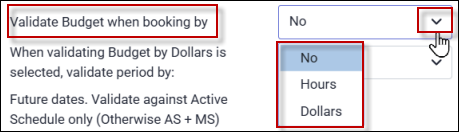
Validate Budget when Booking by When either Hours or Dollars is selected the system will validate the budget against a shift booked on the Active Schedule. This option would normally be set to No.
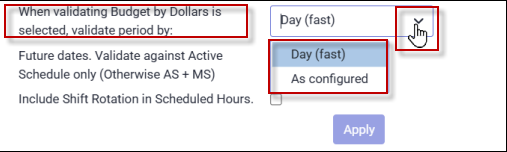
When Validating Budget by Dollars When Validating Budget By Dollars / Validate Period by, is selected, the system checks either the whole period configuration (As Configured) or one day only (Day).
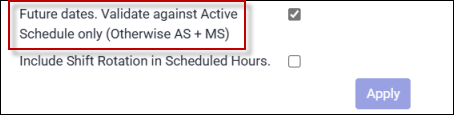
Future dates. Validate against Active Schedule only (Otherwise AS & MS) For budgeting in the future the system will by default validate against the Active and Master Schedules. If only the Active Schedule is to be used tick this option.
Include Shift Rotation in Scheduled Hours To include Shift Rotation hours in the scheduled and actual totals this option must be ticked.
|

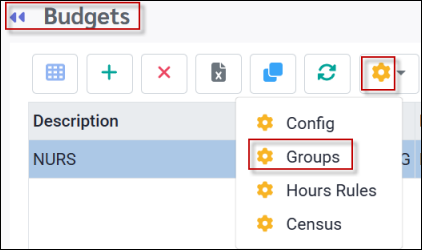
This option allows you to create budget groups based on your system configuration (department, class etc). To access the Groups configuration:
▪Select the main Configuration icon. ▪Select Groups.
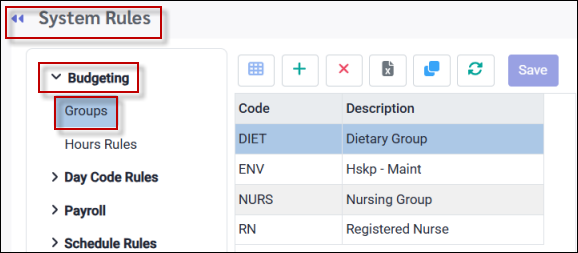
Alternatively, you may follow the path below:
▪Config. ▪Setup. ▪System Rules. ▪Budgeting. ▪Groups.
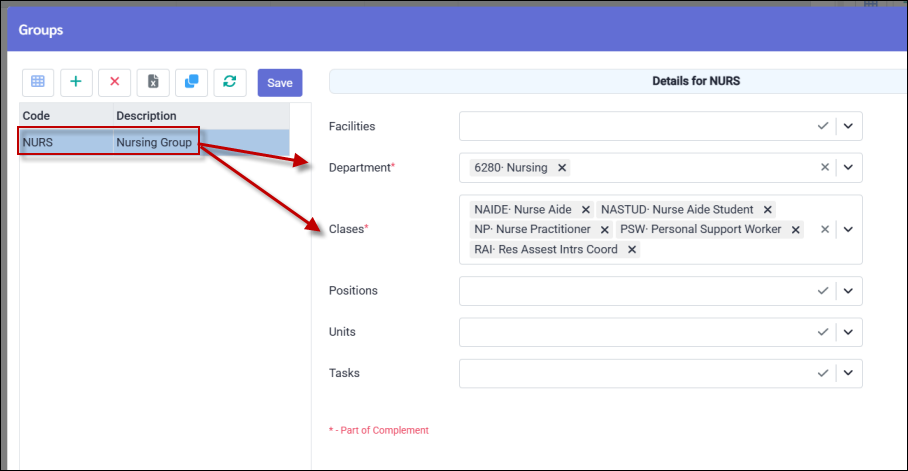
The following menu will appear:
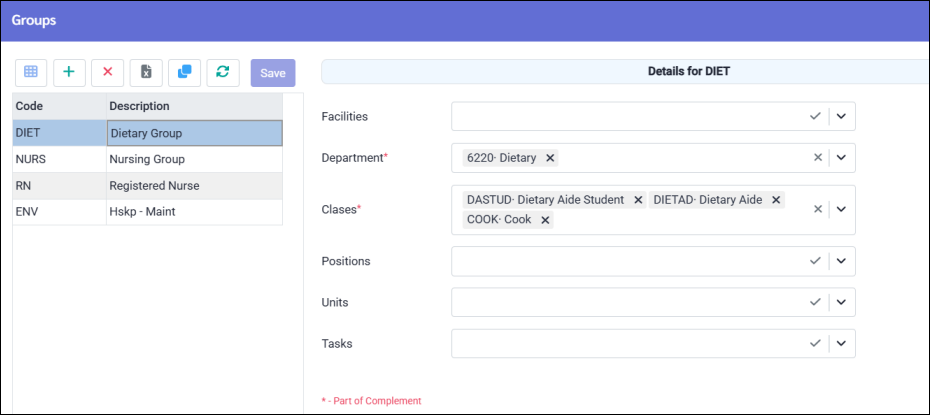
▪Click the plus symbol (+) to create a new Group. A new blank line will appear (blue above). ▪Create a Code for your group (NURS). ▪Add a Description (Nursing Group). ▪Complete the configuration on the right (Facility, Department, Class etc.). The asterisks represent fields that are part of your Complement setup (required fields for all schedules). ▪Click Save.
Repeat the above until all Groups have been added.
|

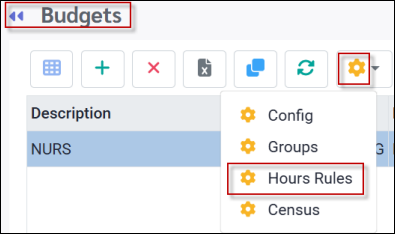
The Hours Rules option defines which hours are included in the budget calculation.
▪Select the main Configuration icon. ▪Select Hours Rules.
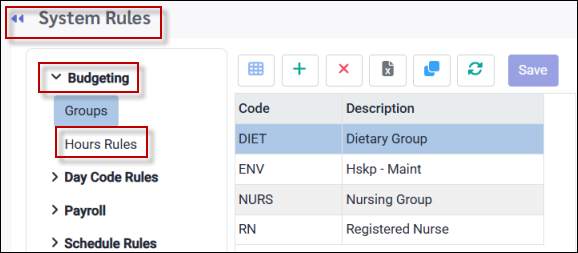
Alternatively, you may follow the path below:
▪Config. ▪Setup. ▪System Rules. ▪Budgeting. ▪Hours Rules.
Click the Hours Rules option and the following menu will appear displaying previously configured rules.
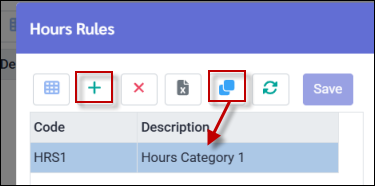
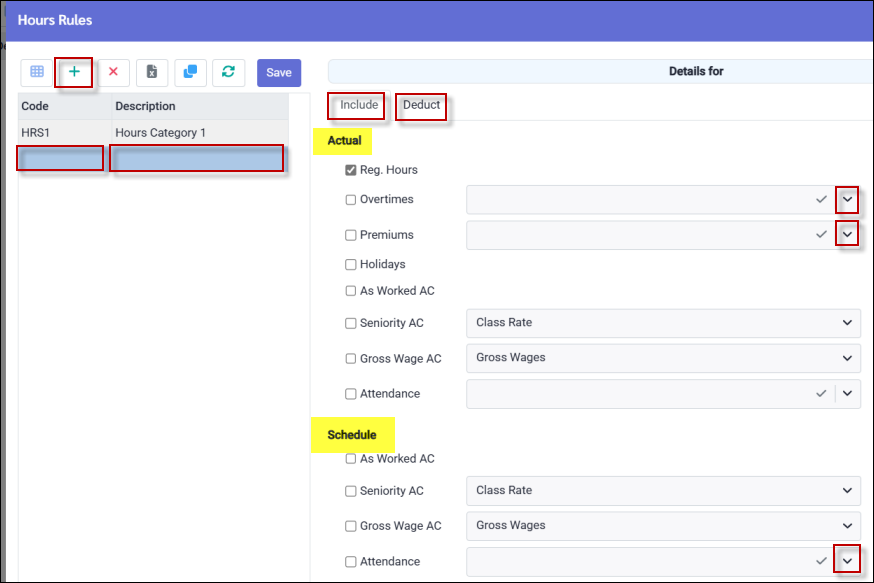
▪Click on the plus symbol (+) to add a new rule OR ▪Click on an existing rule and select the Clone icon.
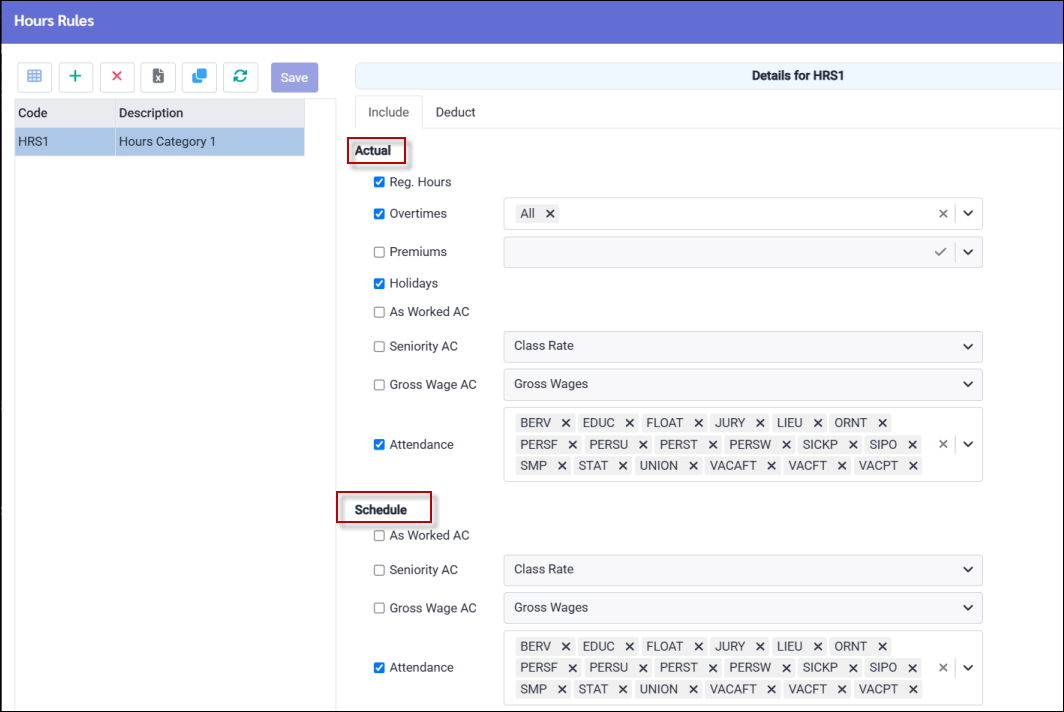
▪Add a Code and Description to your new rule. ▪From the Include and / or Deduct tab(s), define the hours to include in, or deduct from Actual and Schedule values, by ticking the applicable boxes and / or selecting from the drop-down menus. ▪Select the Attendance Codes to contribute to either or both the Actual and Schedule total worked hours. The Schedule option will look at the schedule for both filled and unfilled shifts. The Include tab will add the selected hours to the Actual and Schedule values, and the Deduct tab will subtract them.
|
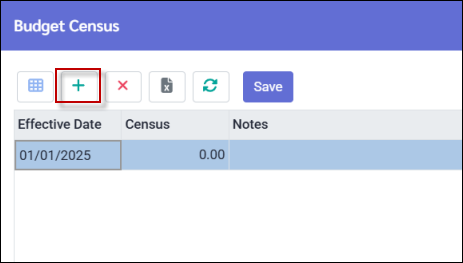
The Census setting lets you create a budget component based on the number of residents (or beds), using a Census value.
The following menu will appear:
Add a new record with the Effective Date and number of residents / beds as the Census value.
|