Announcements enable managers or schedulers to broadcast available shifts or custom messages to individual employees or groups simultaneously. This messaging is two-way, allowing employees to respond directly to the sender. However, announcements sent via email or posted as a Bulletin are one-way and do not support employee replies.
Based on the employees’ notification set up on their Personnel profiles, the messages are sent as text messaging or phone calls. Before launching this feature make sure the Notification section for employees has been configured.
Schedulers may use the dashboard to see employee responses and schedule accordingly.
Employees may only reply to the most recent message received via Announcements. |
To access Announcements:
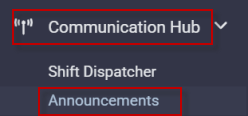
▪Select the Communication Hub menu.
▪Select the Announcements menu.
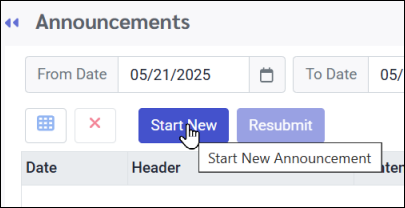
The following menu will appear:

Click Start New to create a new announcement.
The new announcement menu will appear:
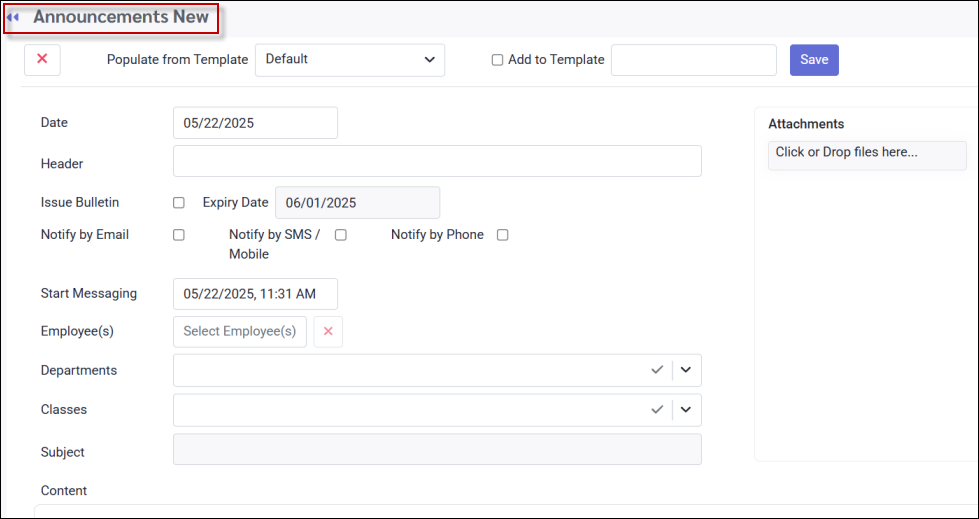
Date & Header Settings
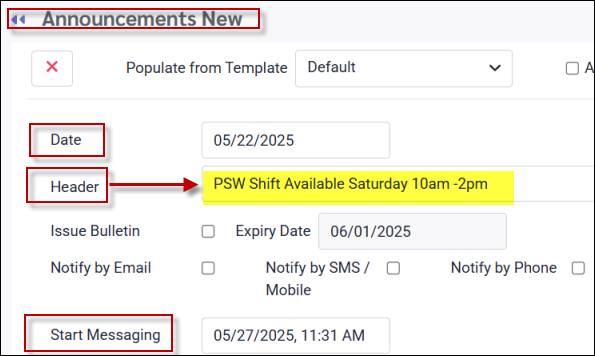
▪Enter the announcement date in the Date field,
▪Enter a current or future Start Messaging date.
▪Add a header for your announcement as shown.
Bulletin & Email Notification
▪Tick Issue Bulletin or Notify by Email, if desired. These option do not support employee responses. Once selected, the SMS and phone options will be disabled.
▪If you have selected Notify by Email, the Subject and Content fields will become editable.
Email not Enabled:

Email Enabled:
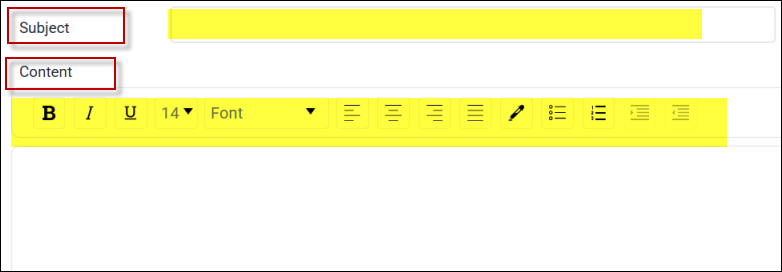
▪Complete the Subject section to appear as your email subject heading.
▪If Issue Bulletin is selected, you may enter an expiry date. The default expiry date is 10 days from the current date.
▪Your bulletin subject will be taken from the Header field.
![]()
▪Select your filters if applicable (department 6280 has been selected above).
▪Complete the details of your email or bulletin announcement in the Content section using the edit tools that have been activated when selecting either option.
▪Under Attachments (right), click to browse for documents or click and drop files where shown, if applicable.
▪Click Save to send your announcement.
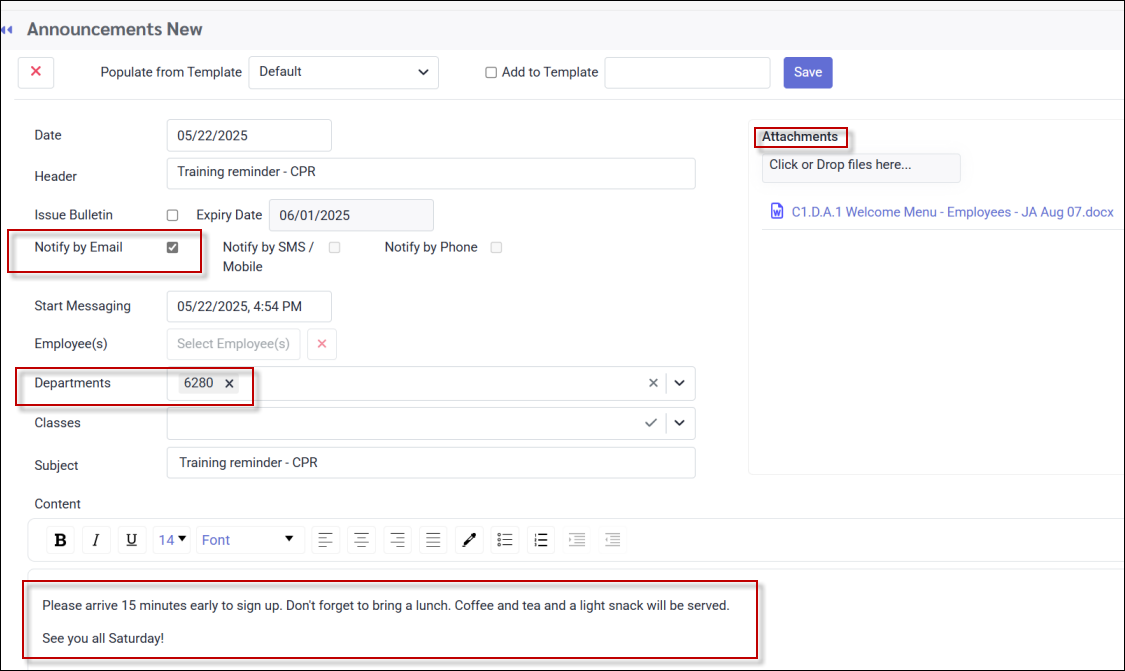
Example of Email Configuration & Output

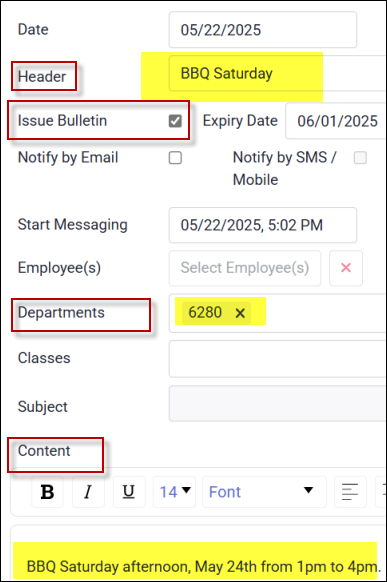
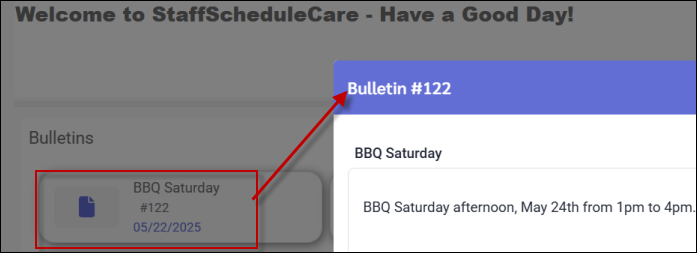
Example of Bulletin Configuration & Output

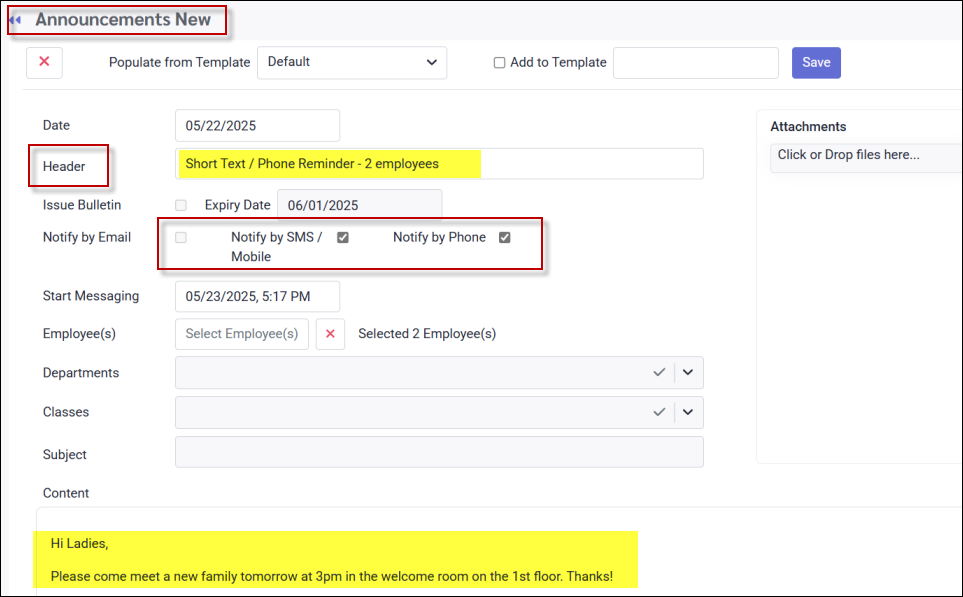
Text and Phone Notification
▪Select Notify by SMS (text) and / or Notify by Phone to send the announcement according to the employees' Notification Preferences. When these options are enabled, Notify by Email and Bulletin will become disabled.
▪Enter a header for this announcement. The header will not be part of the employee / manager text message.
▪Add an attachment if applicable.
▪Click Save to send your announcement.
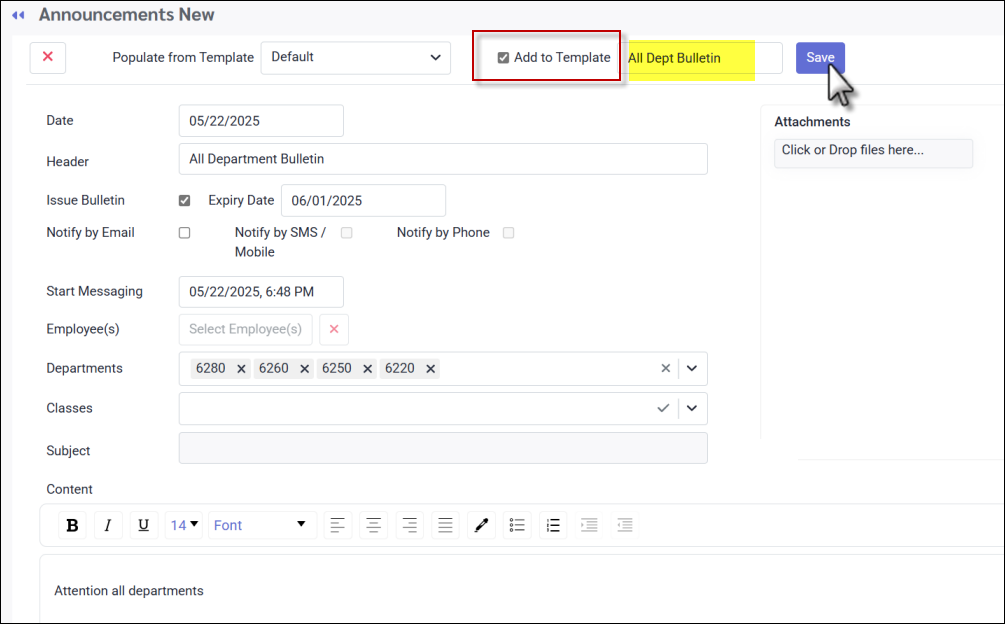
Creating Templates
If there is a format / filter setting you would like to save as a template for the next time, tick Add to Template, give it a name and select Save.
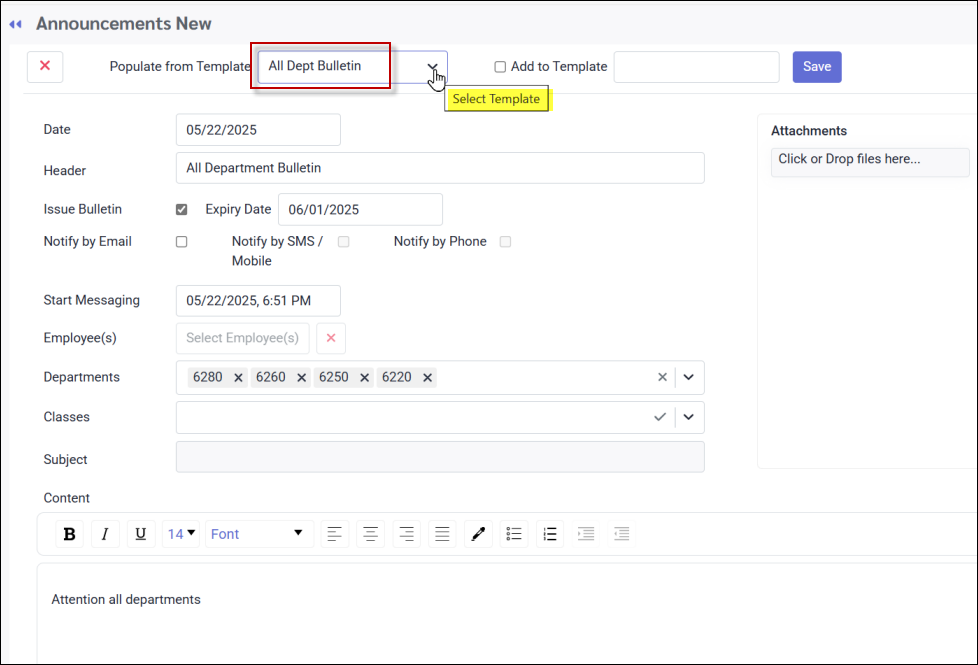
To access your template the next time, select the saved template from the drop-down menu as shown:
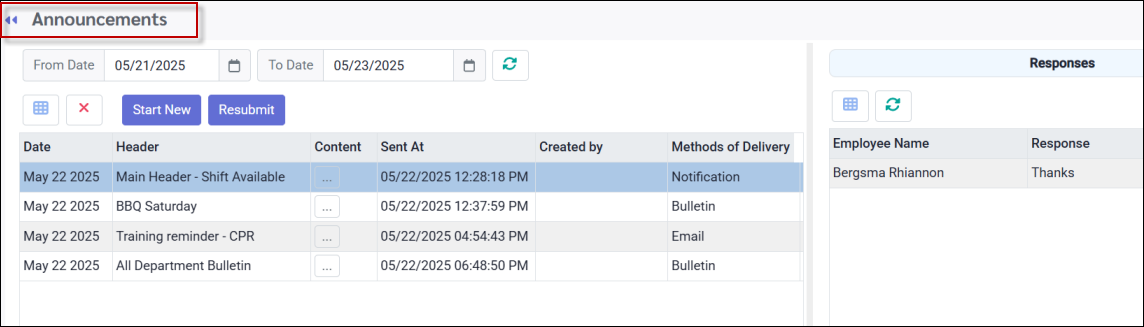
The Announcement Main Menu
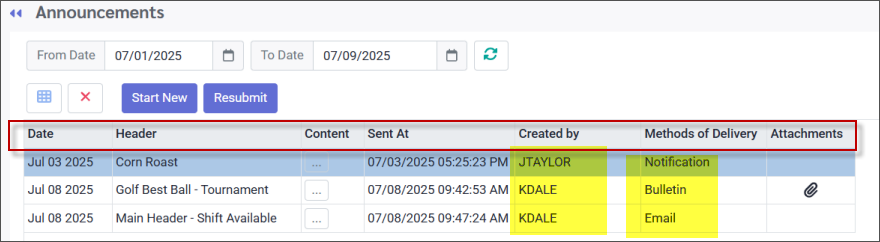
When announcements have been sent, the history and detail will appear on the main menu as shown:
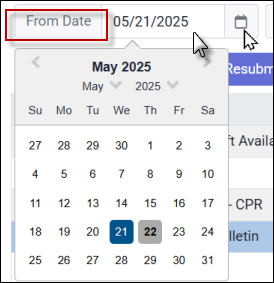
Date Selection
Enter the From Date and To Date to select your date range by clicking within the date field or on the calendar icon to access the calendar:
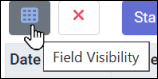
Field Visibility
See Field Visibility for further information on customizing your column headings.
Deleting Announcements
Click the red X to delete a selected announcement.
The Announcement Header Descriptions
The following header options are available:
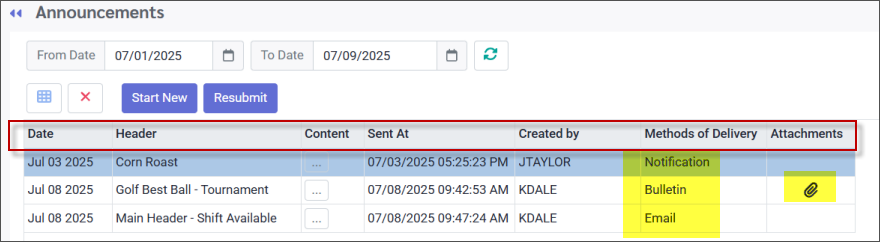
Date, Sent At & Header
The date, time stamp and header of the announcement will appear as shown.
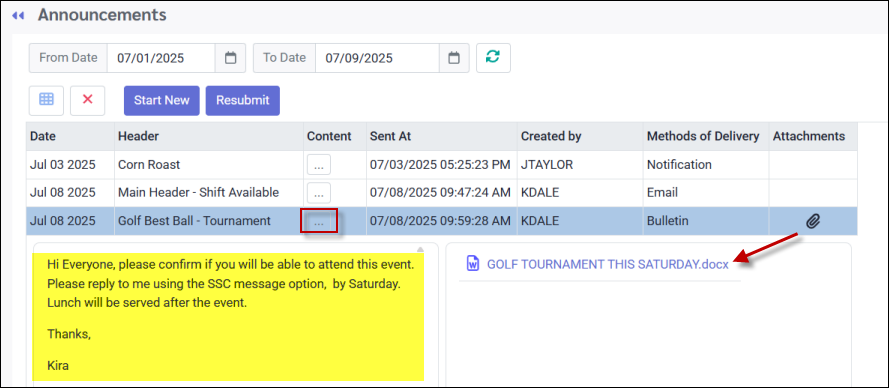
Content
To view the announcement details, click the three-dot icon under the Content column to expand the section. If an attachment is included, its name will also be displayed. Click the same icon again to collapse the section.
Created By & Methods of Delivery
The name of the user (manager) who created the announcement will appear under this column. The type of announcement will be visible under the Methods of Delivery column.
Attachments
Click the paperclip icon to open the attachment section, if applicable. This will expand the announcement and display any available files.