This feature will determine a future date to which employees can view their schedules. For example, if the Active Schedule has been completed to June 30th and the scheduler is still working on the July schedule, a posted date of June 30 would be selected. This will restrict viewing past June 30 while the scheduler completes July.
▪Select the Schedules Tools menu.
▪Select the Update Posted Date menu.
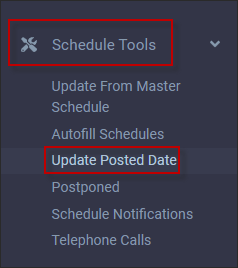
This will take you to the Update Posted Date menu.
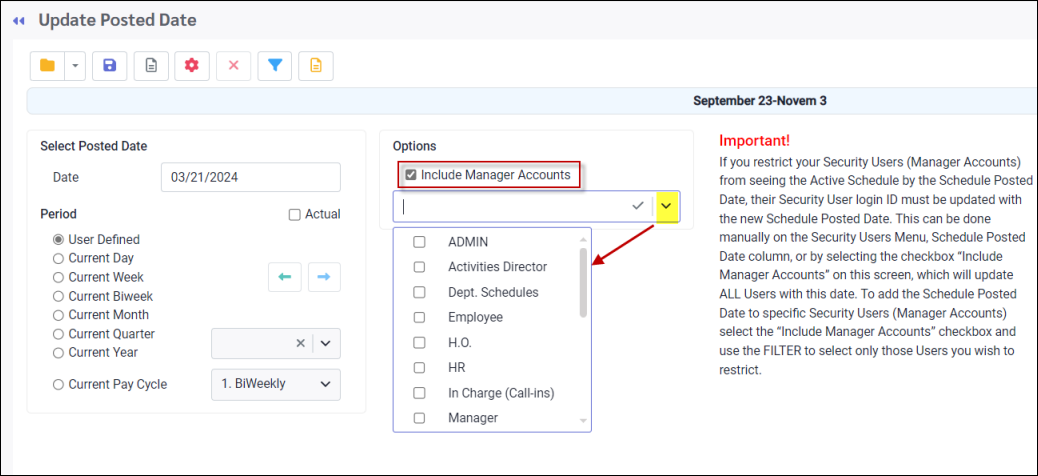
Running the Update Schedule Posted Date with the Include Manager Accounts option (above) will restrict the manager (Security User) from viewing the Active and Daily schedules past the assigned posted date.
Updating a Posted Date for Manager Accounts
▪Tick Include Manager Account. This will display the important message to the right indicating additional required security configuration.
▪Select the manager accounts requiring an updated posted date from the drop down menu. If the manager account section is left blank, no account will be included in the update.
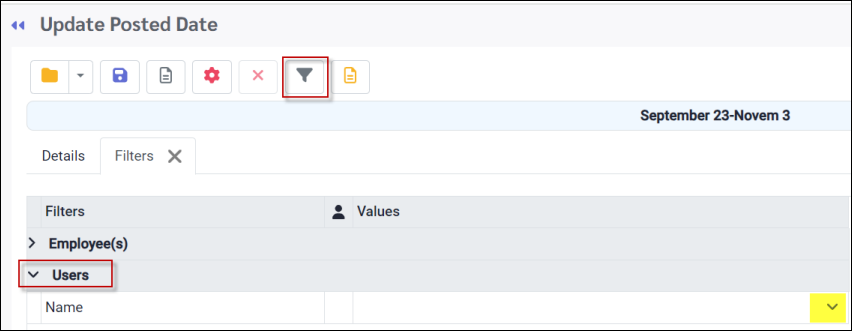
▪If you would like this restriction to only apply to certain managers within your selected groups, you may use the regular filter to select specific Users (below). Managers selected in this additional filter, must be included in one of the manage accounts selected above, or they will not be included in the posted date update.
Update the Schedule Posted Date for Employees
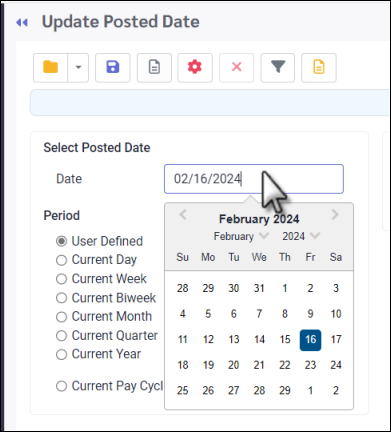
In the Select Posted Date field use the calendar option to enter the last date the employees should be able to see their schedule.
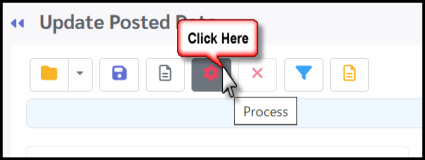
Select the Process icon to set the Posted Date for all employees. See Saving Settings below for filter options.
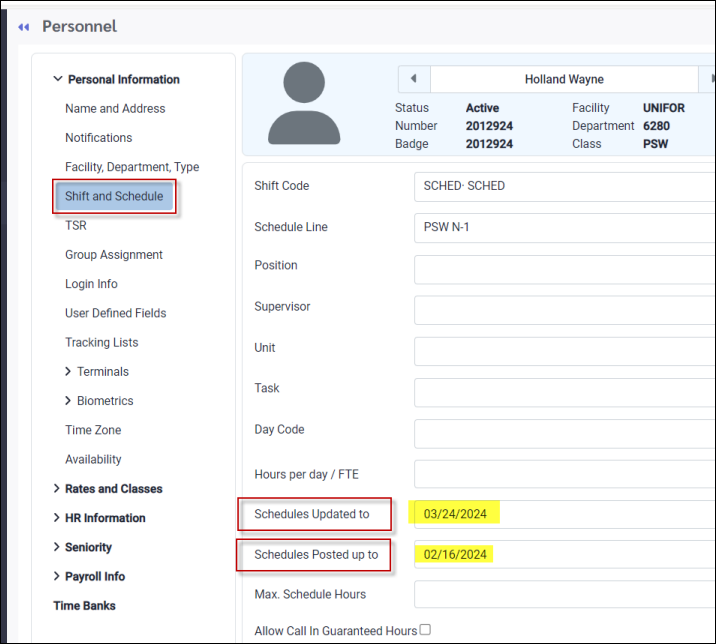
The new Posted Date is published is on the Personnel menu. In this example, the Active Schedule has been updated to March 24th with the employee's view restricted to February 16th.
Saving Settings
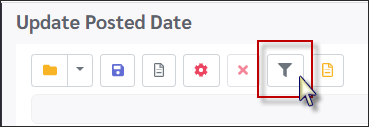
You may use the Filter option to update a specific group or individual.
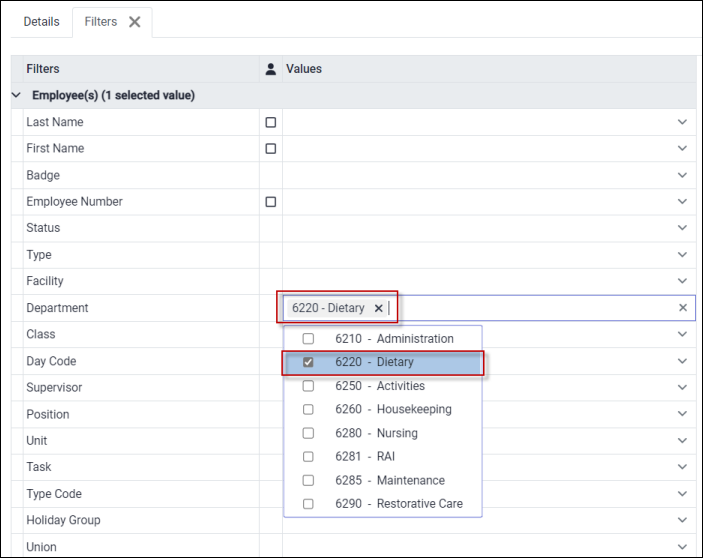
▪Click on the filter icon and set the filter and Save. Now that a filter has been applied, then filter icon will be blue.
▪Click on the Details tab to return to the main screen.
▪On the Detail menu, click on the Process icon to perform the update.
In the example below only the employees in the Dietary department will be updated.
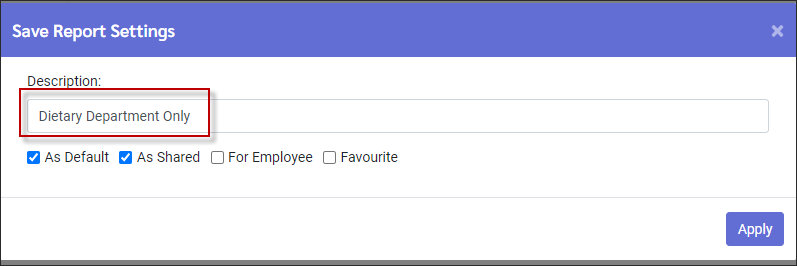
Use the Save Report Settings option the save your filter settings to be used again.

In the Description field, enter the setting name. In our example we are naming this Dietary Department Only. Click Apply to close and save.
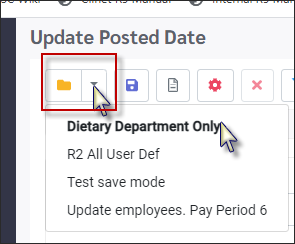
To use this setting again, click on the down arrow beside the file folder icon, Open Report Settings. Click on the setting.
