This section provides a guide to creating new schedules from start to finish, spanning several modules.
Step 1 - Changes to Master Schedules
Navigate to:
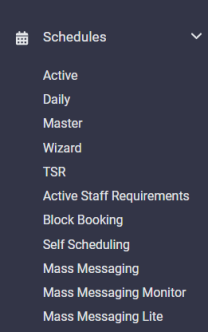
▪Schedules
▪Master
Please see: Master Schedule.
Make all edits to existing lines or create new lines as needed.
Step 2 - Other Schedule / Personnel Changes
▪Navigate to Personnel to make any changes such as status, type, department, class as needed.
▪Navigate to Schedules / TSR to temporary replace any long-term leave employee lines for a fixed time period. Make any edits to existing TSR settings as needed.
Please see: Personnel.
Step 3 - Update from Master
Navigate to:
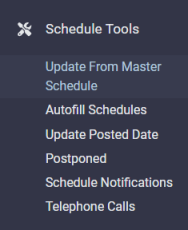
▪Schedule Tools
▪Update From Master Schedule
Please see: Update from Master Schedule.
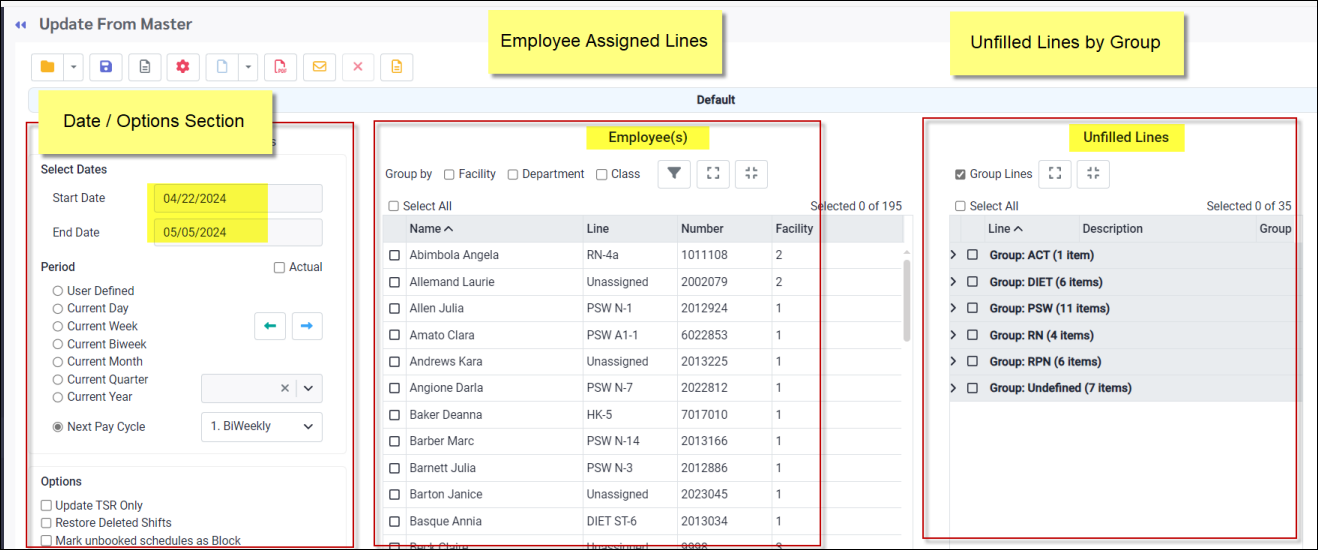
The Update From Master Schedule menu shown above is the Enhanced process. Please refer to the Conventional process if you are using this method instead. |
Items to Remember:
▪If you have access to more than one department / class and have set a filter for your saved update process, remember to update your filter if necessary to include all the departments and classes that are part of your TSR entries, so they will be properly reflected on your schedule.
▪Your selected date range should logically coincide with your last update date, as well as the required number of weeks you must update for.
▪If your shift rotation is very long, and you would like to update for multiple weeks e.g. six weeks, we recommend breaking the update down into smaller time frames to accommodate for any unforeseen events such as internet interruptions etc.
Step 4 - Process All Employee Requests
Navigate to:
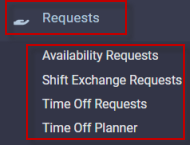
▪Requests
▪Shift Exchange Requests / Availability Requests / Time Off Requests / Planner.
▪Process all outstanding time off requests and/or key in all of the approved leaves and Attendance Codes (VAC, STAT, FLT etc.) on the employees' freshly updated Active Schedules for the upcoming scheduling period.
▪Use the Time Off Planner as needed to approve time off requests.
▪Approve all Shift Exchange Requests (and shift give-away requests if applicable).
▪Approve Availability Requests if manager approvals are required, or if no approvals are required, ensure employee availability is up-to-date.
Please see: Manager Self Service Requests.
Step 5 - Run Autofill
Navigate to:
▪Schedule Tools
▪Autofill Schedules
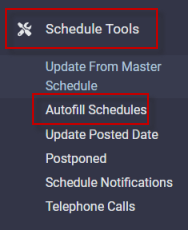
▪Autofilll is an time-saving scheduling tool which offers an automated solution to fill shifts for the upcoming scheduling period. Autofill is configured in accordance with your system rules and will validate scheduling, seniority and employee availability requirements and settings when assigning shifts to employees.
▪Shifts filled by Autofill, may easily be unbooked and reassigned as needed once the process has been run.
▪The Autofill period would typically correspond with the scheduling period your are updating. We recommend splitting the process into two-week periods, which will often correspond with the a typical two-week pay period
▪Autofill updates should be filtered by department or class to simplify the process. All filtered configurations may be saved for future updates
▪Once the Autofill process has been run, use the Daily or Active Schedule to fill remaining unfilled shifts as required, in accordance with your scheduling rules.
Please see: Filling Shifts with Autofill for Schedule Creation.
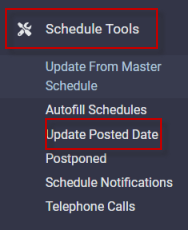
Step 6 - Update Employee Posted Date
Navigate to:
▪Schedule Tools
▪Update Posted Date
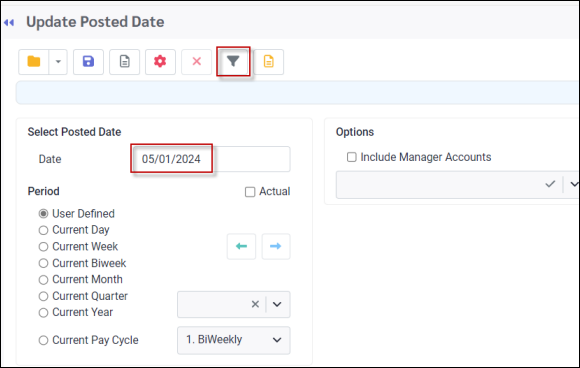
Update your posted date to allow employees to see their schedules. Simply select the date they may see up to and click the process icon (red above). You may filter your update as needed (funnel icon above) to restrict the update to only certain employees e.g. RPN's only.
Please see: Updating Employee Posted Schedule Date.
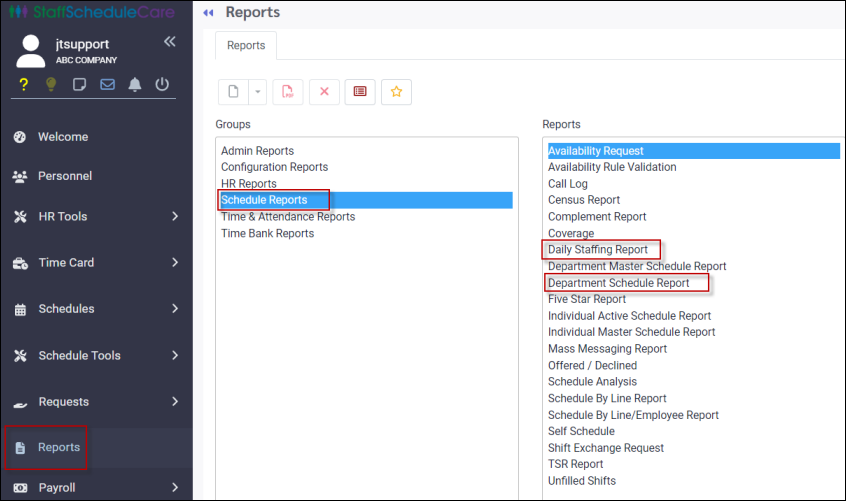
Step 7 - Print Schedules
Navigate to:
▪Reports
▪Schedule Reports category.
Print the schedule reports as needed. Two commonly used reports are shown below:
Please see: Schedule Reports.