The Scheduling Wizard was designed to provide users with a quick and easy way to make on demand scheduling changes with limited mouse clicks.
Rules for the Wizard must be defined prior to its use. These rules define the levels of sorting that will be used when calling employees in, i.e., part-time, and casual before full-time, along with other schedule validation criteria, i.e. consecutive shifts worked, etc.
To access the Absenteeism Wizard, which allows you to remove an employee from the schedule due to illness or another type of absence:
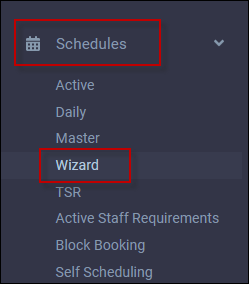
▪Select the Schedules menu.
▪Select the Wizard menu.
On the Wizard menu, click on the Absenteeism link.
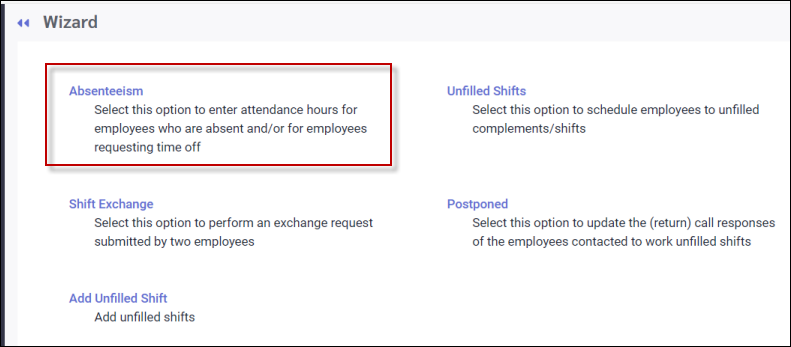
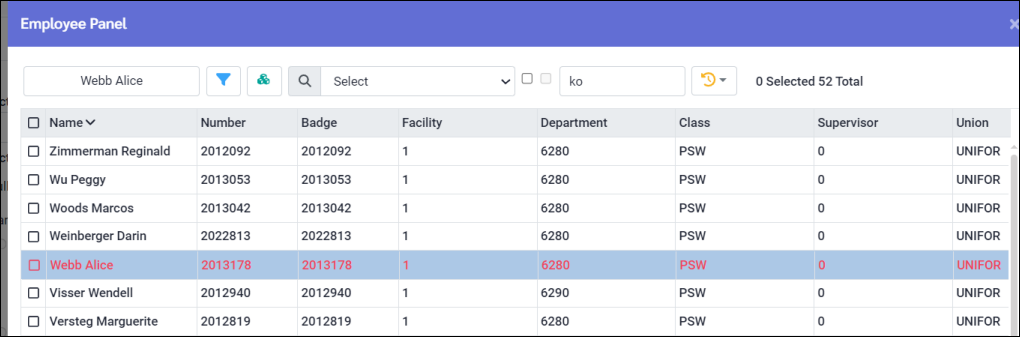
The Employee Panel will open.
▪Select the employee from the Employee Panel and click Apply (not shown).
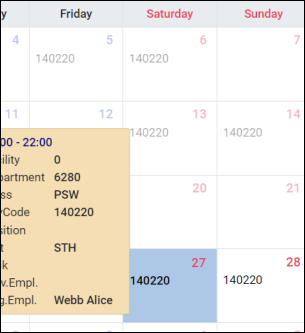
The selected employee's name will appear at the top of your menu. The employee's schedule will be displayed.
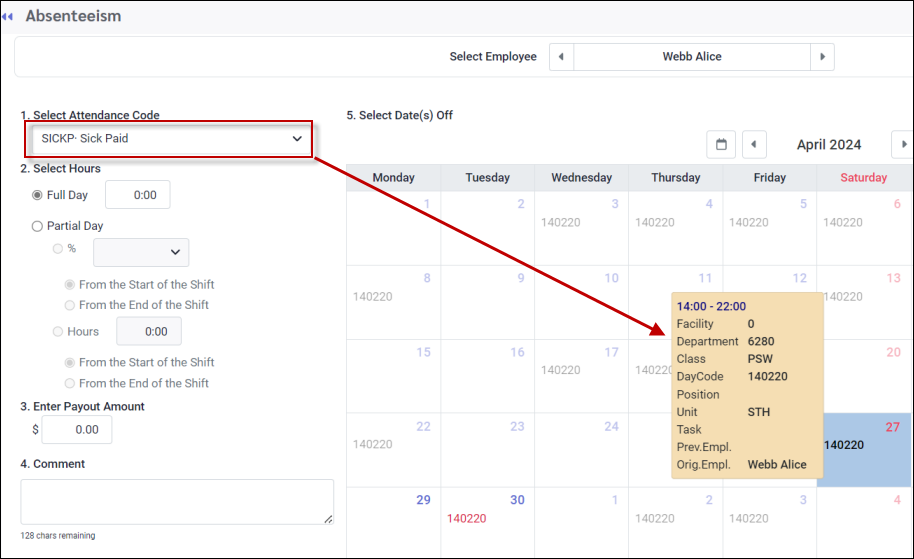
Hover on the Day Code (140220) and the details of the shift will become visible.
Follow steps 1-5 (as applicable).
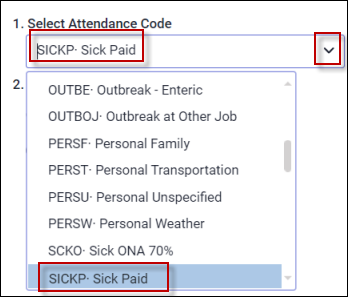
1.Select Attendance Code from the drop-down list. This employee is going to take a SICKP (sick paid) day.
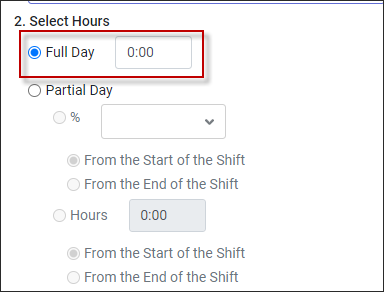
2.Select Full Day with no hours. If the day is scheduled and the employee wants the full day off, you do not need to specify hours. The full length of the shift will be unbooked. The Time Bank will be reduced by the same amount if applicable. To use the Partial Day or Hours options, please see the Employee Time Off Request section.
3.Enter a payout amount if applicable.
❖Please note that configuration is required to use banks that use time and dollars. Please do not use the payout option unless it has been configured in advance. ❖Please see your StaffScheduleCare representative for information on hiding the payout option. |
4.Enter a comment (optional).
5.Select the date(s) of absence by clicking on it (27th). Please see Employee Time Off Requests for information on selecting multiple dates or a block of dates (scheduled and unscheduled).
6. Click Save (not shown). A confirmation menu will appear.
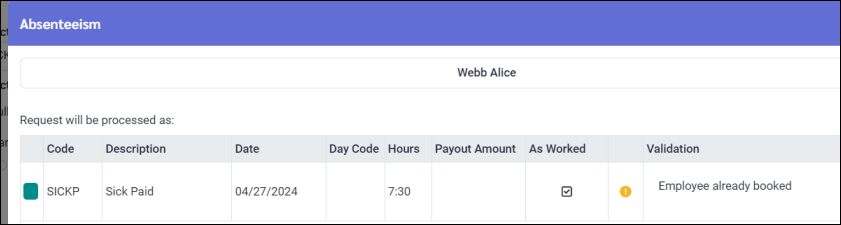
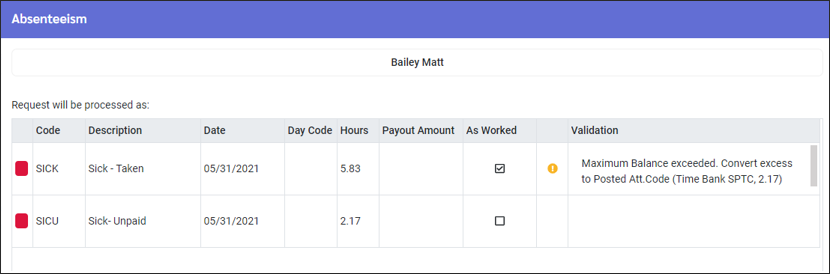
The message may include validation errors in some cases. If the employee is not eligible for the Time Bank corresponding with the code selected (if applicable) you will see the following message:

You must select an alternate code.If the employee does not have enough banked time to accommodate the time entered for the Attendance Code, and if an unpaid code is assigned as an alternative to the paid code (configuration required), you will see the following message asking if you want to convert the excess to the unpaid alternative.
If you want to proceed with paid to unpaid time you must click Apply anyway at the bottom right of the confirmation screen.
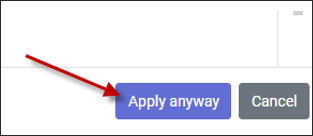
If there are no validation errors, you will click Apply anyway. The Absenteeism Wizard is now complete, and the request processed. You will be returned to the main Wizard menu.
The Attendance Code SICKP will now appear on the employee's schedules, Time Card and Attendance menus. See employee's Active Schedule below.

See Also: